Help In depth
Recording
Camera, screen, screen and camera, and audio: what each records, the recording screen, and what happens after Stop.
What you can record
Video's + (Add video) in the library opens a menu (Audio's + has Add a copy of a file and New audio recording; Images' + opens the file picker straight away):
- Add a copy of a file: MP4, MOV, WebM or MKV from your computer. The file picker shows only what that section takes. Audio and images go in Audio and Images, whichever + you used. Lectern keeps its own copy: editing it doesn't change your file (Lectern works on copies).
- New camera recording: you on camera, with your microphone.
- New screen recording: your screen, or a window on it.
- New screen and camera recording: both at once, then saved as one video or two files.
- Go live: the camera, streamed to the services you choose while it's recorded. See Live streaming.
- New audio recording: just your microphone (in Audio's +).
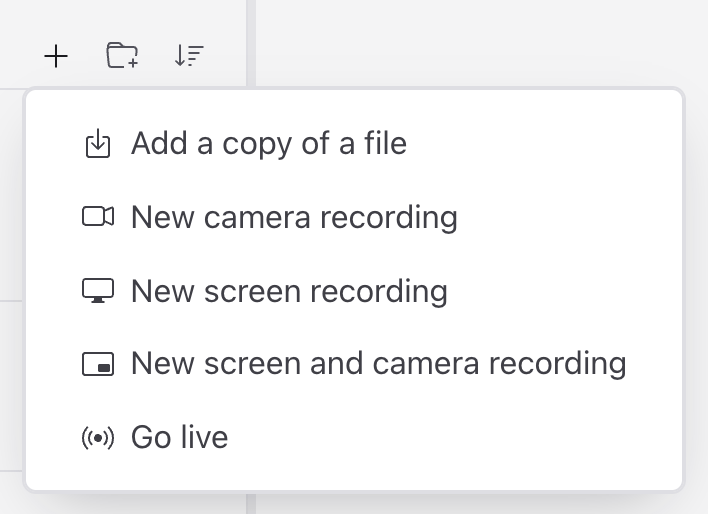
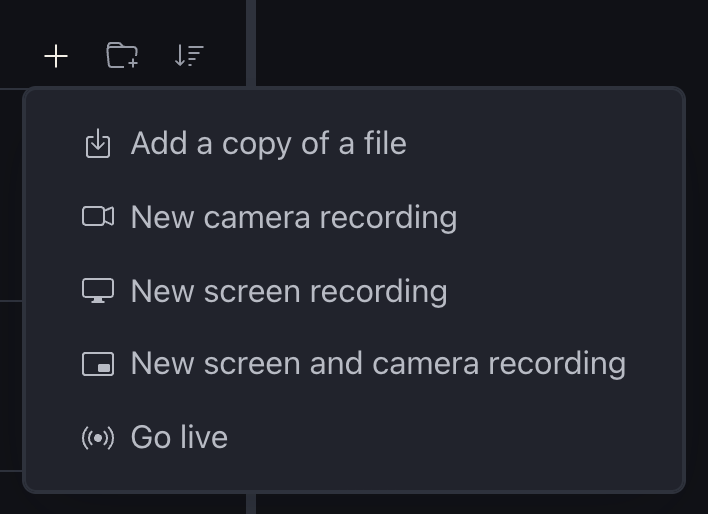
Choices this computer or browser can't do at all (screen recording where it isn't available, say) are left out of the menu. A recording choice goes straight to the recording screen, where a camera or microphone that can't be used is explained. If only the microphone can't be used, the video choices say they'll record Without sound.
A folder's ⋯ menu has Add here ›, which opens the same choices and saves in that folder.
To record yourself reading a script, start from the script instead: open it and click Record with this script. See Record yourself reading a script.
The recording screen: name, folder, script
The bar at the top of New recording:
- Name: what the recording will be called. Left blank, it's named by the date and time, such as "Recording 2026-10-17 14-03-22" ("Audio …" for sound only).
- The folder it's saved in. It starts as the folder of whatever is picked in the library, or Video's top. Click it to choose another. Audio goes in Audio, in the folder of that name there.
- Script: No script, or the script on the prompter while you record. Click it to pick one.
A recording started from the + menu has no script until you pick one here. A name that's taken gets a number: "Intro (2)". Nothing is ever recorded over.
With a script, the prompter shows beside the camera's preview (or above it: see Settings). Drag the line between them to give either more room. The prompter starts when the recording does, unless Start with recording is turned off in Settings › Prompter.
Camera and microphone, quality and the countdown
The camera, the microphone and the quality are chosen once, in Settings, not on the recording screen. See Settings. Under the preview are:
- Record: starts recording. If a countdown is set (5 seconds, unless you change it), it counts down over the screen first. Click, or press Esc, to stop the countdown; nothing is recorded.
- Stop Recording, with the time recorded beside it, while recording.
- Cancel: leaves without recording. During the countdown, it stops the countdown instead.
- Flip camera, if there's more than one camera.
- The size and frame rate the camera is really giving, such as "1920×1080 · 30 fps".
There's no pause: stop, and record the next part as a new recording, or cut out what you don't want afterwards.
The microphone is recorded with echo cancelling, noise reduction and automatic level on. If it stops working while you record camera, the recording carries on without sound and says so.
In the desktop and phone apps, Go live on… in the bar streams the camera while it records (and the screen, on Windows, Linux, the Mac and Android). See Live streaming.
Recording the screen and the camera
A screen recording records your screen, or part of it. A screen and camera recording records the screen and you at the same time. For a step-by-step walk-through, see Record your screen and camera.
The name, folder and script work as for the camera (see above). A script shows on the prompter beside the preview, as it does for the camera.
Choosing what to share
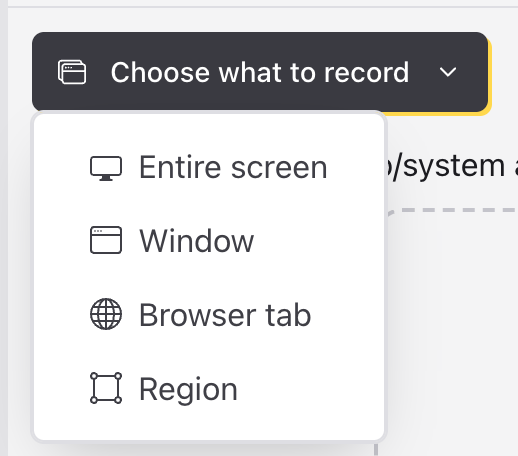
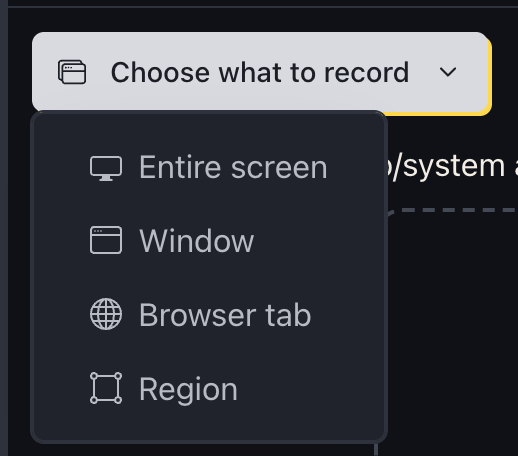
Choose what to record offers:
- Entire screen: everything on one screen (with more than one, you pick which).
- Window: one window, such as your slides.
- Browser tab: one tab. Only in Chrome, Edge and other Chromium browsers, not in the desktop app.
- Region: part of a screen. Pick the screen, then drag on the preview to mark the part to record. Only that part is saved, at its own size. Drag again to change it, before you record.
Some choices may be missing where your computer can't do them. After you pick, your computer (or browser) asks which screen, window or tab, and whether to allow it. Record (at the top, beside it) works once something is chosen. The preview shows it, with what it is ("Entire screen", "Window", "Region") and its size under it. On a Mac and in the Linux app the preview is a still, taken as you choose; the recording itself moves as usual. Click the button again (it now says what you chose) to choose something else.
Beside it:
- Microphone: your voice. On at first. With the camera, the sound is kept with the camera's recording.
- System audio (desktop app, where it can) or Tab/system audio (Chrome and Edge): the sound your computer is playing, such as a video on your slides. In the desktop app it's the whole computer's sound. In Chrome it's a tab's sound everywhere, and the whole computer's on Windows. In Chrome, Edge and the Windows app it's asked for along with the picture, so tick it before you choose; ticking it afterwards asks again what to record.
If the microphone can't be used, the recording goes on without sound and says so.
On an Android phone or tablet
The Android app records the screen too, with or without the camera:
- Choose what to record asks Android to share the entire screen. Tap Share screen. (Android shows no picture of it till it records, so the preview just says it's ready.)
- Record, then go to the app you're showing. Lectern keeps recording the screen, your microphone and (with a screen and camera recording) your camera while it's out of sight. A notification says so, and Android's red chip at the top counts the time.
- Come back to Lectern and tap Stop Recording, or tap Stop in the notification. Either way it's saved, and with the camera the finish step comes next, as on a computer.
With the camera, the sound is kept with the screen's recording, and the camera's is silent; saved as one video, it's the same.
Camera over other apps (off at first) floats a small picture of you over the app you're showing, to see yourself while you teach. Drag it anywhere; tap it to come back to Lectern. Android asks you to allow Lectern to display over other apps the first time. It's on the screen, so it's in the screen's recording too: in one video you'd be in it twice, unless you save two files.
Go live on… streams it as it records, with the camera laid out as you pick under Live layout. See Live streaming.
The camera is the one chosen in Settings (front or back). On Android it's the entire screen and your microphone: there's no window, region or phone's-own-sound choice yet.
On an iPhone or iPad
The iPhone and iPad app records the screen through iOS's own screen recording:
- Record opens iOS's screen recording, with Lectern chosen. Turn Microphone on there for your voice (iOS remembers it), then tap Start Broadcast. iOS counts down three seconds, and the clock at the top turns red.
- Go to the app you're showing. Lectern keeps recording while it's out of sight.
- Come back to Lectern and tap Stop Recording, or tap the red clock and stop it there. Either way the recording is saved in Video. (iOS then says recording stopped: "Saved in Lectern.")
A screen and camera recording isn't on iPhone and iPad: iOS stops the camera while you show another app. Record the screen, and the camera separately if you want both.
Seeing yourself while you record
With the camera, Show camera puts you over the preview, small, in a corner. It's off at first: most people don't need to watch themselves while they teach. The four pictures beside it pick the corner (going live, you're where the Live layout puts you instead). You can turn it on or off while recording. It only changes what you see: the camera is recorded either way, and where it goes in the video is chosen after Stop. Both choices are remembered for next time.


Stopping
Stop Recording (with the time recorded beside it) ends the recording. Stopping sharing from your computer's own bar does the same. A screen recording on its own is saved in Video and opens there.
With the camera, a finish step comes next instead. The two recordings aren't in Video until you choose how to save them.
One video or two files
After Stop Recording, Save this recording shows the screen and the camera playing together, in step, as they'll be saved. Play, pause and the position bar are under them, then a line of tools, as in the media editors. Discard… and Save video (or Save two files) are at the top right, where Stop Recording was.
- Corner, Side by side and Tall: the two laid out together in one video. This is the usual choice, ready to share as it is.
- Two files, at the end of the line: the screen and the camera as separate recordings, named after the recording: "Intro - Screen" and "Intro - Camera" for one called "Intro". Choose this to edit them apart, say in a project with the camera somewhere else in each step. Nothing links the two afterwards.
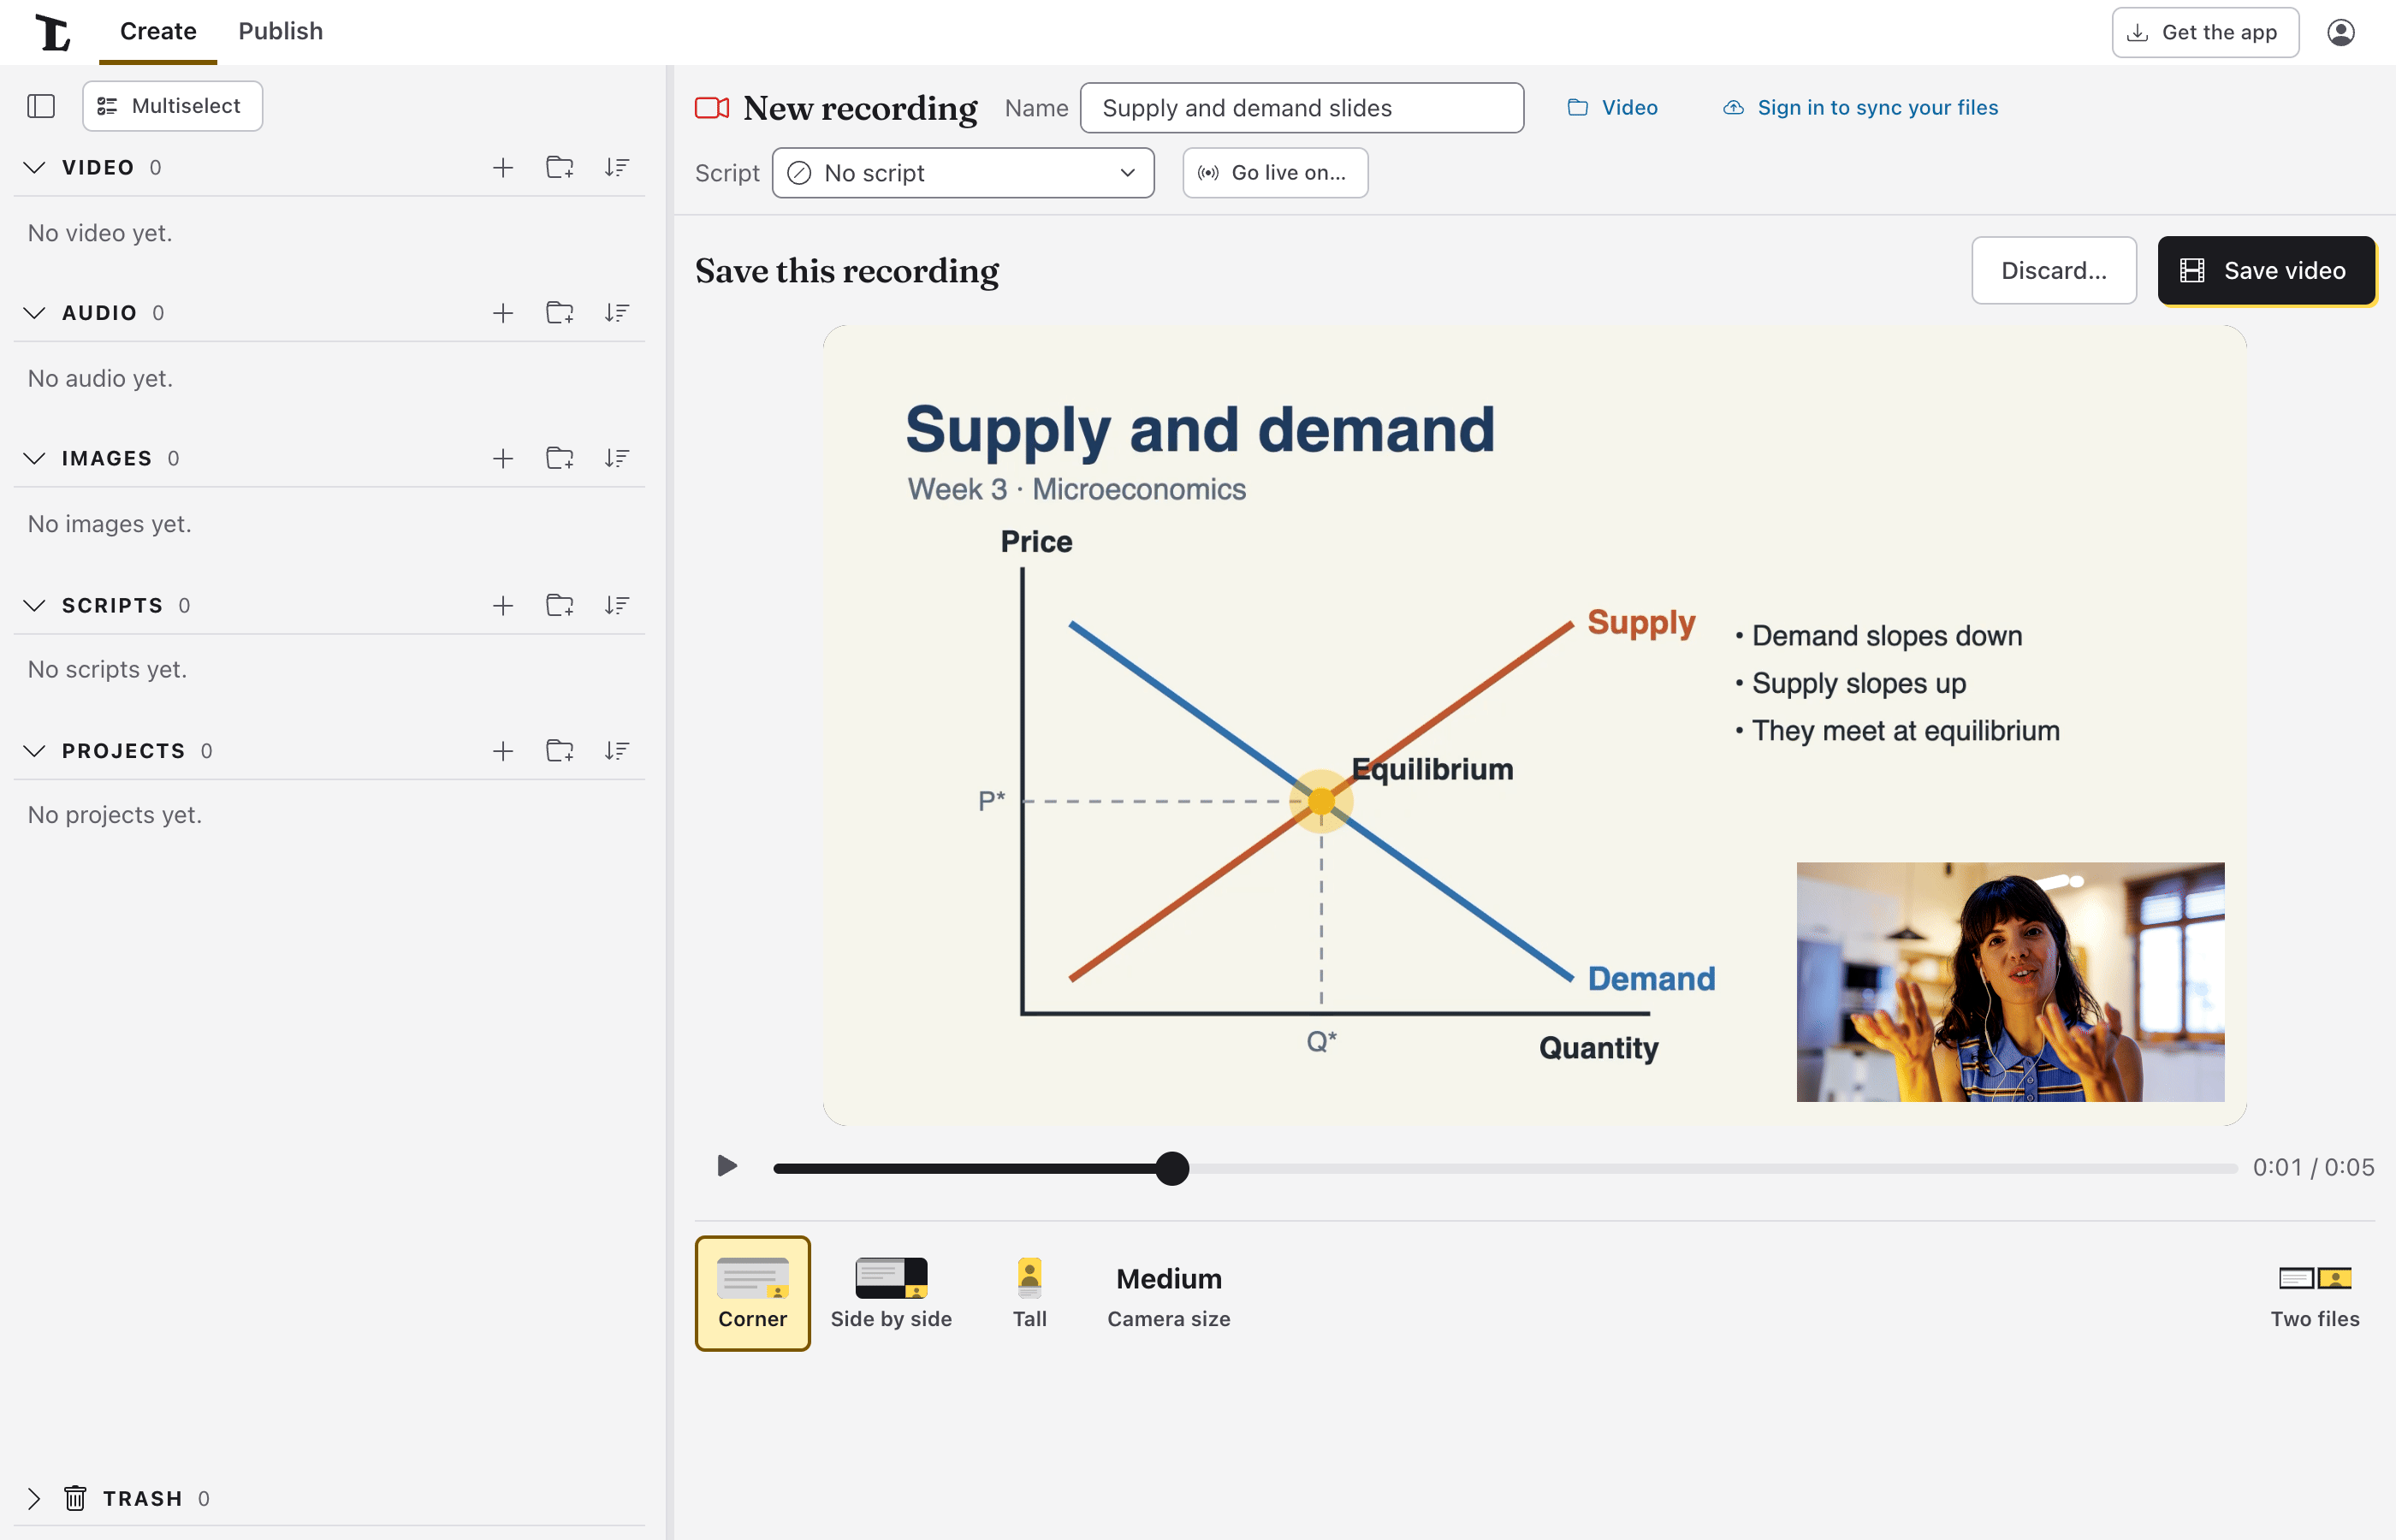
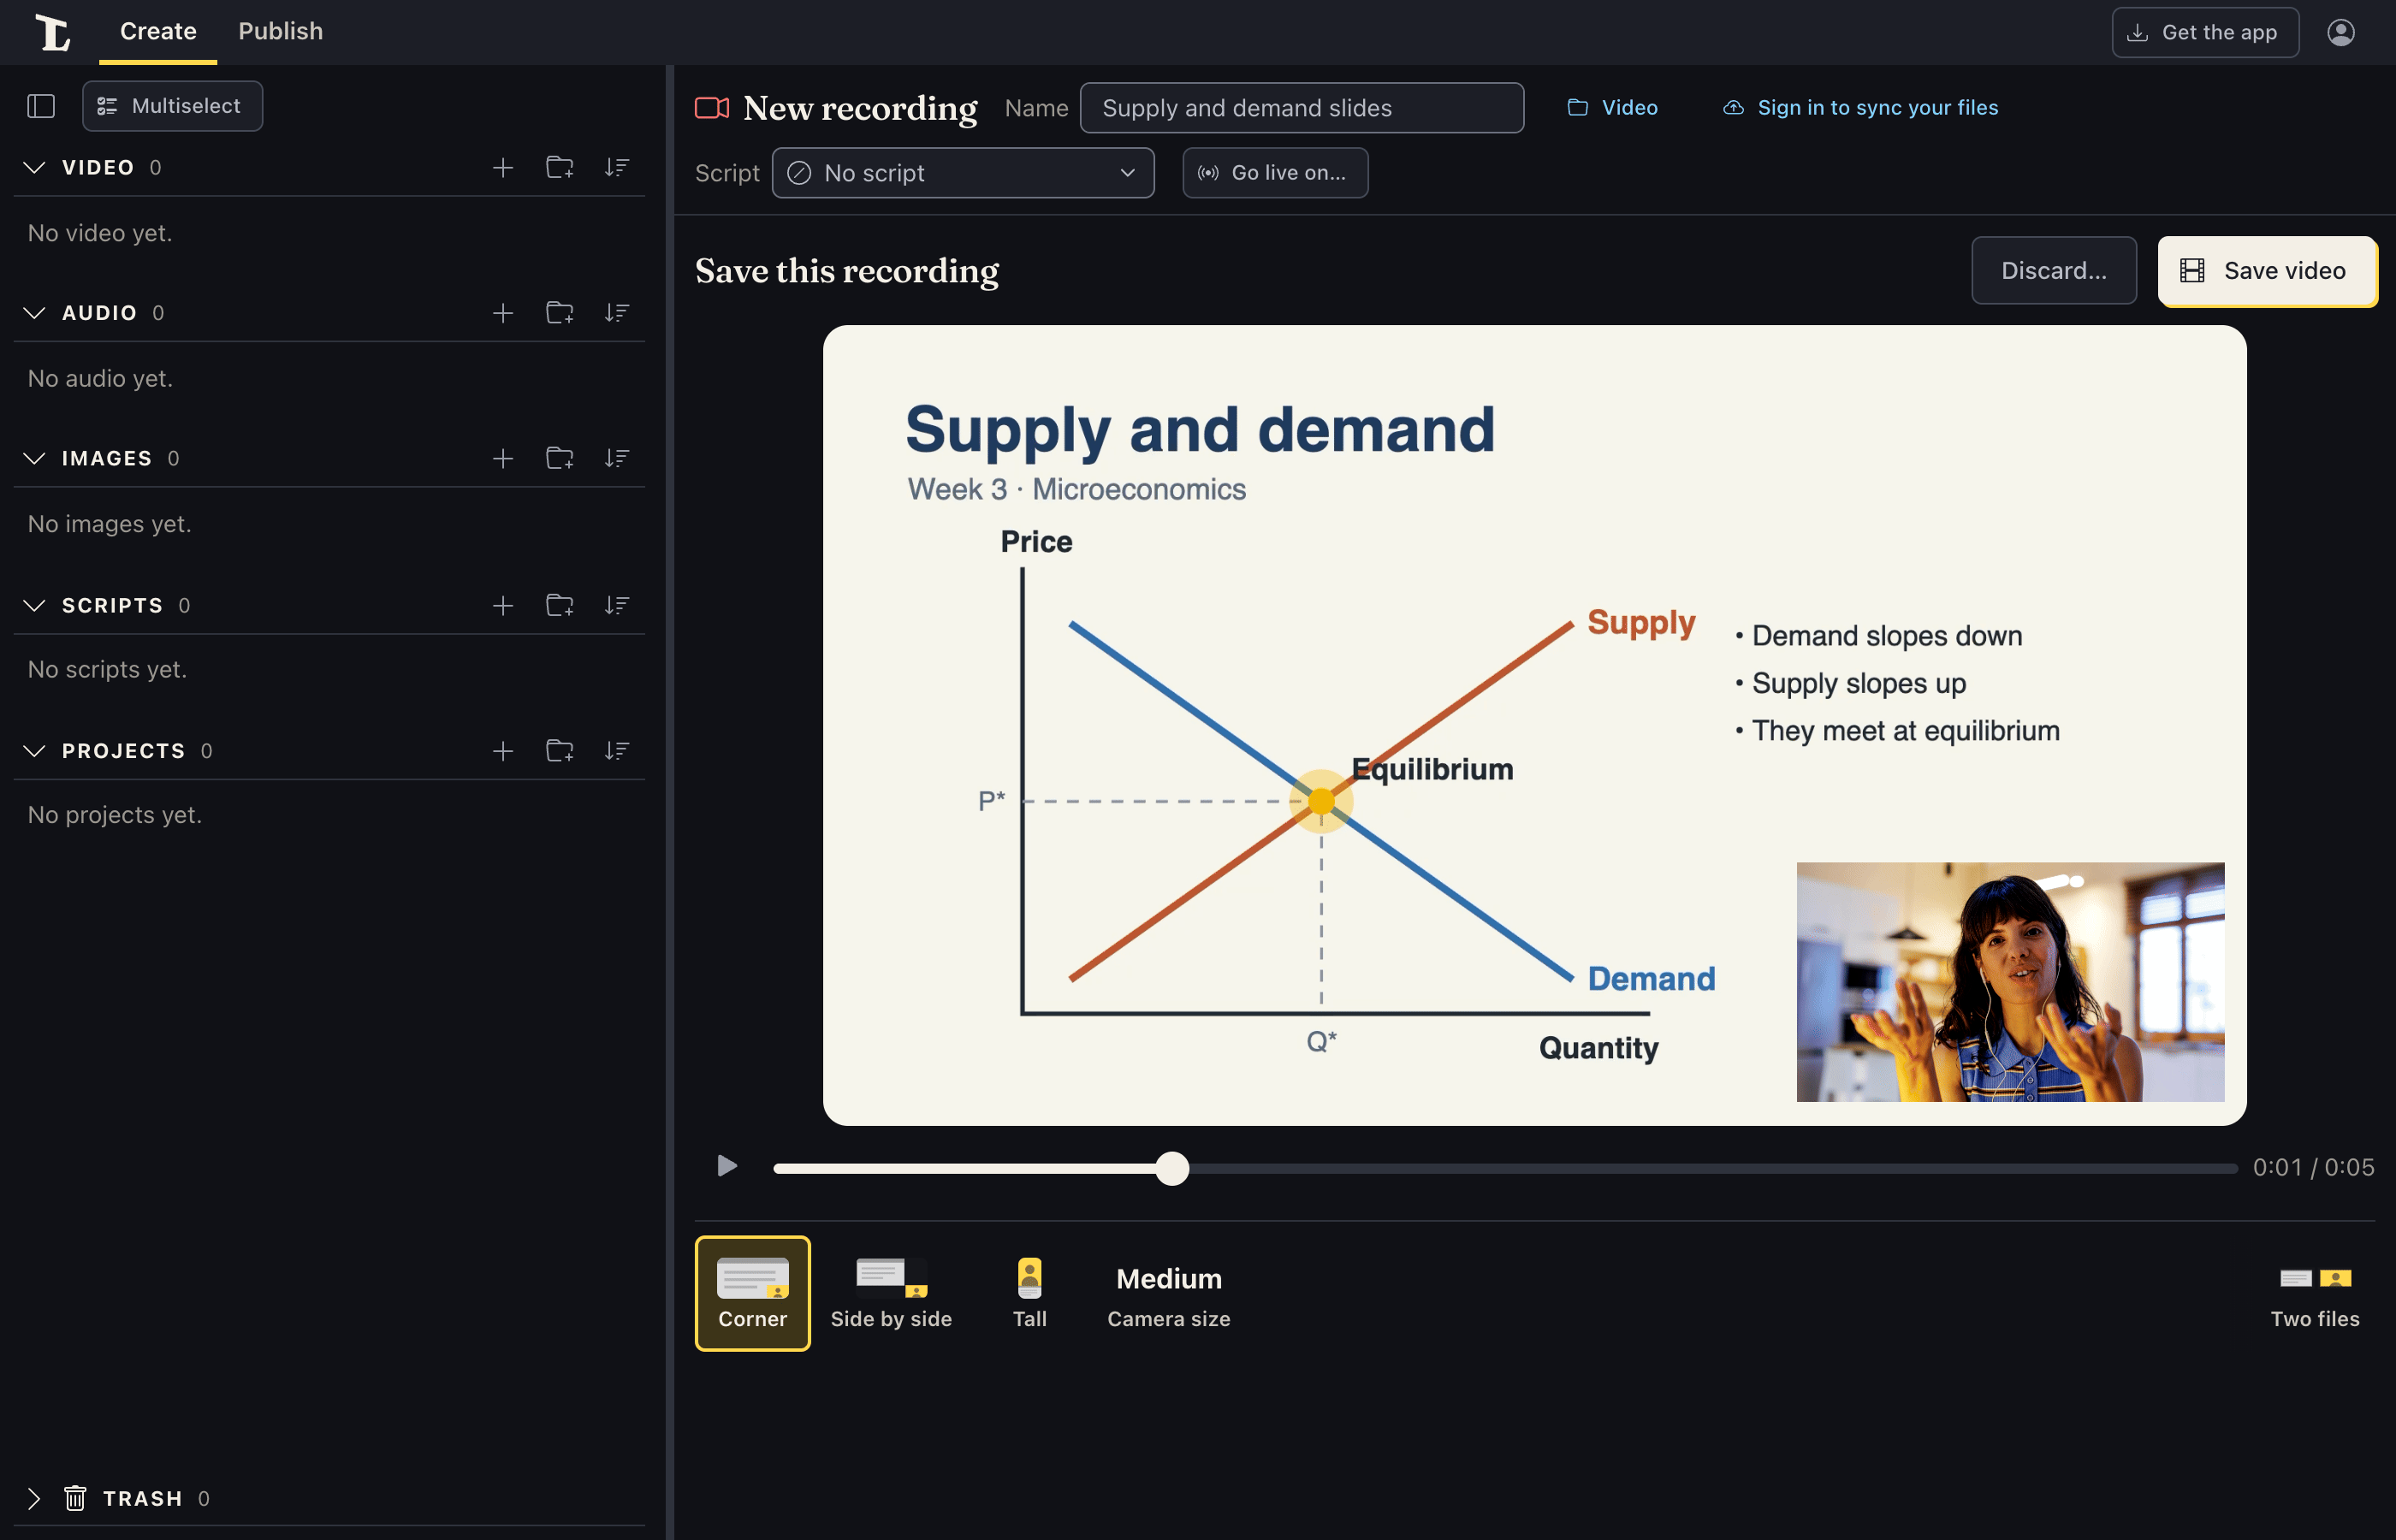
Each layout tool opens its pictures in the line's place (click one, then OK or Esc to go back); the tool shows the one you last picked. There are ten in all:
- Corner (camera over the screen): the whole screen, with the camera in the lower right, lower left, upper right or upper left corner.
- Side by side: the screen smaller in one corner and the camera in the opposite corner, so neither covers the other; or the camera in a full-height column on the right or the left.
- Tall (for phones): a tall video (9:16), with the camera above or below the screen. For Shorts, Reels and TikTok.
Point at a picture to see its name. Camera size (Small, Medium, Large) sets how big the camera is in a corner, or how wide its column is. Tall layouts don't have it: the camera fills what the screen leaves.
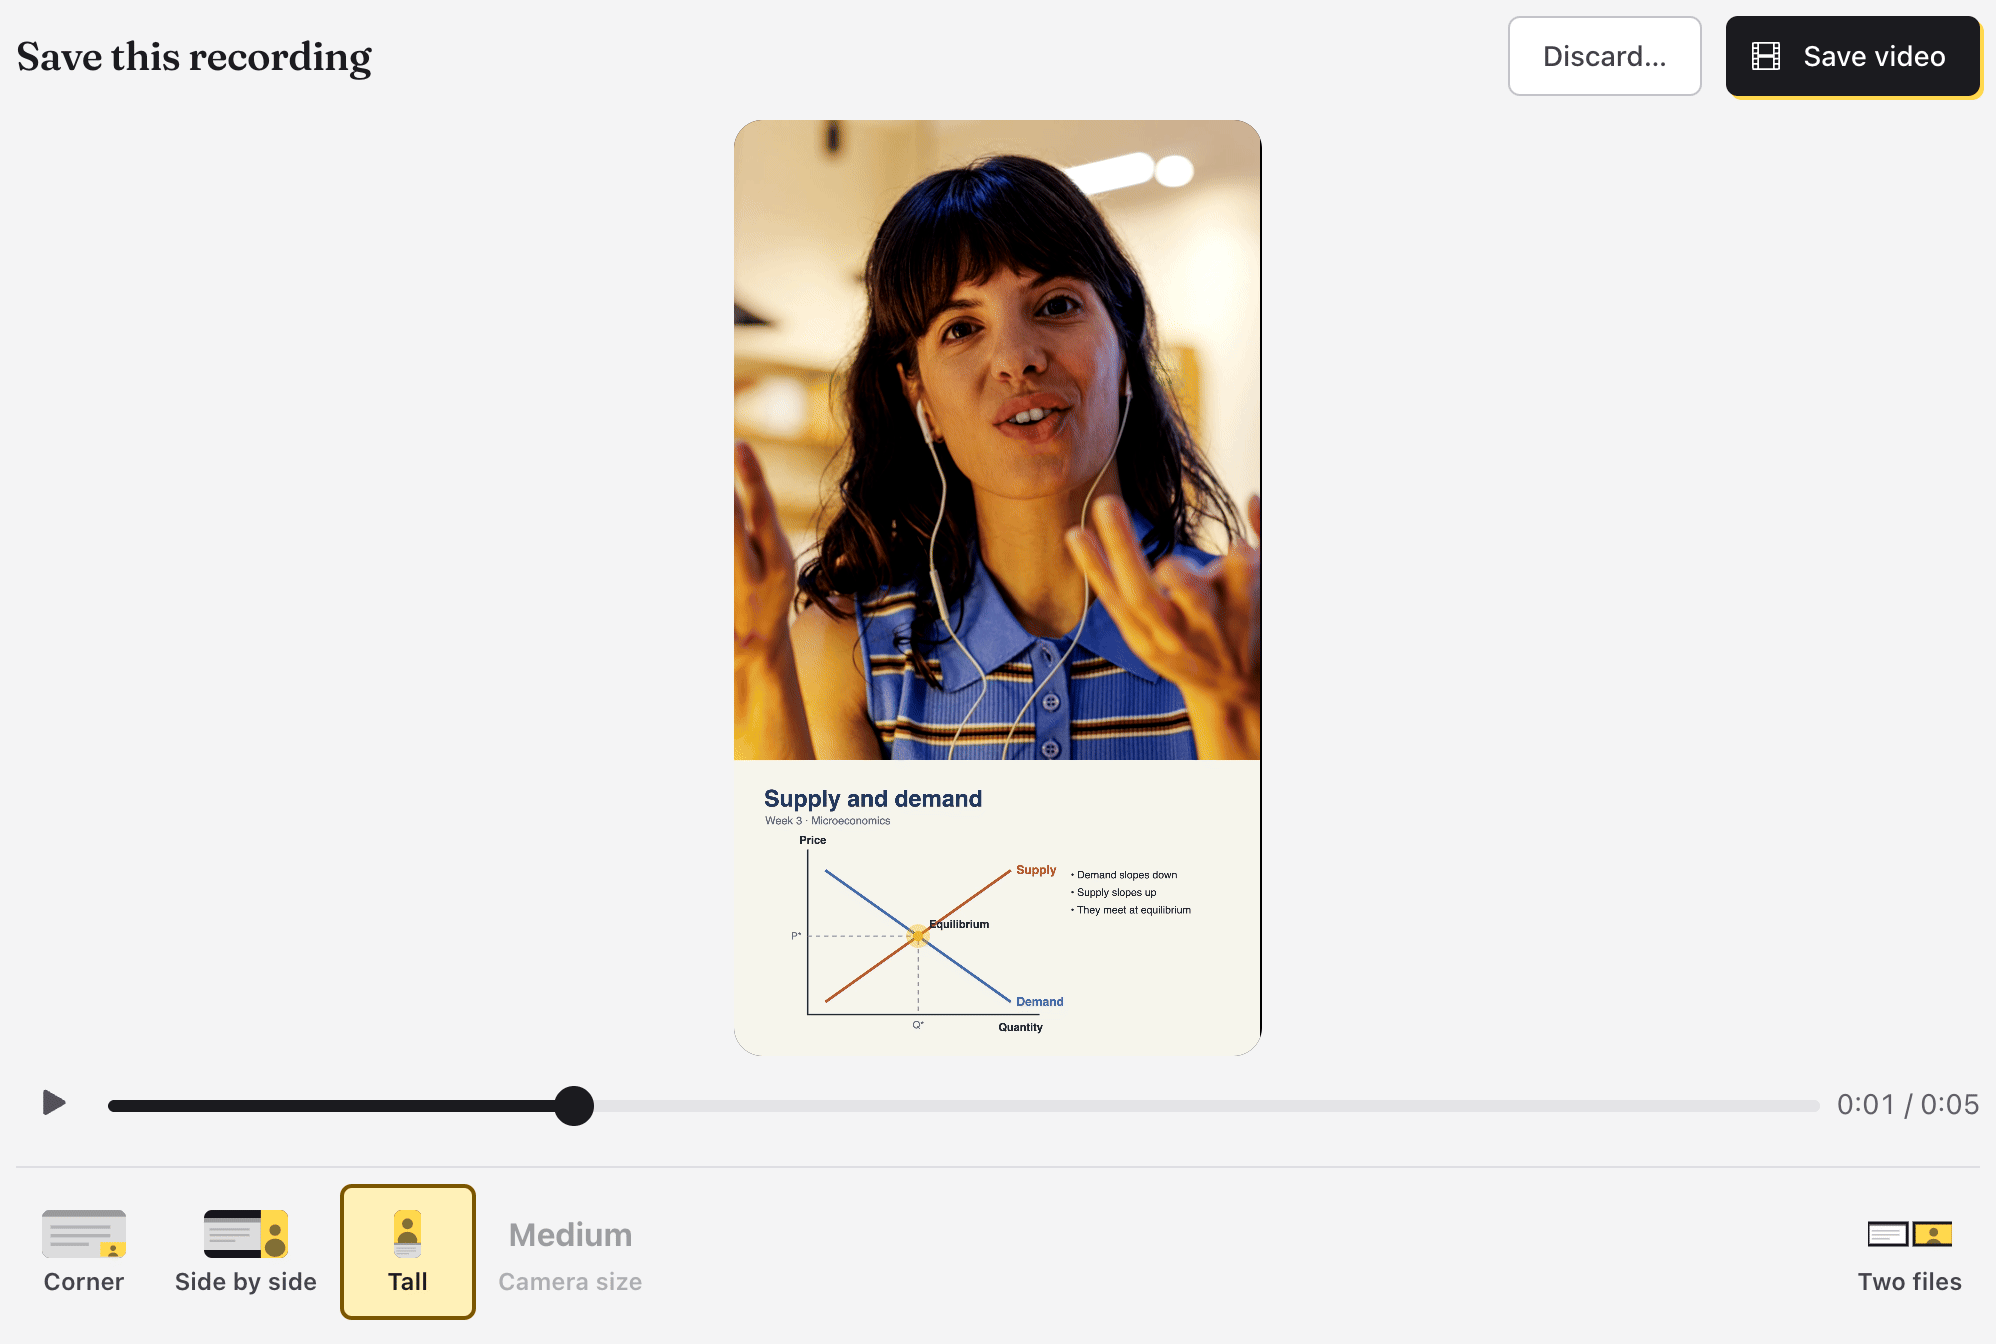
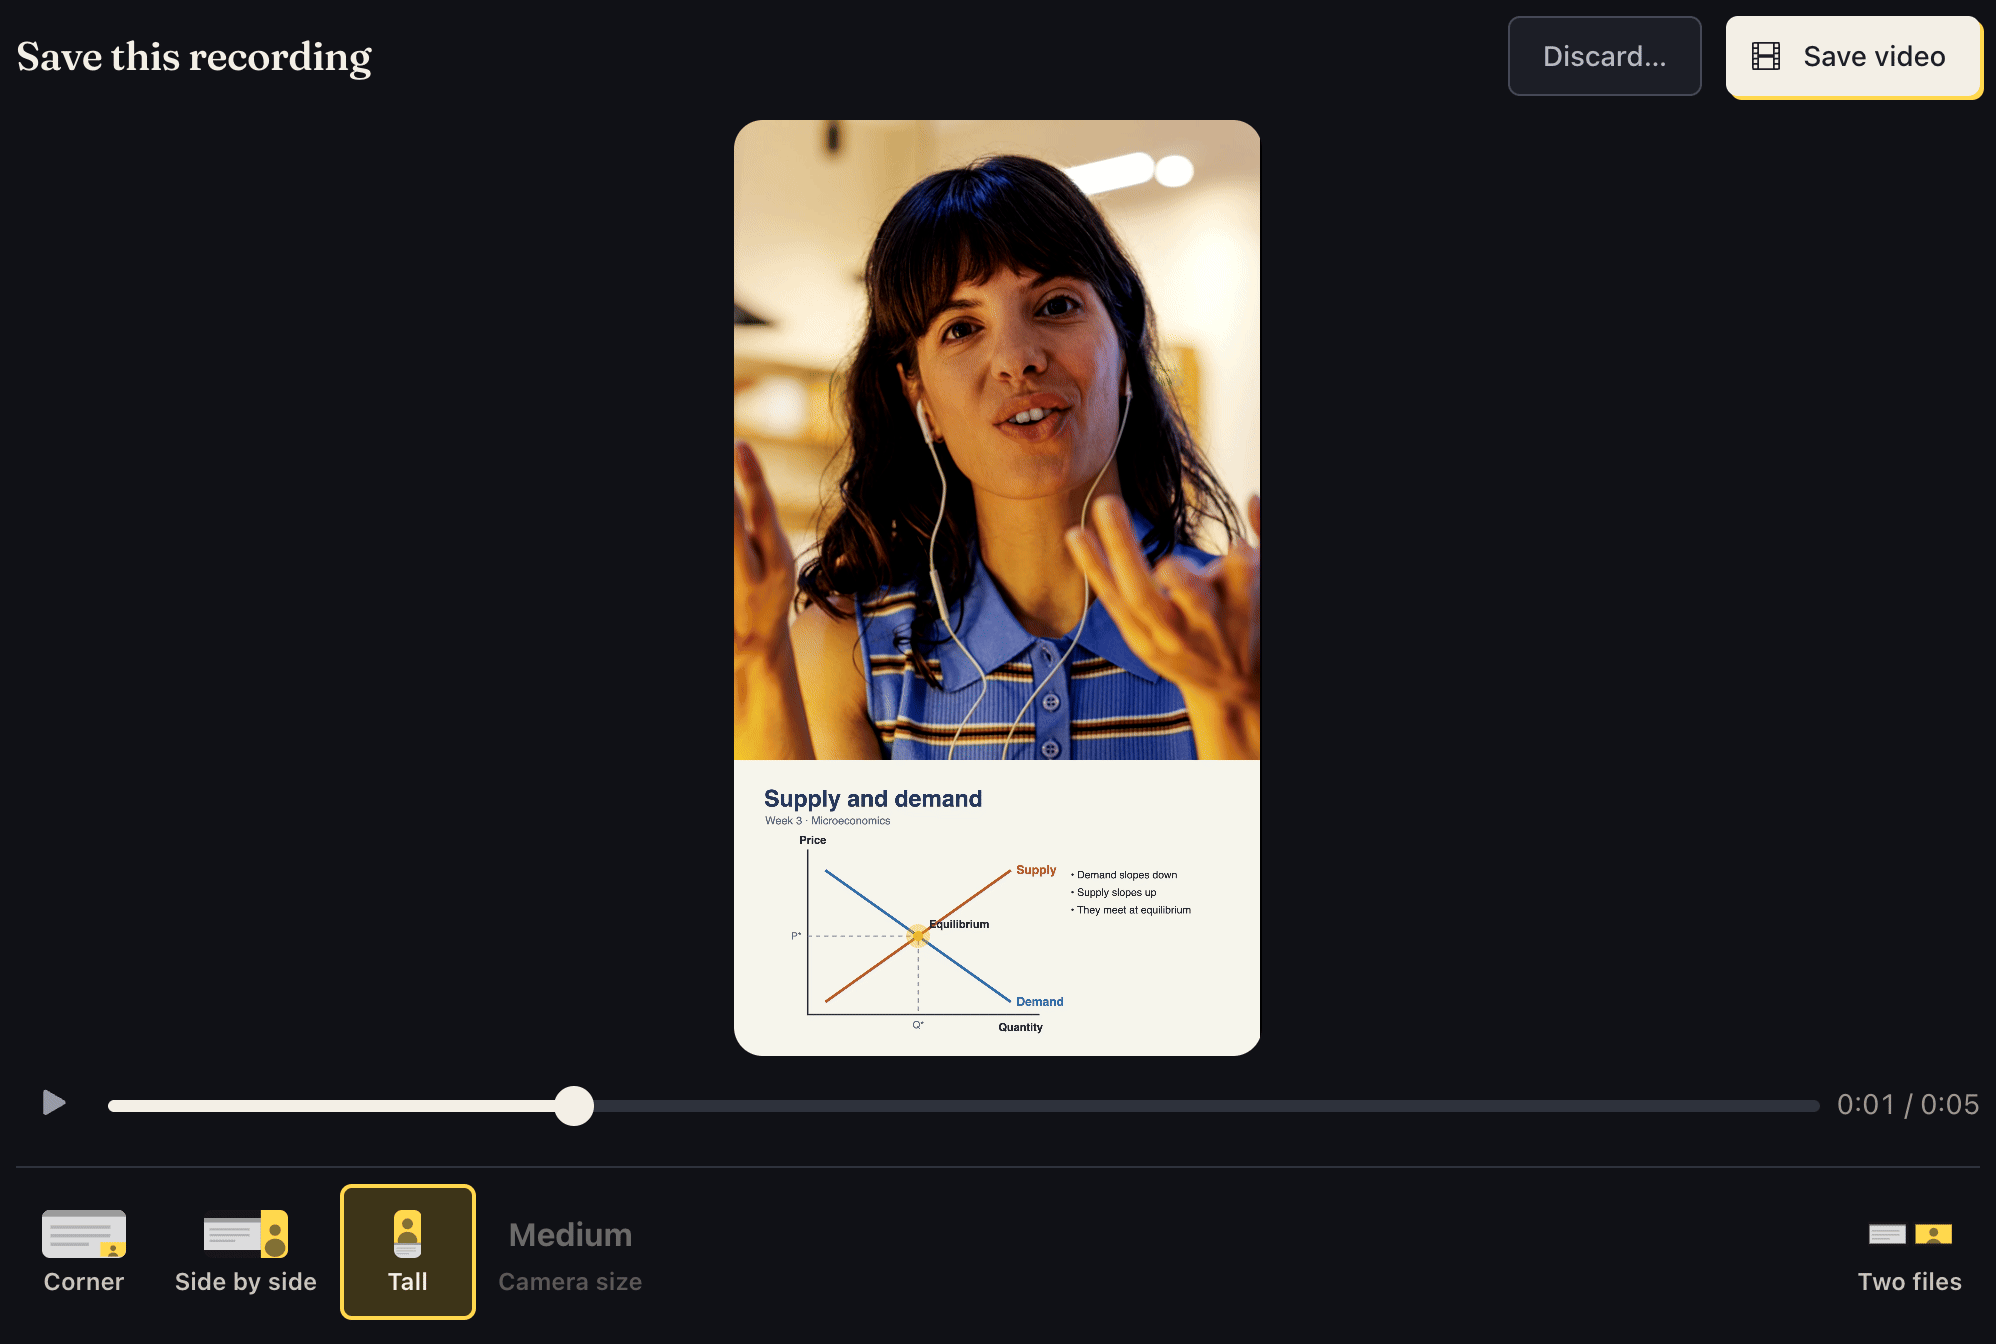
The screen is never cropped; any space around it is black. The camera keeps its shape in a corner, and is trimmed from the middle to fill a column or the top or bottom of a tall video. A video is at most 1920 pixels on its long side (1080 × 1920 when tall), at 30 frames a second. The sound is your microphone, mixed with the computer's sound if you recorded it.
Save video makes the video. It takes a moment (a bar shows how far along it is, with Stop to give up). The two recordings then go to the Trash, so you can still get them back from there. Save two files is quick: the two are saved as they are. Either way, the result opens in Video. The way you saved, the layout and the size are remembered for next time.
Discard… asks first, then puts both recordings in the Trash, and you're ready to record again.
Leaving before you save
Going somewhere else before you save (something in the library, or Add media) asks Save this recording first?: Save as one video (in the layout picked), Keep two files, Discard, or Cancel to stay.
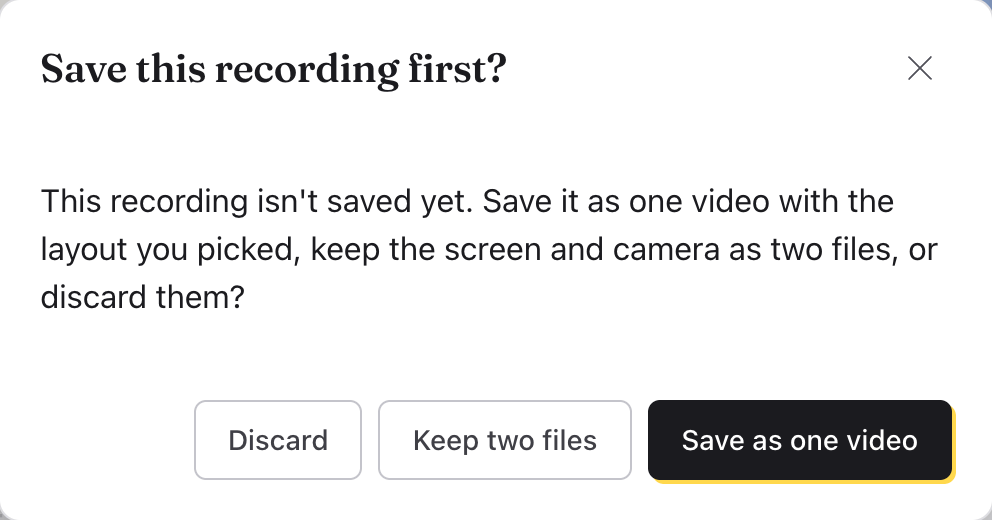
If the app or the browser closes first, nothing is lost: the next time the app opens, the two recordings are in Video, as two files ending in " - Screen" and " - Camera".
Desktop app and browser
- The desktop app makes one video with FFmpeg, built in, as an MP4 (H.264) that plays almost anywhere.
- A browser makes it with its own video tools: an MP4 (H.264) where it can, otherwise a WebM. A browser that can't make video at all greys out One video ("Not in this browser"); save Two files there. It works in the Lectern app for computers and phones, and in a recent Chrome or Edge.
- In a browser, keep the tab open until the video is made.
- In some browsers a Region recording pauses while the Lectern window is minimized or hidden. The note at the top says so.
Going live with the screen and camera
On Windows, Linux and the Mac (untested on a Mac so far), Go live on… streams the screen and camera as you record them, drawn together in the Live layout picked before you start (the same pictures as One video; a tall one streams tall). That layout is then offered first when you save. See Live streaming.
Takes from before
Screen-and-camera recordings made with an earlier version were kept together as a "take" (a folder, shown as one item in Video). Click one, and the same finish step opens: save it as one video or two files, in the folder it was in. There's no Discard… there; delete it from the library as usual.
Audio only
An audio recording records just the microphone. The preview's place shows a microphone and Microphone only. Its quality is Microphone-only bitrate in Settings (128 kb/s unless you change it). It's saved in Audio.
After Stop
For the camera, the screen or audio, there's nothing to answer. (Screen and camera together is the exception: see One video or two files.) The recording is saved in Video (or Audio), in the folder shown in the bar, and opens, ready to play, cut, caption or put in a project.
Camera recordings are MP4 almost everywhere. The Linux app, and browsers that can't make MP4, make WebM. Audio recordings are WebM or MP4, depending on the browser or computer. The library shows each file's kind under its name.
Every one can be saved as MP4 (or audio as M4A) from Publish (Save a copy) in the desktop app. See Exporting and sharing.
In the desktop and phone apps, the file is tidied up as it's saved, so its length shows and it plays from any point.
Space on disk: when recording won't start, and when it stops by itself
A recording is written to disk as it goes. Before it starts, the app checks there's at least 1 GB free; if not, it says "Not enough free space to record", with how much is left.
While recording, it checks every 15 seconds. Below 500 MB, the recording stops by itself and is saved, so the disk never fills. A note in the corner says so ("Recording stopped and saved because only … of disk space is left.") until you close it.
In a browser, "free space" is what the browser lets this site keep, which can be less than the disk has. There's no limit on how long a recording can be, other than space.
Leaving while recording
Going somewhere else while recording (something in the library, or Add media) asks Stop recording? first: Keep recording stays, and Stop and save stops and saves it, then goes on. Recording the screen and camera together, it's Stop and choose how to save: you stay, to save the take as one video or two files.
If the app closes while recording
In the desktop app, everything recorded up to that moment is already on disk. The next time the app opens, it finishes the recording by itself, and it's in Video or Audio as usual.
In a browser, closing the tab or the browser while recording can lose that recording. Click Stop Recording first.
See also
Something here wrong or unclear? Tell us.