Help In depth
Editing media
Cutting video and audio, changing their speed and sound, cropping, turning and adjusting pictures, extracting a video's sound, and drawing on images in layers.
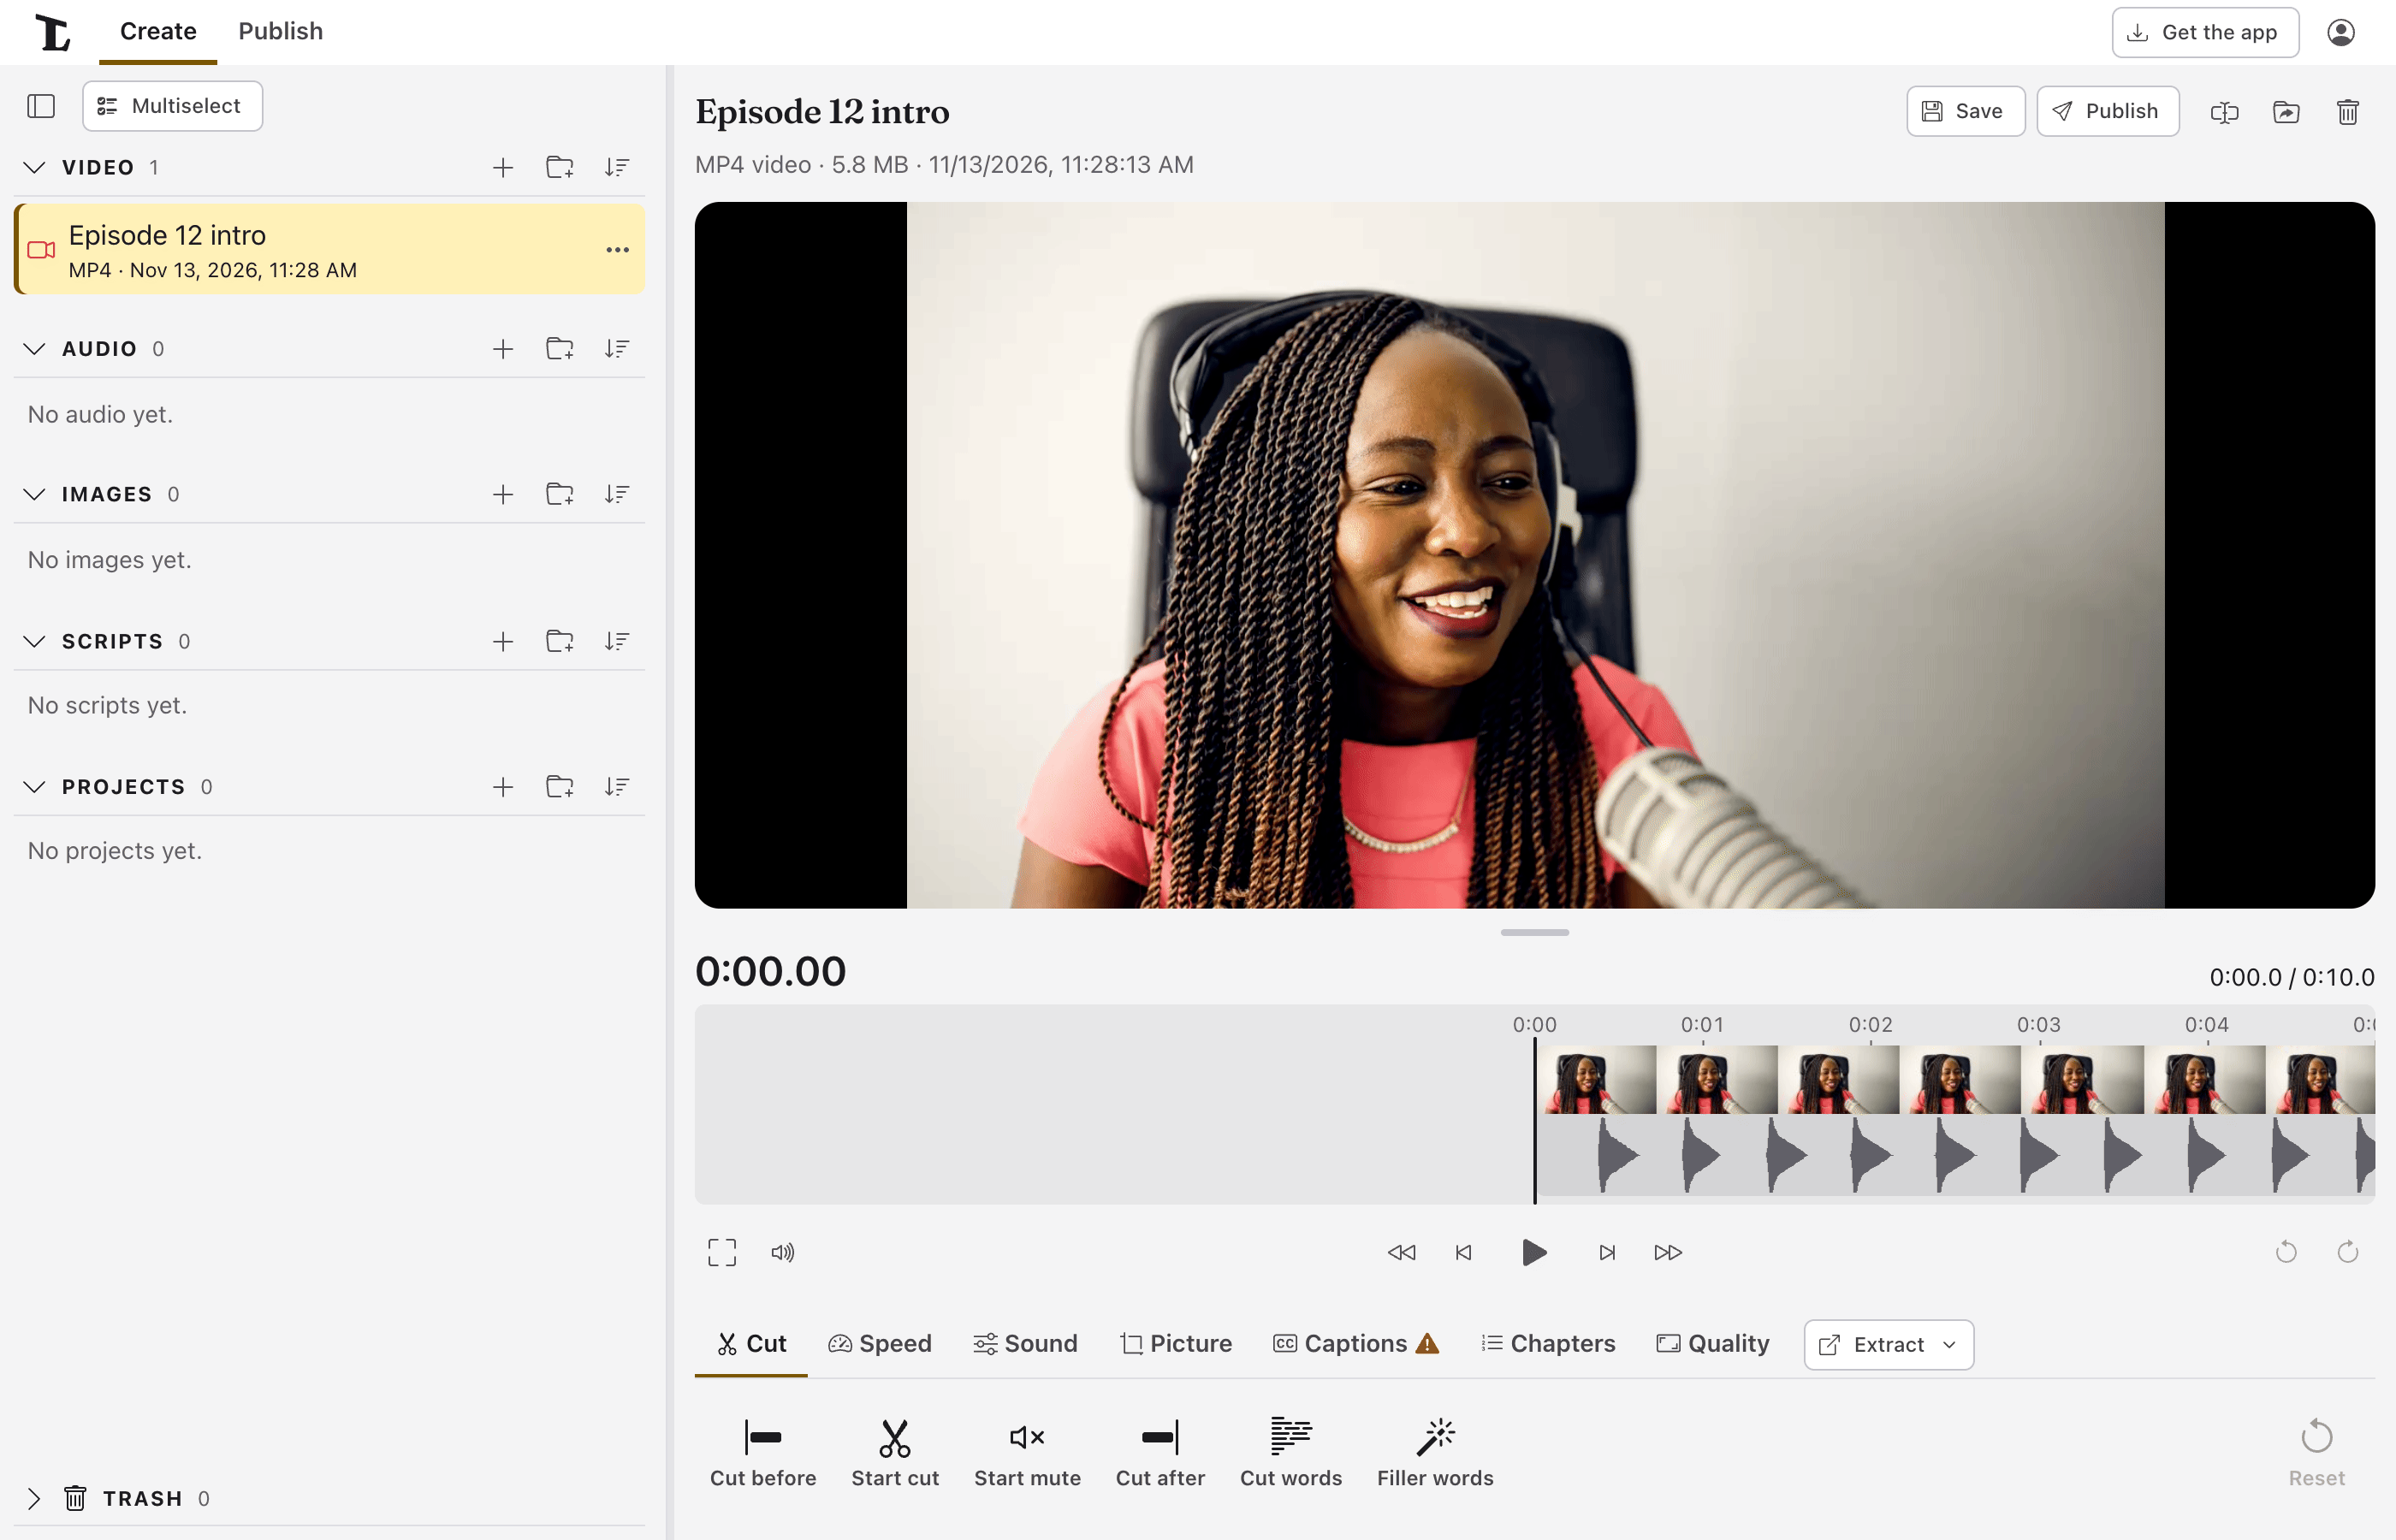
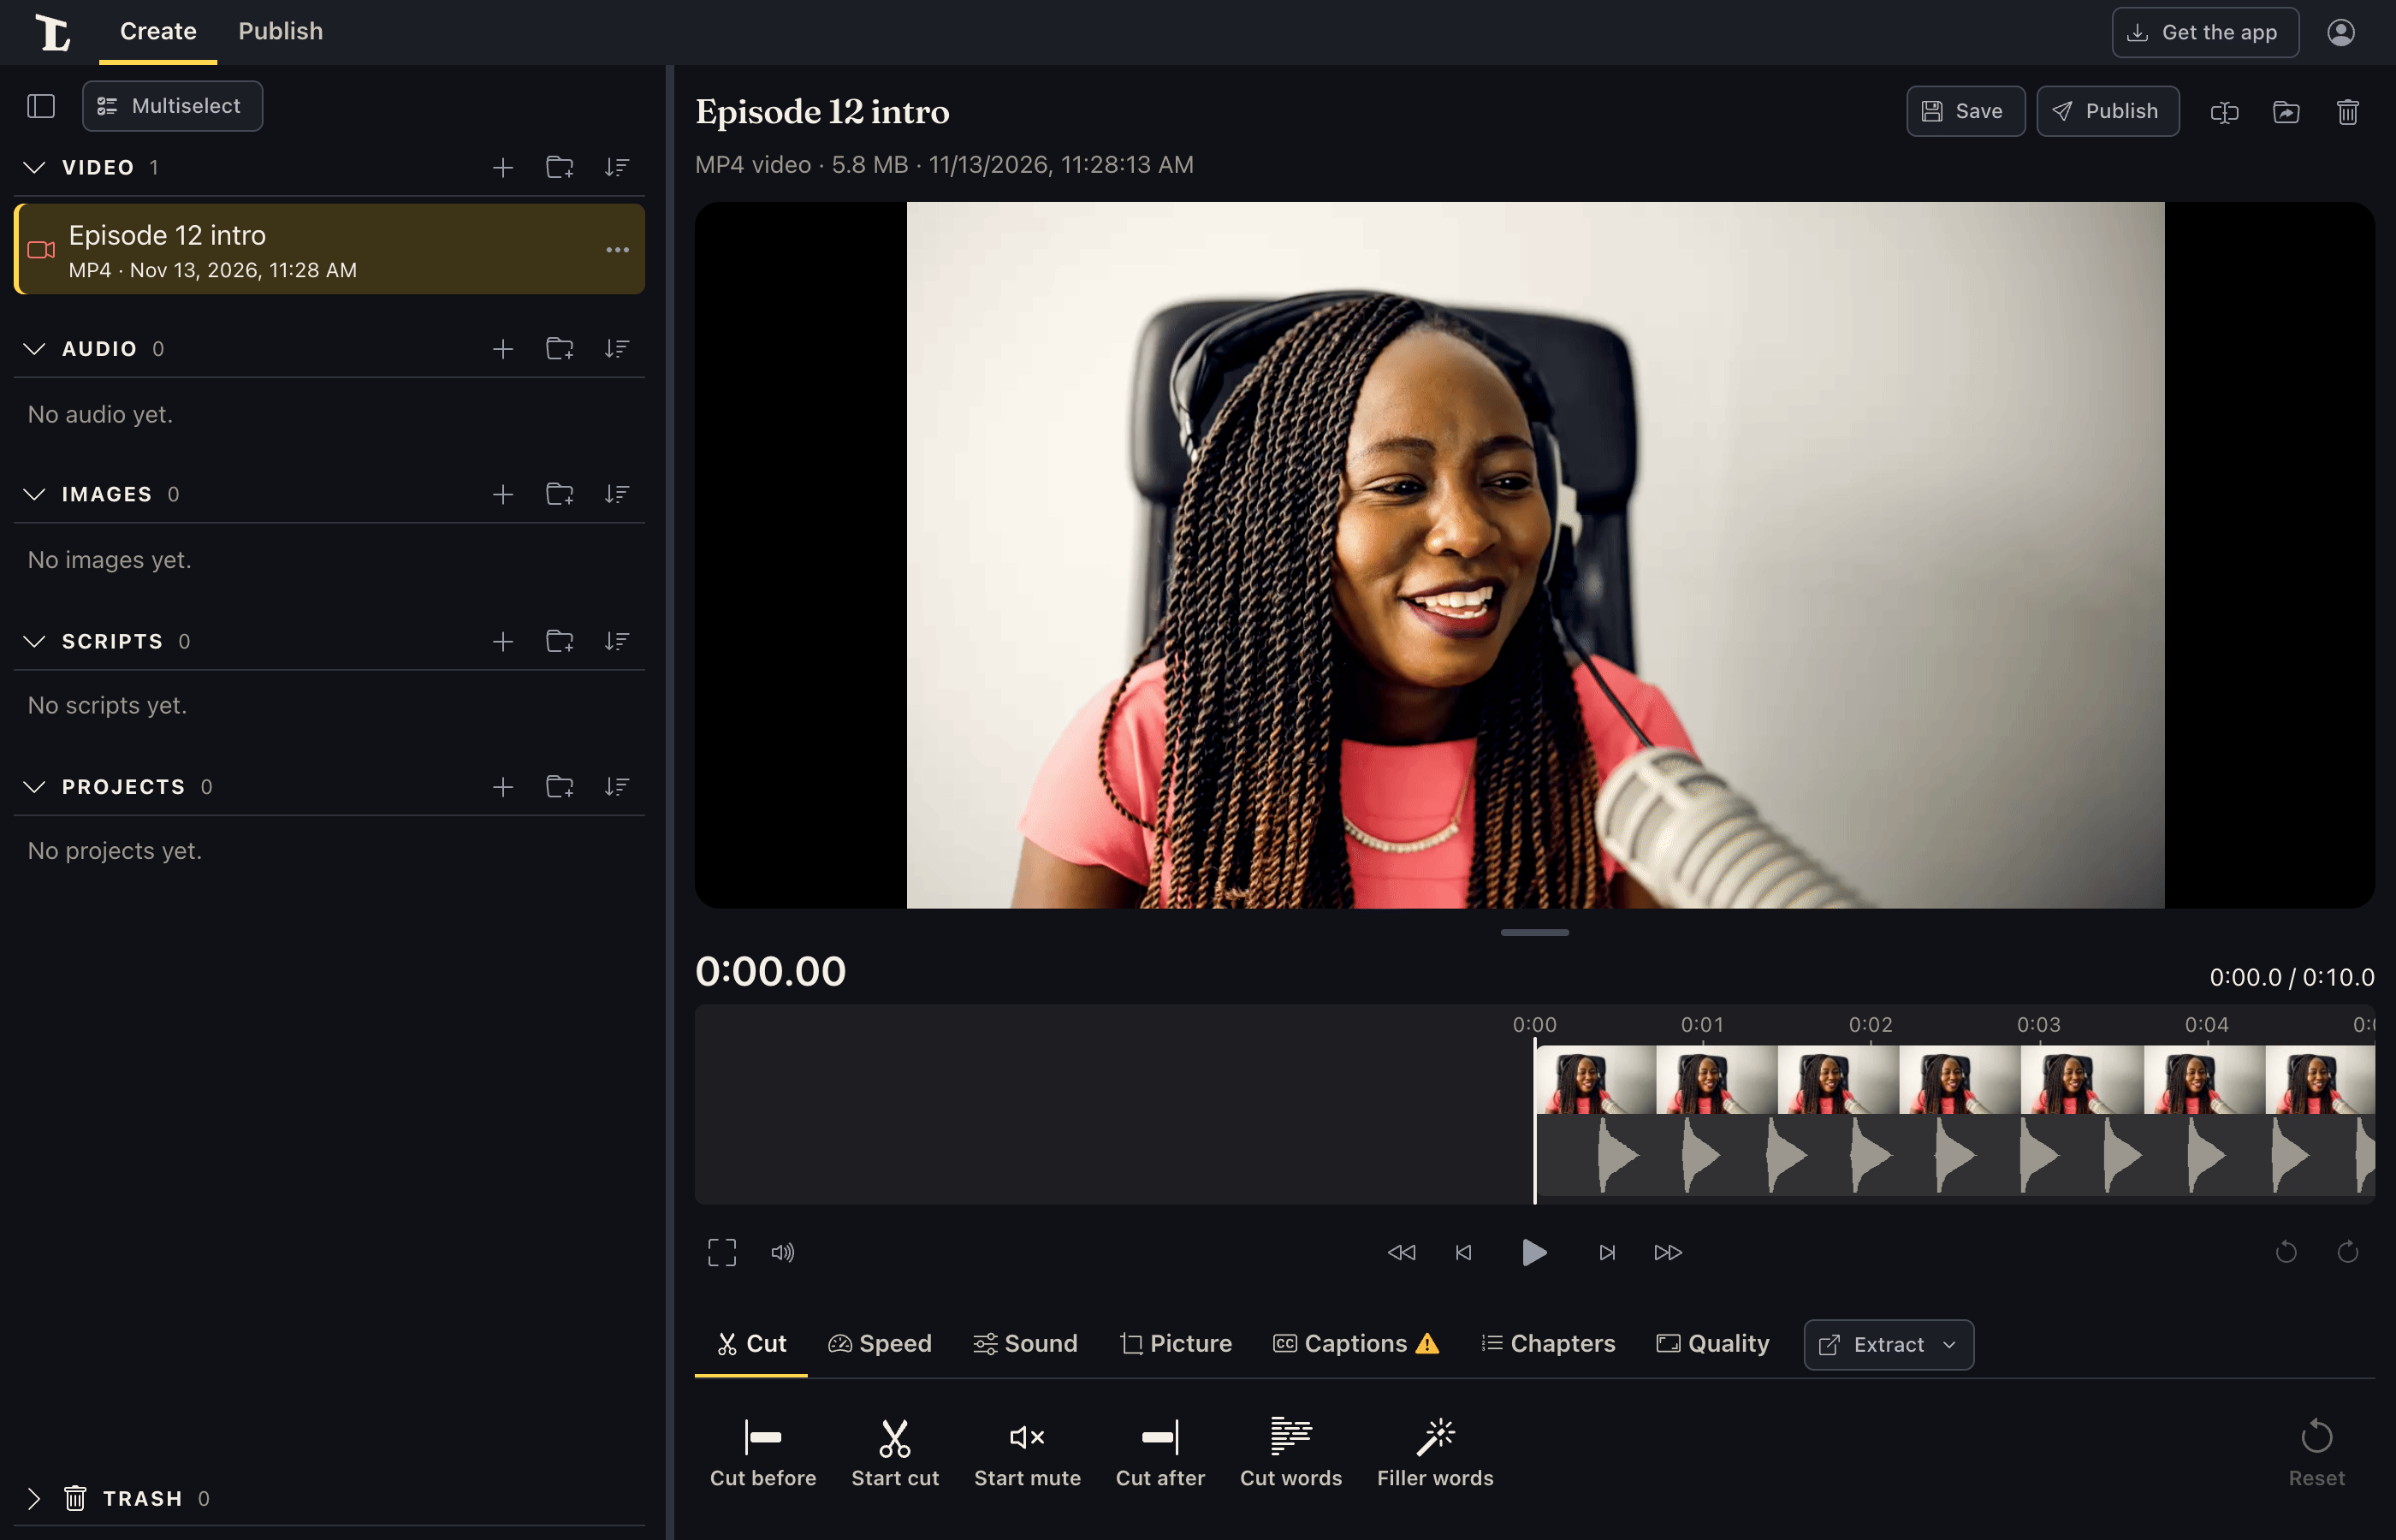
Open something in the library's Video, Audio or Images on the Create screen to edit it. Videos and audio have a row of tabs under the player, each with its tools under it:
- Cut (open to start with): cut before or after the playhead, start and end a cut or a mute, cut by the words of its transcript (Cut words), and mute (or cut) the "um"s and cut long pauses (Filler words).
- Speed (in the apps): faster or slower, picture and sound.
- Sound: loudness, noise, voice, bass, treble and pitch.
- Picture (videos, in the apps): crop, turn and flip, and brightness, contrast and saturation.
- Captions (Transcript for audio).
- Chapters: Add chapters (or Edit chapters), for viewers to jump to (see Chapters).
- Quality (videos, in the apps): a smaller copy.
Extract, after the last tab, has To audio file… (a video's sound, as a file of its own), Frame to image… (a video's picture at the playhead, as an image) and To script… (what's said, as a new script). Where the tabs don't fit, they scroll sideways (a mouse's wheel scrolls them too), Extract with them.
Each tab's tools are one line of buttons, always the same height, so the picture keeps its size whichever tab is open. Where they don't fit (a phone), the line scrolls sideways. A tool with more to set (a slider, or a few choices) opens it in the line's place, with a green OK after it that goes back to the buttons (or Esc); what you choose is kept as you choose it. On a touch screen, hold a button to see what it does without pressing it.
The grip between the picture and the strip shares the room between them: drag it up for a taller strip (bigger pictures and sound on it), or down for a bigger picture. Double-click it to put it back.
What comes of something (saved, made, or a problem) shows in a notice at the top, over everything, and what's under way (saving, transcribing) floats over the picture, so neither moves anything.
Save and Publish are at the top, beside its name, with Rename, Move to folder and Delete. Publish opens the Publish tab with the file picked, to share, save or post it (see Exporting and sharing). The player's play button plays it as it will be saved, with your changes (see below).
Undo and Redo are at the right of the play buttons, and Reset is at the end of the Cut tab's line: it puts back every cut and mute. Undo and Redo go through every change in turn (Undo takes back a Reset too), and nothing changes in the file until you Save.
On a computer, captions, chapters and the transcript you cut by open in the pane on the left, in place of your files, beside the player; saving or closing them brings the files back. On a phone or a narrow window they open under the strip, in place of the tools.
Images have their own tabs, in the same way.
Cutting video and audio
Cut mistakes out of a recording goes through it step by step. In short:
- The strip under the player shows the recording's pictures and sound, moving under the playhead in the middle. Drag it (or the space either side of it) to move through the recording, or click a moment to jump there.
- Under the strip, either side of play: a frame back or forward (, and .), and further out, 10% of the recording back or forward, for getting around a long one quickly. Each says what it did for a moment at the top of the screen ("+10%", "−1 frame").
- In the Cut tab, Start cut marks where a cut starts, and End cut where it ends (X does both, and goes to the Cut tab if another is open). Esc lets go of a cut you've started.
- To silence a part instead of cutting it: Start mute, beside Start cut, marks where it starts, and End mute where it ends (M does both, and goes to the Cut tab too). Its sound is silenced and the picture stays, so nothing moves. A cut you've started can be muted instead (Mute instead, M), and a mute you've started cut instead (Cut instead, X).
- Cut parts are hatched on the strip; muted parts are shaded, with a dashed edge. Click one to put it back, or to unmute it.
- Cut before and Cut after cut everything before the playhead, or everything after it. Undo (Ctrl Z) takes back the last change, Redo (Ctrl Shift Z) puts it back again, and Reset puts back every cut and mute. Going to another tab keeps the cuts.
- The time under the strip says how long the recording is, and how long it will be after cuts.
- While there are changes, the player's play button plays what's kept, as it will be saved: it skips the cuts and is silent where it's muted. To watch a cut part again, click it on the strip to put it back.
Filler words and pauses
Filler words, in the Cut tab, finds "um"s, "uh"s and long pauses from the recording's transcript, and marks them for you to look over: filler words muted (or cut), pauses cut.
- Filler words finds "um", "uh", "er", "hmm" and the like (in the
recording's language: English, Spanish, German, French, Italian, Dutch
and Portuguese have their own).
- Mute them (the default) silences each one, from its start to its end and a hair either side, with a quick fade so it doesn't click. The picture stays and nothing moves, so it doesn't jump.
- Cut them cuts each one out with the quiet around it.
- Pauses cuts pauses Longer than 0.75, 1, 1.5 or 2 seconds, and the quiet before the first word and after the last.
- A little of each pause is left in each side of a cut (0.15 seconds), so what's kept doesn't run together. Neither a cut nor a mute goes into a word.
- It says what it found, for example "3 filler words muted, 2 pauses cut, 0:02.4 shorter". Mark adds them as ordinary cuts and mutes, which you can click one at a time to put back or unmute. Undo takes them all back. Nothing changes until you Save. Saving over the original with cuts deletes its transcript and captions, as it always does; with only mutes, the times don't change, so they're kept (the filler words are still in their text).
It works from what's said, with a time for every word. Whisper, which transcribes, leaves most filler words out of a transcript, so in the Lectern app for computers and phones it listens for them on their own:
- With no transcript, Find them listens to the recording, filler words and all, and finds the pauses from that too.
- With a transcript, the pauses are found from it right away, and Listen for them under Filler words listens for the "um"s. It takes about as long as transcribing.
- What it hears is kept beside the recording, so it's there next time. The recording's transcript and captions stay as they are, without the "um"s. Stop (or closing it) stops listening.
- The app times each word by where it's heard in the sound, so a pause is between words and an "um" is just the "um". What it heard before it did (before November 2026) could run a word on into the pause after, or sit on the words beside: it asks to Listen again. In Cut words, an older transcript has Transcribe again for the same reason.
In a recent browser on a computer, it uses the recording's transcript (Transcribe it makes one if there's none), which leaves most filler words out: it finds the pauses, and says so if it finds no filler words. In a phone's browser, it says where it works.
The speech recognizer (Whisper) often leaves "um" and "uh" out of what it writes. If it found none, the window says so: there may be some all the same, and cutting the pauses where they were often takes them out.
Cut by the words: Cut words
Cut words, in the Cut tab, shows what's said in the recording, so you can cut it by its words, as you'd edit text. On a computer it opens in the pane on the left, in place of your files, and Close brings them back; on a phone it's under the strip. Press Cut words again to hide it. The app remembers which you chose, and shows it whenever the Cut tab is open.
- Tap a word to play from it. It's picked too: tap another word to pick everything from the first to the second. Tap the picked word again to let go of it, or press the circled ✕ (or Esc).
- With a mouse, you can also drag across words, or Shift+click to pick up to a word. With the keyboard, the arrow keys move along the words, and Shift+arrow picks them.
- Cut (or Delete or Backspace) cuts the words picked. The cut goes in the quiet between words, leaving a little of it each side (up to 0.15 seconds), so no word is clipped and what's kept doesn't run together.
- Cut words are struck through. Tap one to pick the stretch that's cut, then Put back to bring it back; tap it again to pick just that word.
- The word being said is underlined, and the text scrolls to keep it in view while it plays.
They're the same cuts as the others: cuts made on the strip, with Start cut and End cut, or by Filler words show struck through, words cut here are hatched on the strip, and Undo undoes either. A word counts as cut when its middle is.
It needs a transcript, as Filler words does: if there's none, Transcribe it makes one (in the apps or a computer's browser).
Speed: faster or slower
The Speed tab plays a recording faster or slower, from 0.25× to 4×: a video's picture and its sound together, its voice at the same pitch. 0.75×, 1×, 1.25×, 1.5× and 2× are one press each, each with how long it'd be under it (what's kept, after any cuts); Other opens a slider for any speed in between. Play plays it at that speed, from the playhead on, as it'll be saved (see below).
A speed change moves its captions and chapters to match when it's saved, as a cut does (see below). The Speed tab is marked while it's changed; Undo takes it back. It needs FFmpeg, as the sound does.
Sound: loudness, noise, voice, bass, treble and pitch
The Sound tab fixes or changes how a recording sounds (a video's sound too). Reduce noise, Voice, Bass, Treble and Pitch each open their choices (or a slider) in the line's place; a tool that's changed is highlighted.
- Loudness evens out its loudness, to the level most online video and podcasts use (−16 LUFS), so it's neither too quiet nor too loud. It's measured over the whole recording first, so it lands on the level.
- Reduce noise: Light, Medium or Strong, for steady noise: a fan, air conditioning, a computer, the hiss of a quiet room. Light leaves some of the room's sound in, for a natural feel; Strong takes out as much as it can, and can leave a voice sounding thin. In the desktop app it uses a noise filter trained on speech, which tells voices from noise; the phone apps use a simpler one. Nothing moves, so captions and a transcript still fit. Noise that comes and goes (a door, a dog, traffic going by) mostly stays, and so does music.
- Voice: Cut rumble takes out low rumble, bumps and the hum of mains power (50 or 60 Hz, such as a cable or a light can make); Clearer does that too, brings the voice forward, and evens out its quiet and loud parts a little.
- Bass and Treble: Less or More.
- Pitch, up to 12 semitones higher or lower. Its length stays the same.
While there are changes (here or to its speed), playing plays them: press Play (here, or the player's own) and you hear it with the changes from the playhead on, to the end, cuts skipped and at its new speed. It's made as it plays, the same way saving makes it, so what you hear is what you'll get. It starts in a moment, and jumping somewhere else starts it again from there. As recorded hears it as it is while it plays, to compare; press it again for the changes.
With Loudness on, the whole recording has to be measured, which can take a minute for a long one, so playing starts with a quick measure from where you are and switches to the whole's once it's done (on an iPhone or iPad it keeps the quick one). Its level can be a little off until then.
Each choice is kept as soon as you make it (a slider's when you let go); nothing changes in the file until you Save, which makes them with any cuts, in one go. The Sound tab is marked while there are changes. Undo (Ctrl Z) takes back the last choice; Reset, at the end of the line, puts all the sound settings back, leaving the cuts and the speed.
Saving over the original keeps its transcript and captions as they are when nothing is cut and its speed is the same. A speed change moves them to match the new speed, as a cut does (or deletes them, if Settings says to); its chapters move to match too.
Changing the sound needs FFmpeg, which comes with the app, so it works in the Lectern app for computers and phones; in a browser, the Speed and Sound tabs say so, with a link to get the app. On a Mac, the sound of a WebM video can't be changed (it can still be cut).
Picture: crop, turn and adjust a video
The Picture tab changes a video's picture, the same all the way through:
- Crop: a box shows over the video, with all of the picture under it, and its shapes in the line; OK puts the box away. Drag the box or its handles. The shape keeps it to Free, Original, Square, 16:9, 9:16, 4:3 or 3:4 (say, 9:16 to make a landscape recording into a Short, a Reel or a TikTok). Remove crop takes the crop away. With the box picked, the arrow keys move it, and Shift and an arrow make it bigger or smaller. You can play and scrub while you crop, to check the box frames every part.
- Turn left, Turn right, Mirror (left to right) and Flip (top to bottom), say for a phone video recorded sideways. A crop turns with the picture, so it keeps what it framed.
- Brightness, Contrast and Saturation, each a slider from −100 to +100. A video's Brightness makes the whole picture lighter or darker, up to twice or half as bright, so at the top very light parts turn white. (An image's Brightness lightens its middle tones instead, and images also have Warmth.)
The player shows the changes as you make them, as the video will be saved; outside Crop, it shows just what's kept. Each change is kept as you make it (a slider's when you let go), and Undo and Redo go through them along with the cuts and sound. The Picture tab is marked while there are changes. Reset, at the end of the line, puts the picture back as it was, leaving the cuts and sound.
Nothing changes in the file until you Save, which makes the picture changes with any cuts and sound changes, in one go. Nothing moves, so the video's transcript, captions and chapters stay as they are. A crop is gone from the file for good once it's saved over the original; use Save as to keep the original. Projects that use the video get the changed picture, and the steps that use it are marked for you to check.
Changing the picture needs FFmpeg, which comes with the app, so it works in the Lectern app for computers and phones; in a browser, the Picture tab says so, with a link to get the app. On a Mac, the picture of a WebM video can't be changed (it can still be cut).
Save over the original, or Save as
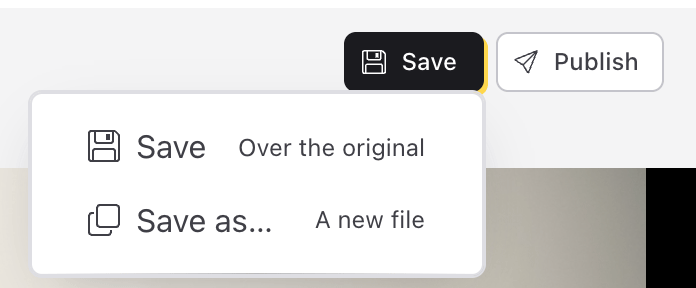
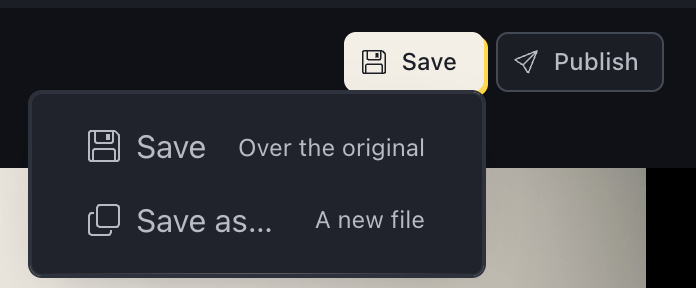
Save is green while there are cuts (or sound or picture changes) to save. Its menu has two choices:
- Save (Over the original). The app asks first: the parts you cut are deleted from the file for good. It isn't kept in the trash. If the recording has captions or a transcript, they move to fit: captions in what you cut go with it, the rest move up to where they now play, and a caption a cut only partly takes keeps the words still said. (To have them deleted instead, see Settings › Editing.) Projects that use the recording get the shorter version, which may shift what's timed to it there: the editor names them, under the recording's times and when it asks, and marks their steps that use it for you to check (see Changing a clip a project uses). Click Save over it to go ahead.
- Save as… (A new file). Give it a name (it starts as the name with "(edited)" after it) and click Save. The new file is saved beside the original, which stays as it is, and opens.
While it saves, a bar shows how far it's got; Stop stops it.
Going somewhere else with cuts not saved (another file, or Add media) asks Save changes?: Save as a new file saves them beside the original as "(edited)", Don't save lets them go, and Cancel stays. Reloading or closing the browser tab asks too. Publish asks the same first, as it shares and saves the file as it's saved.
Extract audio
Extract › To audio file…, under the open video, saves its sound as an audio file of its own, beside the video. It asks for a name first (the video's with "Audio" added, "Intro Audio", to start with; Cancel makes nothing), and doesn't open the new file, so what you're doing to the video carries on: a note under the player says where it went, with Open it. Extract audio in the video's ⋯ menu in the library does the same, named after the video, and picks the new file in the library when it's done.
Where it can, the app keeps the sound exactly as it is in the video (most recordings' sound becomes an M4A or an OGG file). It works in the browser, and in the desktop and phone apps.
Extract a frame
Extract › Frame to image… saves the video's picture where the playhead is as a JPEG in Images, beside the video. It asks for a name first ("Intro at 1m23s", to start with) and, like To audio file…, doesn't open it: the note that says where it went has Open it. It's the frame as the file is saved, at its full size: a crop or color change not saved yet isn't in it. It works in the browser and in the apps.
Quality: a smaller video
In the Lectern app for computers and phones, the Quality tab under a video makes it smaller (in a browser, it says where it works): Size (as recorded, or 1440p, 1080p, 720p, 480p or 360p, whichever are smaller than it), Quality (Draft (small file), Standard or High) and Frame rate (as recorded, or a lower one), each opening its choices in the line. It never goes higher than it was recorded: there's nothing more to add. Where there's nothing lower to pick (a 24 fps recording, say, as 24 fps is the lowest), its button can't be pressed (hold or point at it to see why). The end of the line says about how big the file will be.
Apply makes the file itself again with those choices: what you share, export or post from it then has that size too, and its captions, transcript and chapters still fit. It asks first, as it can't be undone:
- Make a copy first keeps the original as it was, beside it ("Talk (original).mp4"), with copies of its captions, transcript and chapters, then changes the file.
- Save over it changes the file without keeping the original.
Only MP4 and MOV files can be changed in place; for others (WebM), Apply makes a new MP4 beside it ("Talk (720p).mp4") and the original stays as it is.
Leaving the Quality tab with choices not applied asks first: Apply… or Discard changes. While it's being applied, the other tabs wait (Stop stops it).
Captions, and a script from what's said
Under a video or audio file:
- The Captions tab edits captions by hand (Edit captions), makes them From a script or Automatic, and checks them (Check captions): a check mark on the tab means they've passed. An audio recording has a Transcript tab instead (with no picture, there's nothing to show captions on): the same choices, and a share link shows it under the player. See Add captions and Captions, in depth.
- Extract › To script… makes a new script of what's said, in Scripts. It asks for its name first (the recording's, to start with), and doesn't open it: a notice says it's made, with Open it.
On a computer, captions you're editing open in the pane on the left, in place of your files; Save captions or Cancel brings the files back. On a phone they open under the strip, in place of the tools.
Both work in the apps and in a computer's browser. In a phone's browser, apart from Edit captions, they say they need the app and offer the download.
Images: crop, turn, resize and adjust colors
An image opens with its tools as tabs under it, as a recording's are: Crop, Turn, Adjust and Resize, then Draw, Select and Layers (see Drawing on an image), each with its line of tools under the row. Preview, Undo, Redo and Reset (put everything back) are at the end of the row. Save and Publish are at the top, beside its name. What you do is kept as you do it, whichever tab you go to next; nothing changes in the file until you Save.
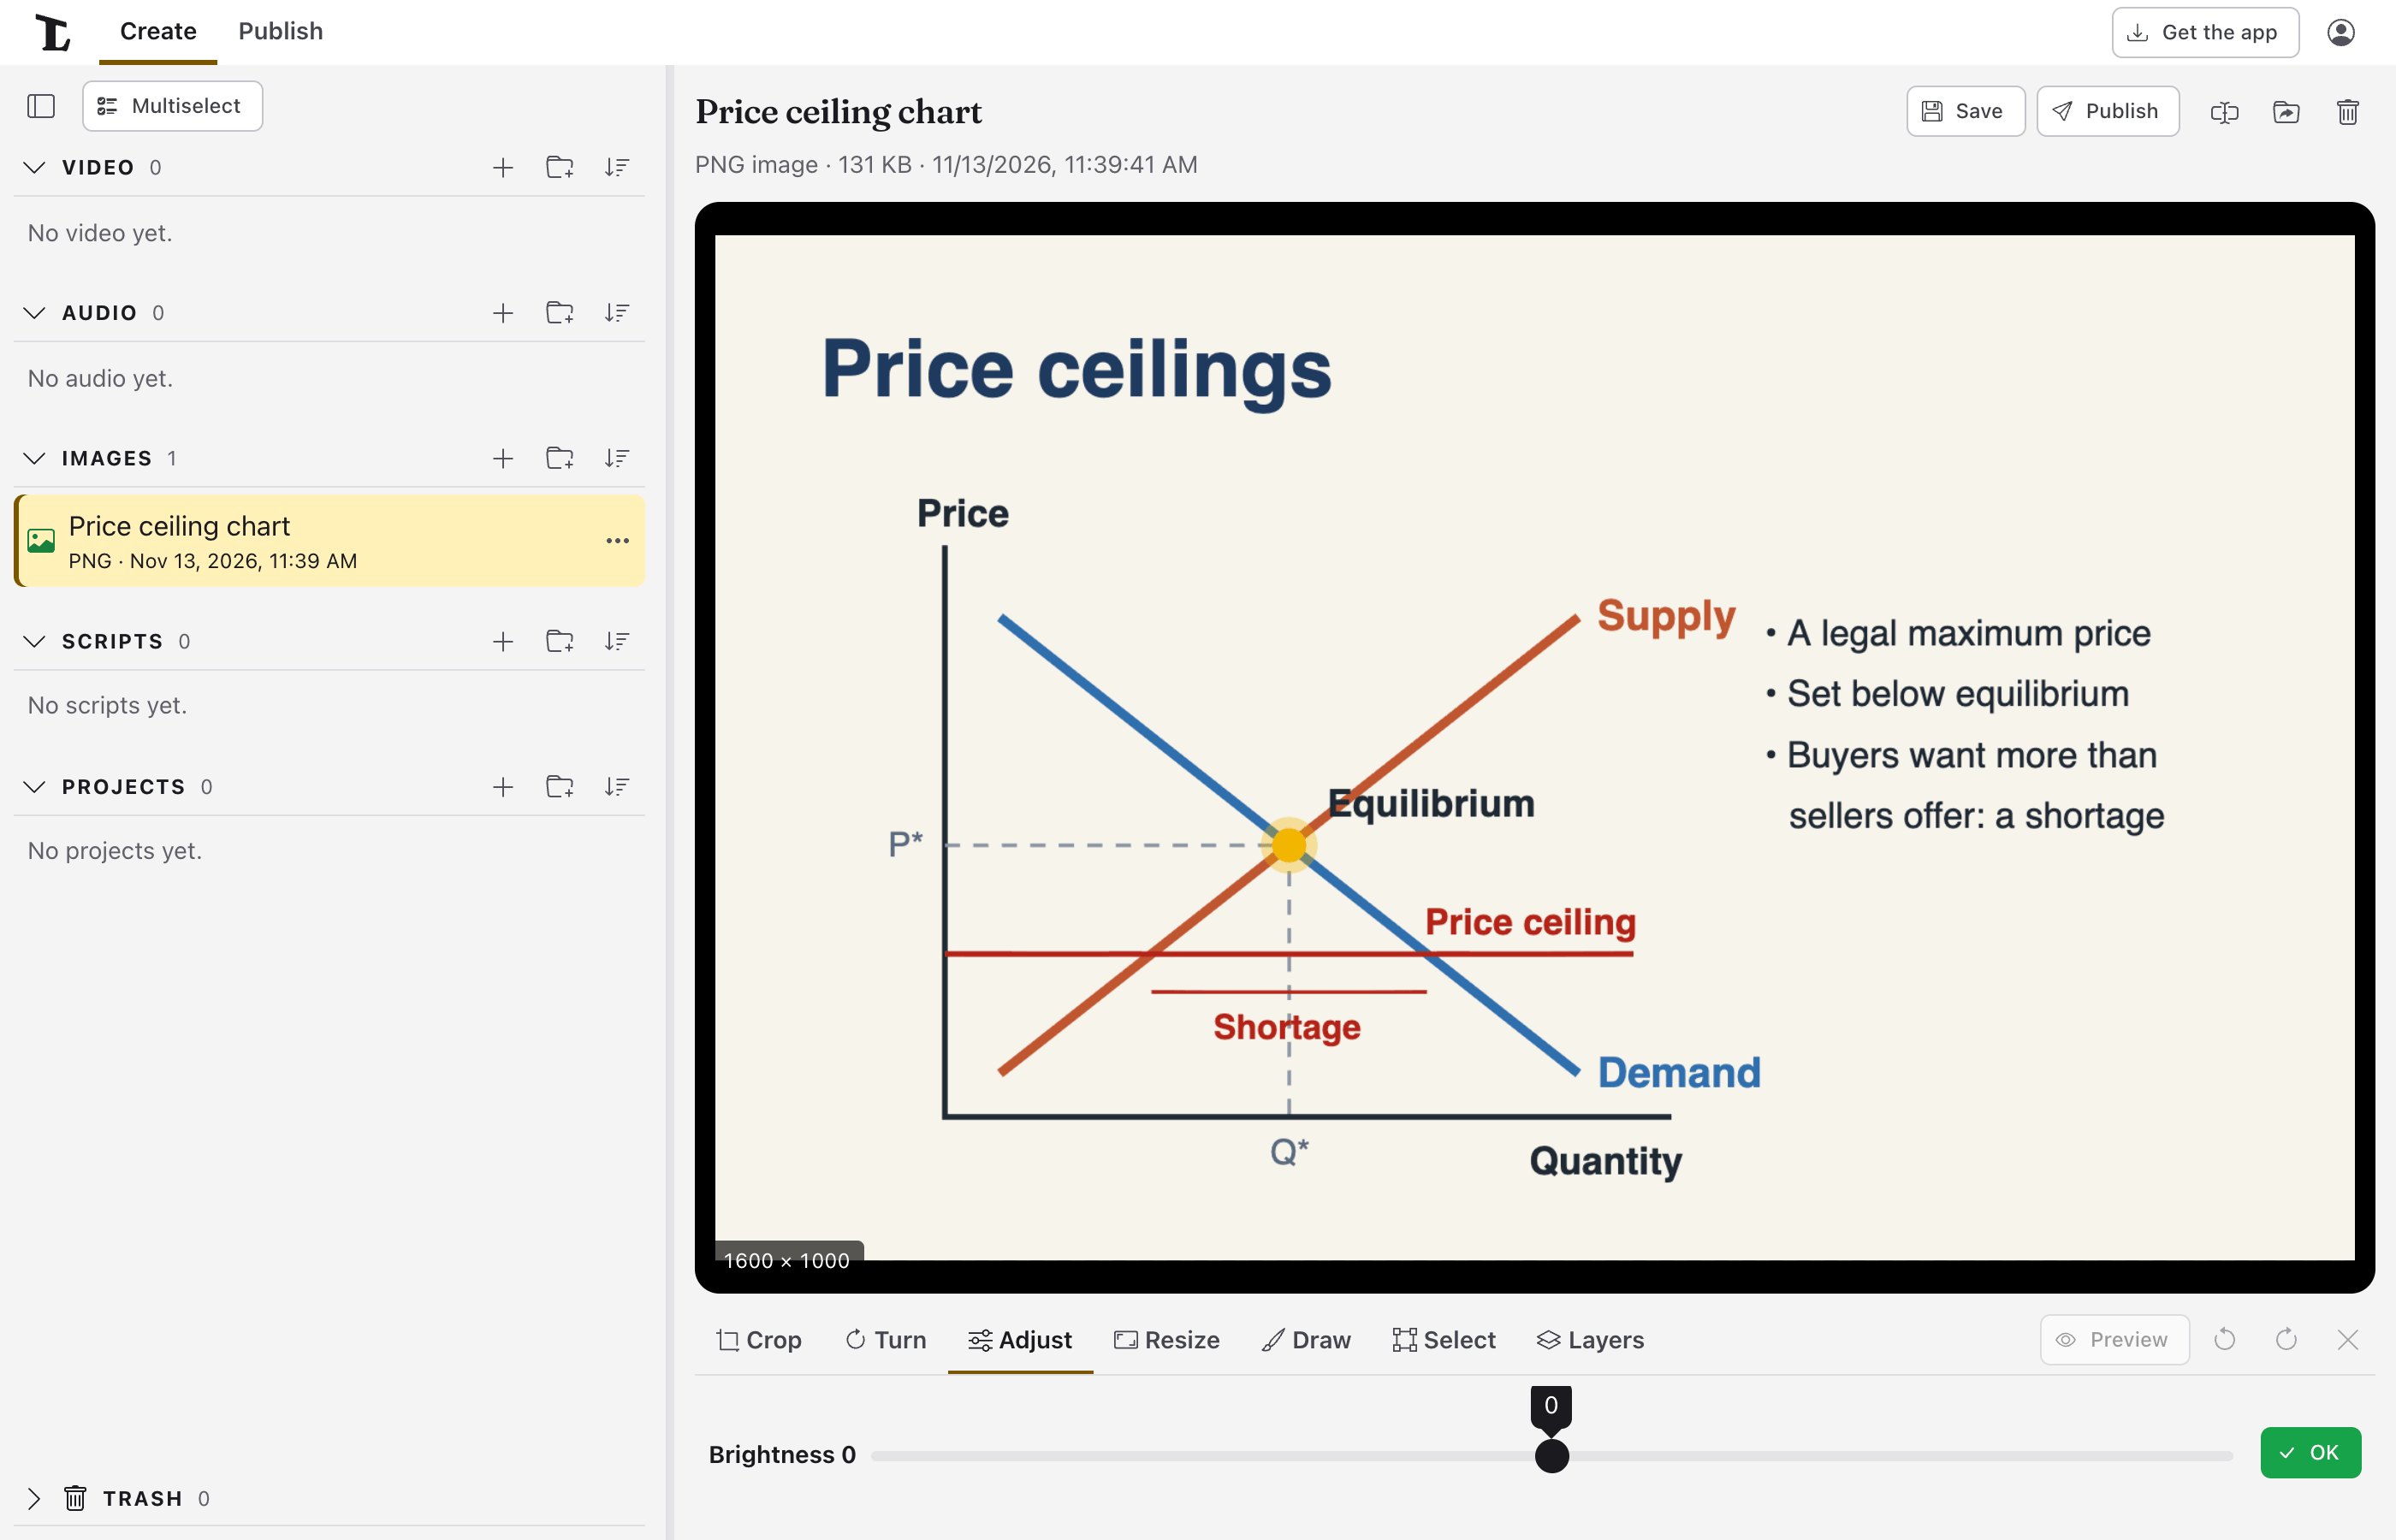
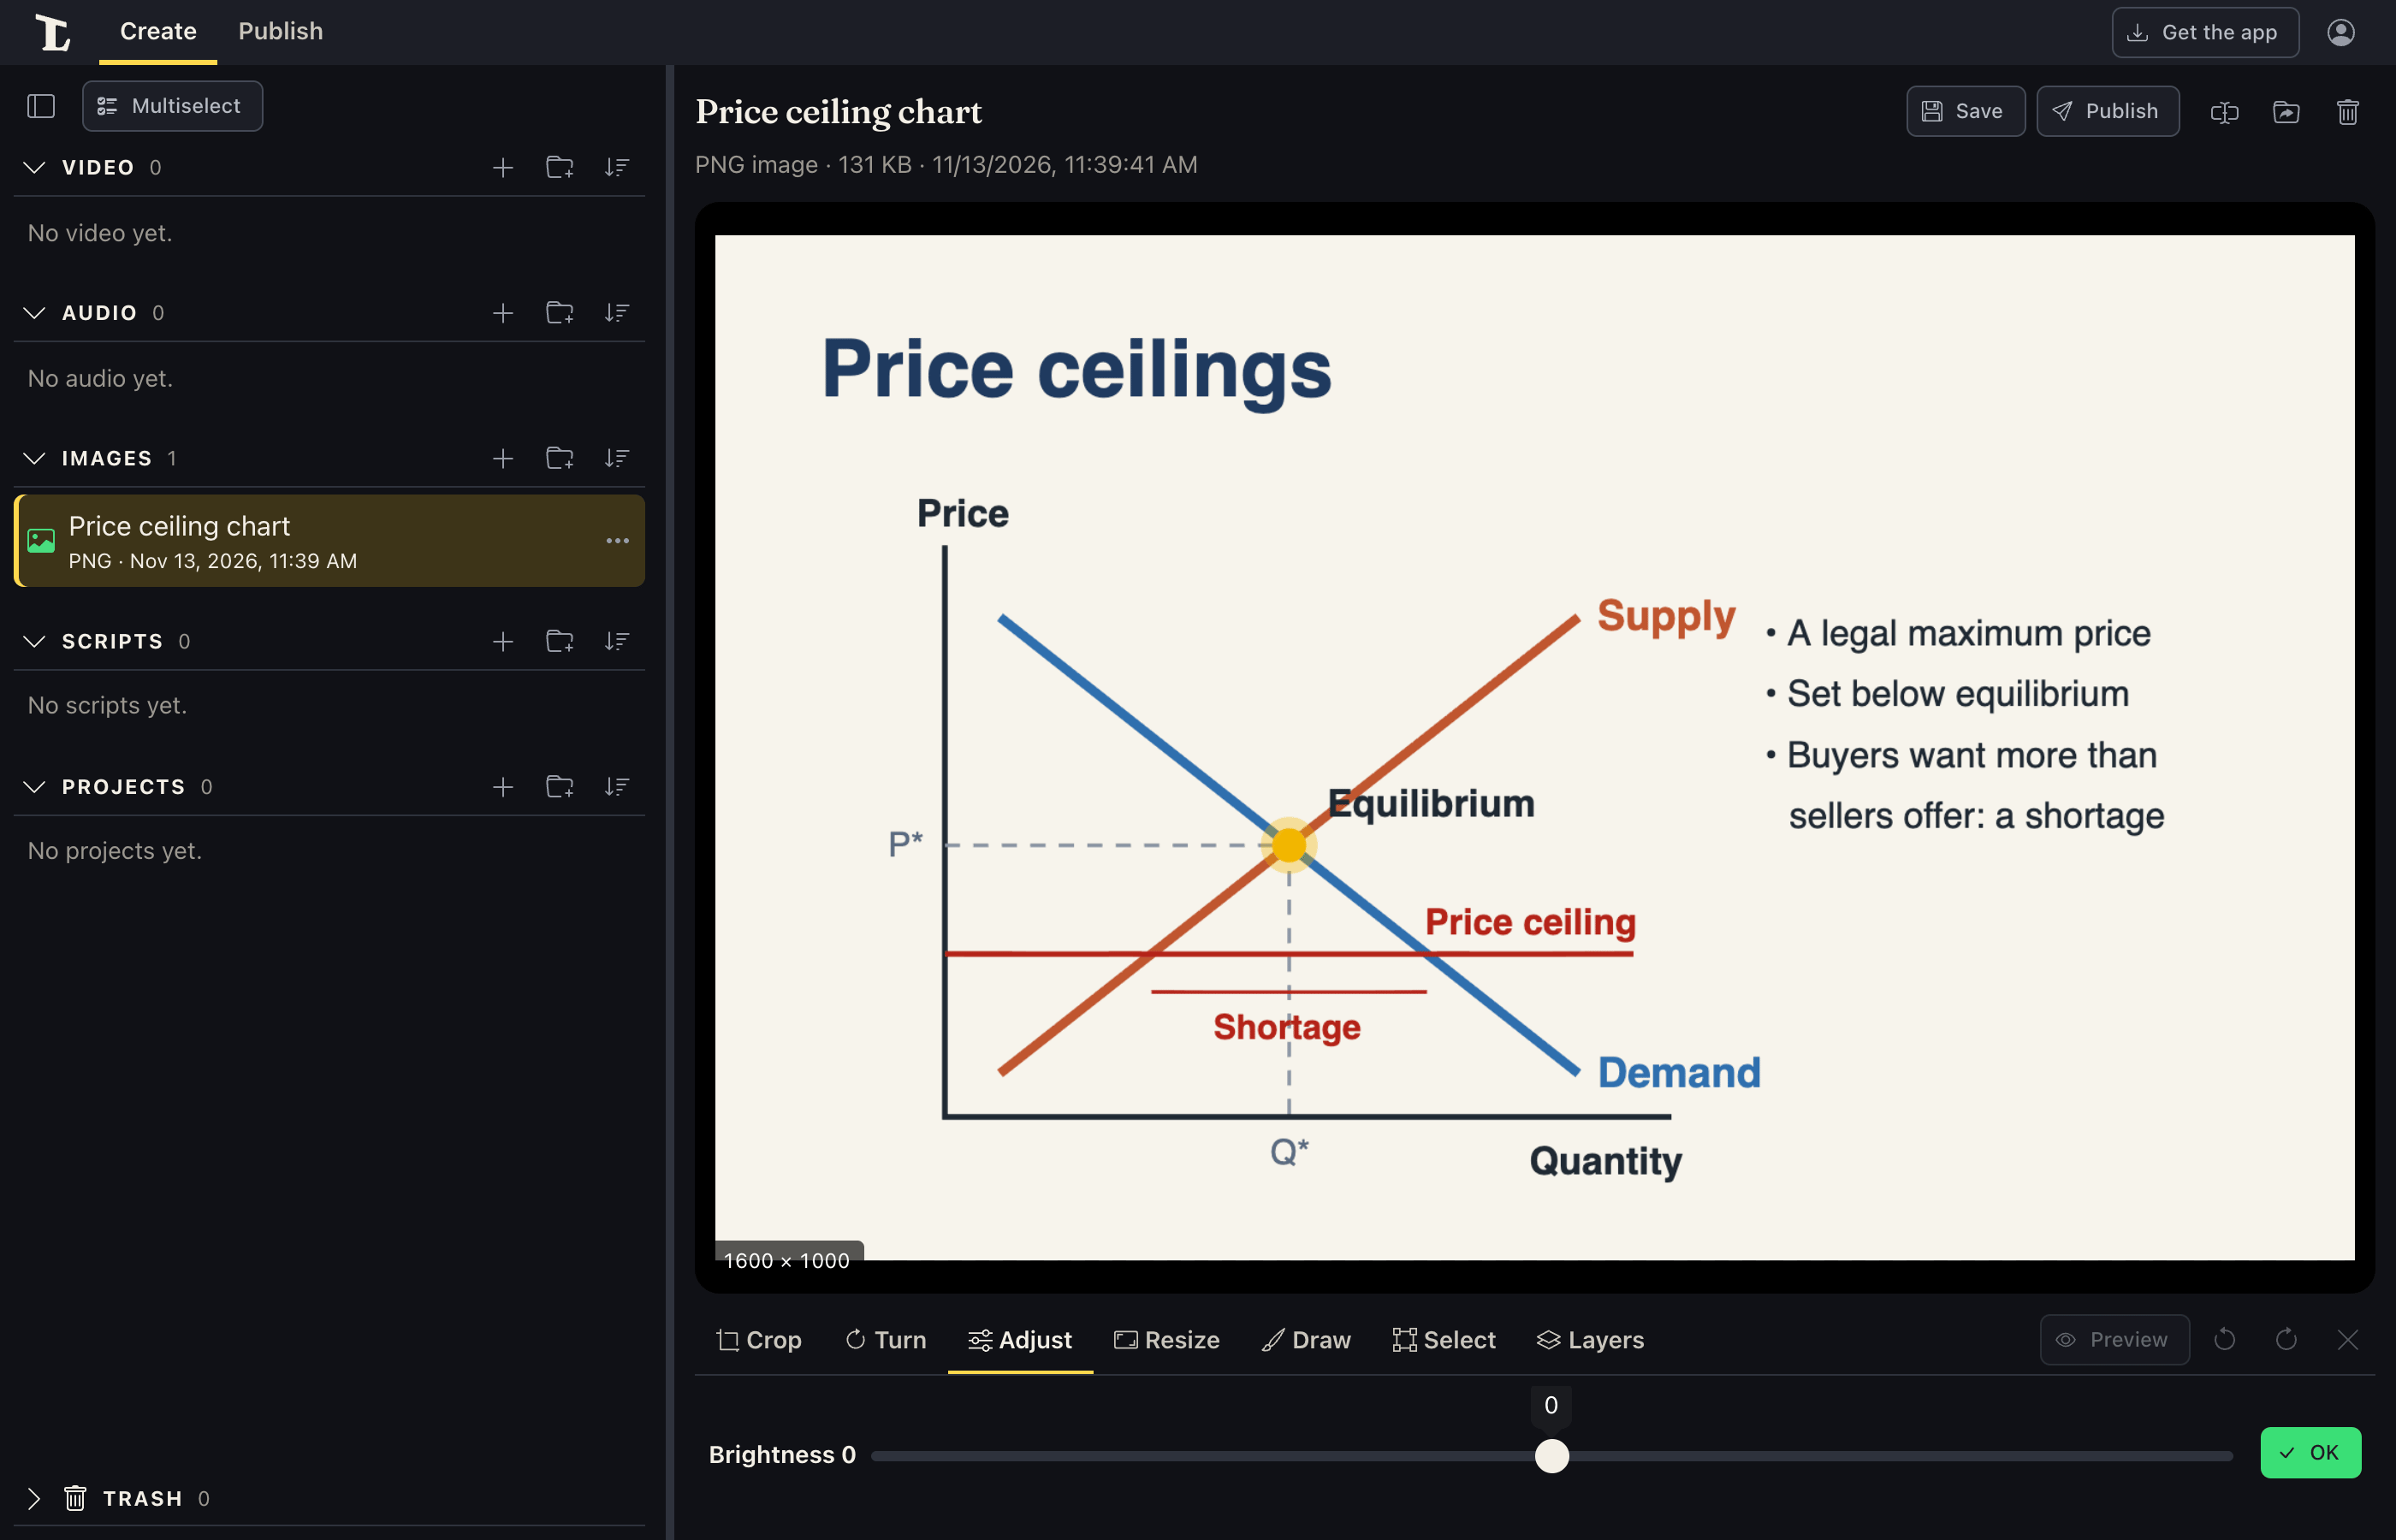
- Crop: drag the box or its handles. The shapes in the line keep it to Free, Original, Square, 16:9, 9:16, 4:3 or 3:4. Remove crop takes the crop away. With the box picked, the arrow keys move it, and Shift and an arrow make it bigger or smaller.
- Adjust: Brightness, Contrast, Saturation and Warmth, each a slider from −100 to +100. Going to another tab makes the colors part of the picture (its sliders go back to 0), so drawing on it shows them as they are. Undo brings the sliders back.
- Resize: 25%, 50%, 75% or 100% (each says the size it makes), or the last button, its size now, to type a Width or a Height in pixels (the other follows, keeping the shape).
- Turn: Turn left, Turn right, Mirror (left to right) and Flip (top to bottom).
- Undo (Ctrl Z) takes back the last change, Redo puts it back again, and Reset puts back all of them.
The corner of the picture says how big it is now and how big it will be once saved. Preview shows just what's kept, as it will be saved; End preview goes back.
Save works as it does for recordings:
- Save (Over the original) replaces the picture with the edited one, for good, after asking. Projects that use it get the edited version.
- Save as… (A new file) asks for a name and a Format: PNG (exact, and keeps what's see-through), JPEG (smaller, for photos; what's see-through becomes white) or WebP, where the browser can make it.
Edits not saved are asked about on the way elsewhere, as cuts are.
PNG, JPEG and WebP pictures can be saved over. Others (GIF, for one) can only be saved as a new file. A moving picture, such as an animated GIF, is saved as a still of its first frame.
Drawing on an image
Draw on any image with its Draw, Select and Layers tabs, or start a blank one: Images' + › New drawing asks for a name, a size (each shown as its shape: Wide 1920 × 1080 as a video, Tall, Square, or Other to type one) and its Base layer (See-through, White or Black), then opens it on Draw. A see-through drawing saved as a PNG goes over a video in a project as it is, with the video showing through.
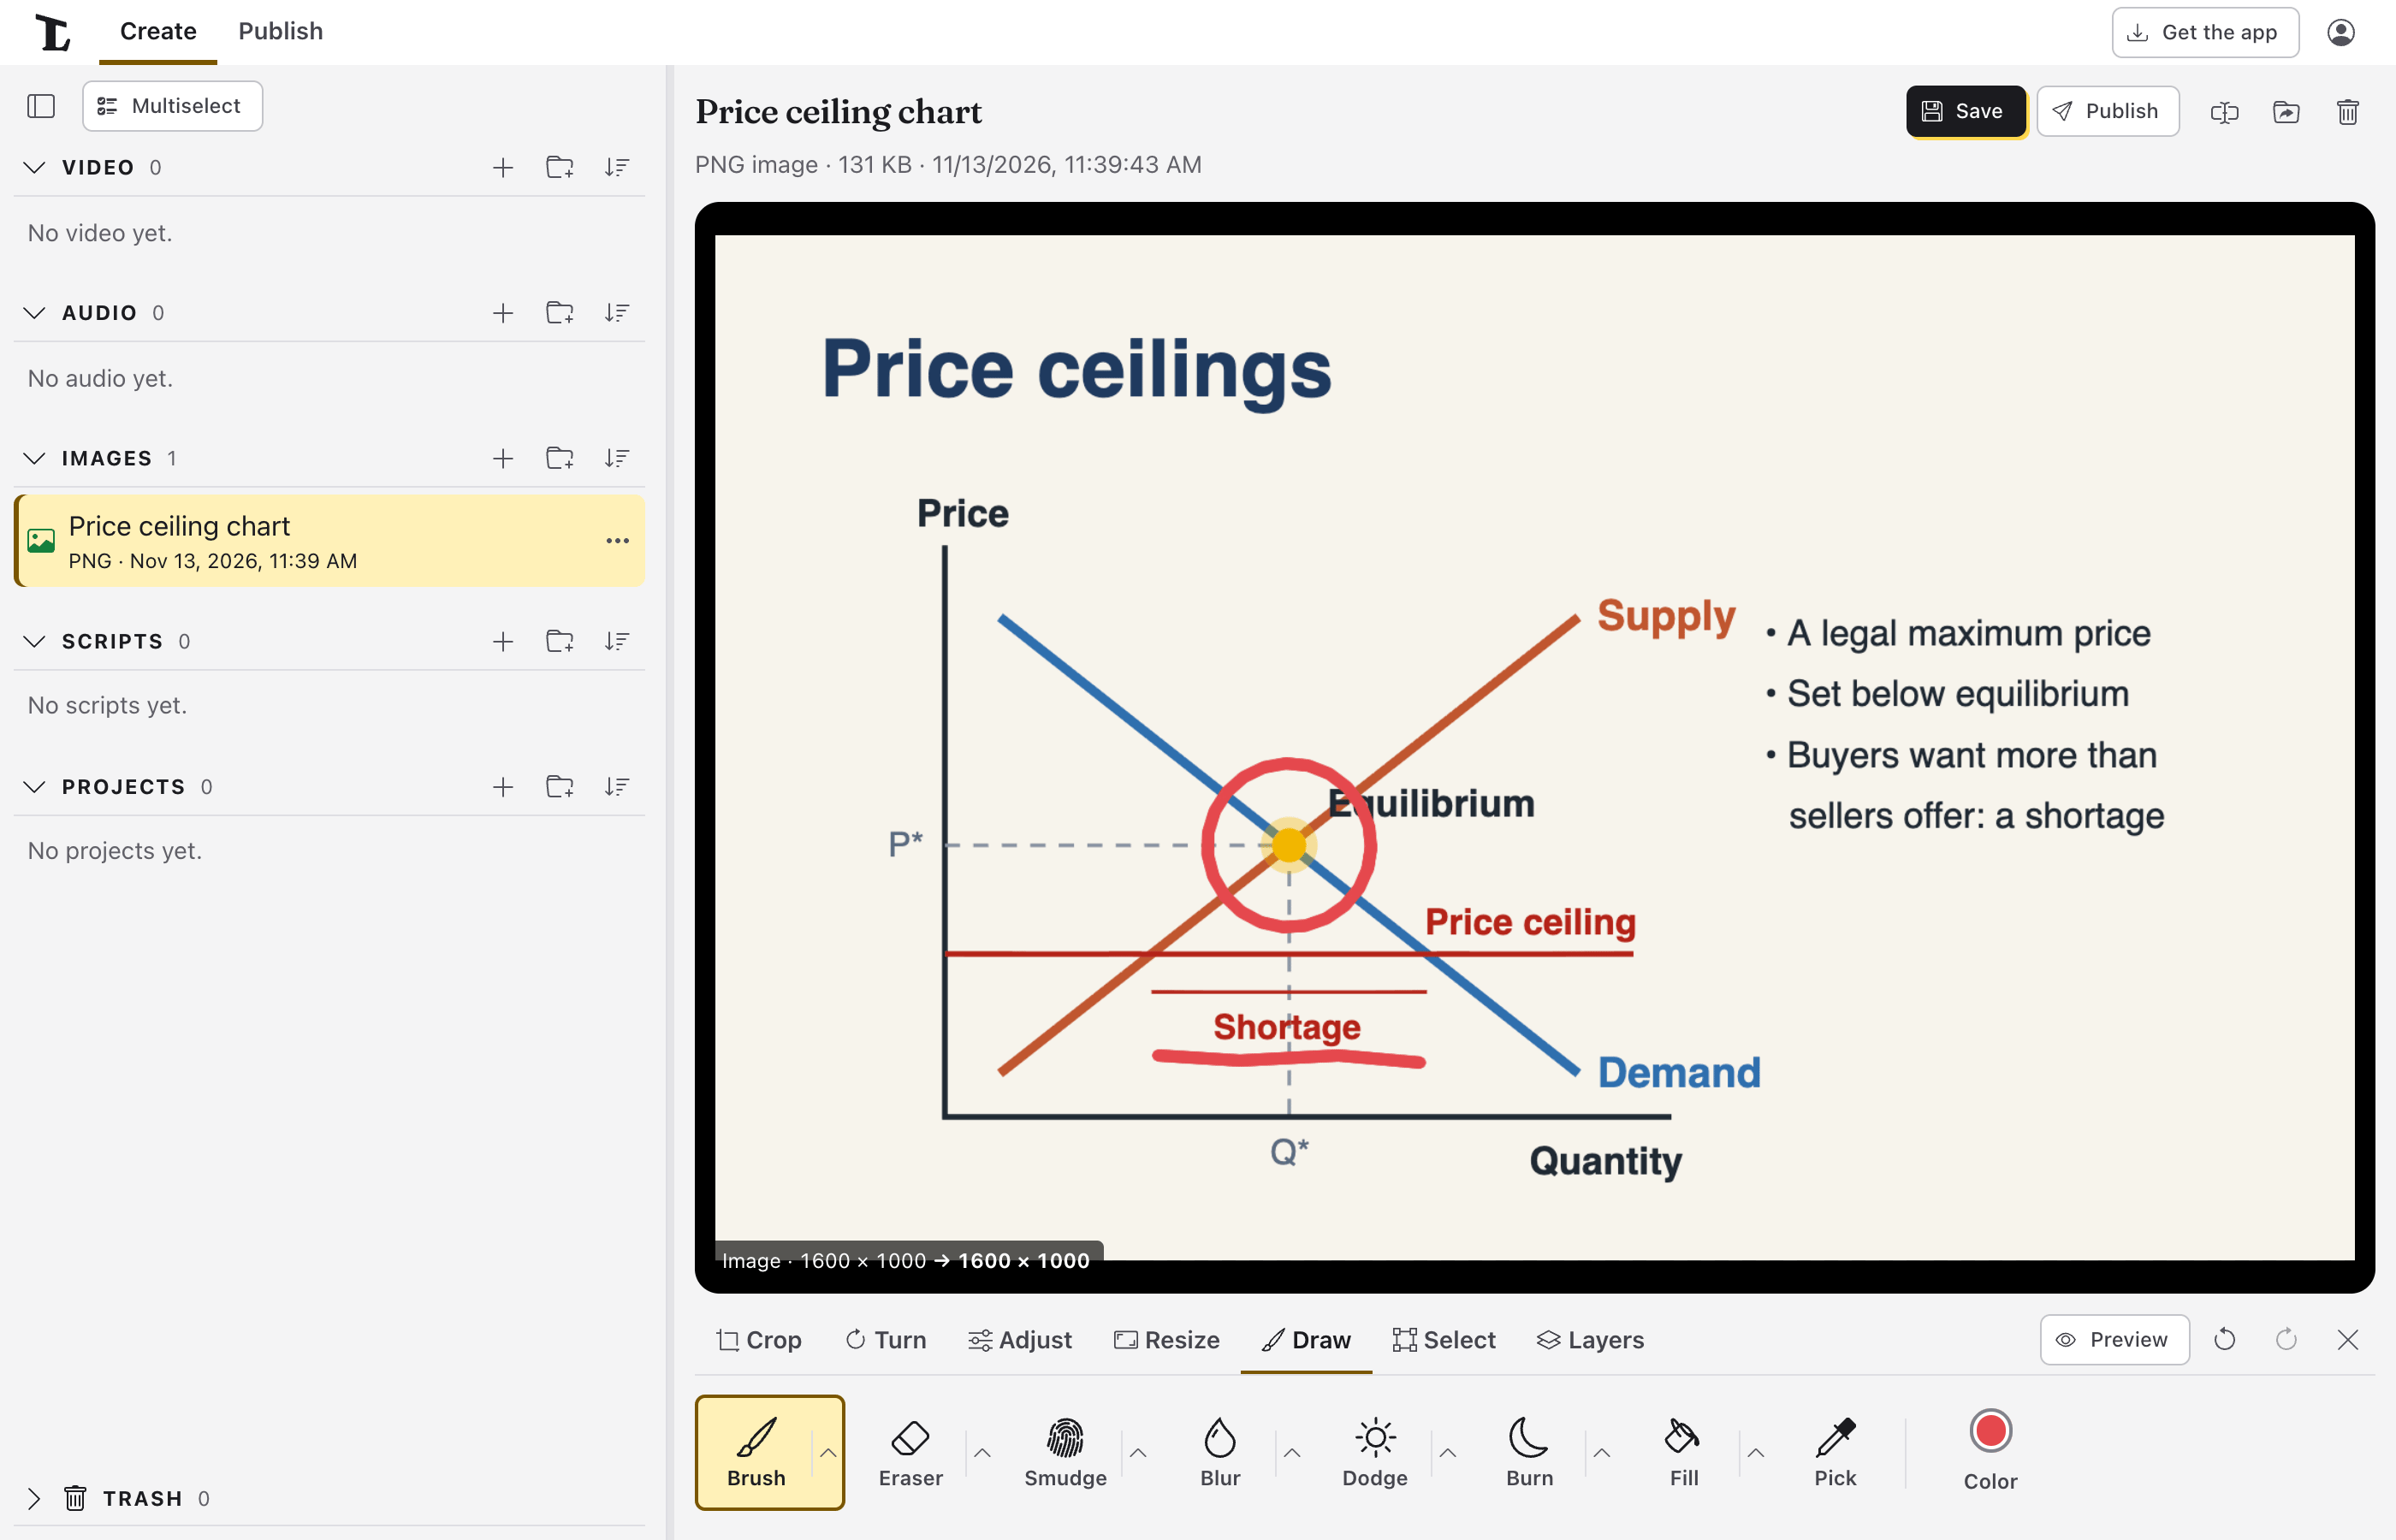
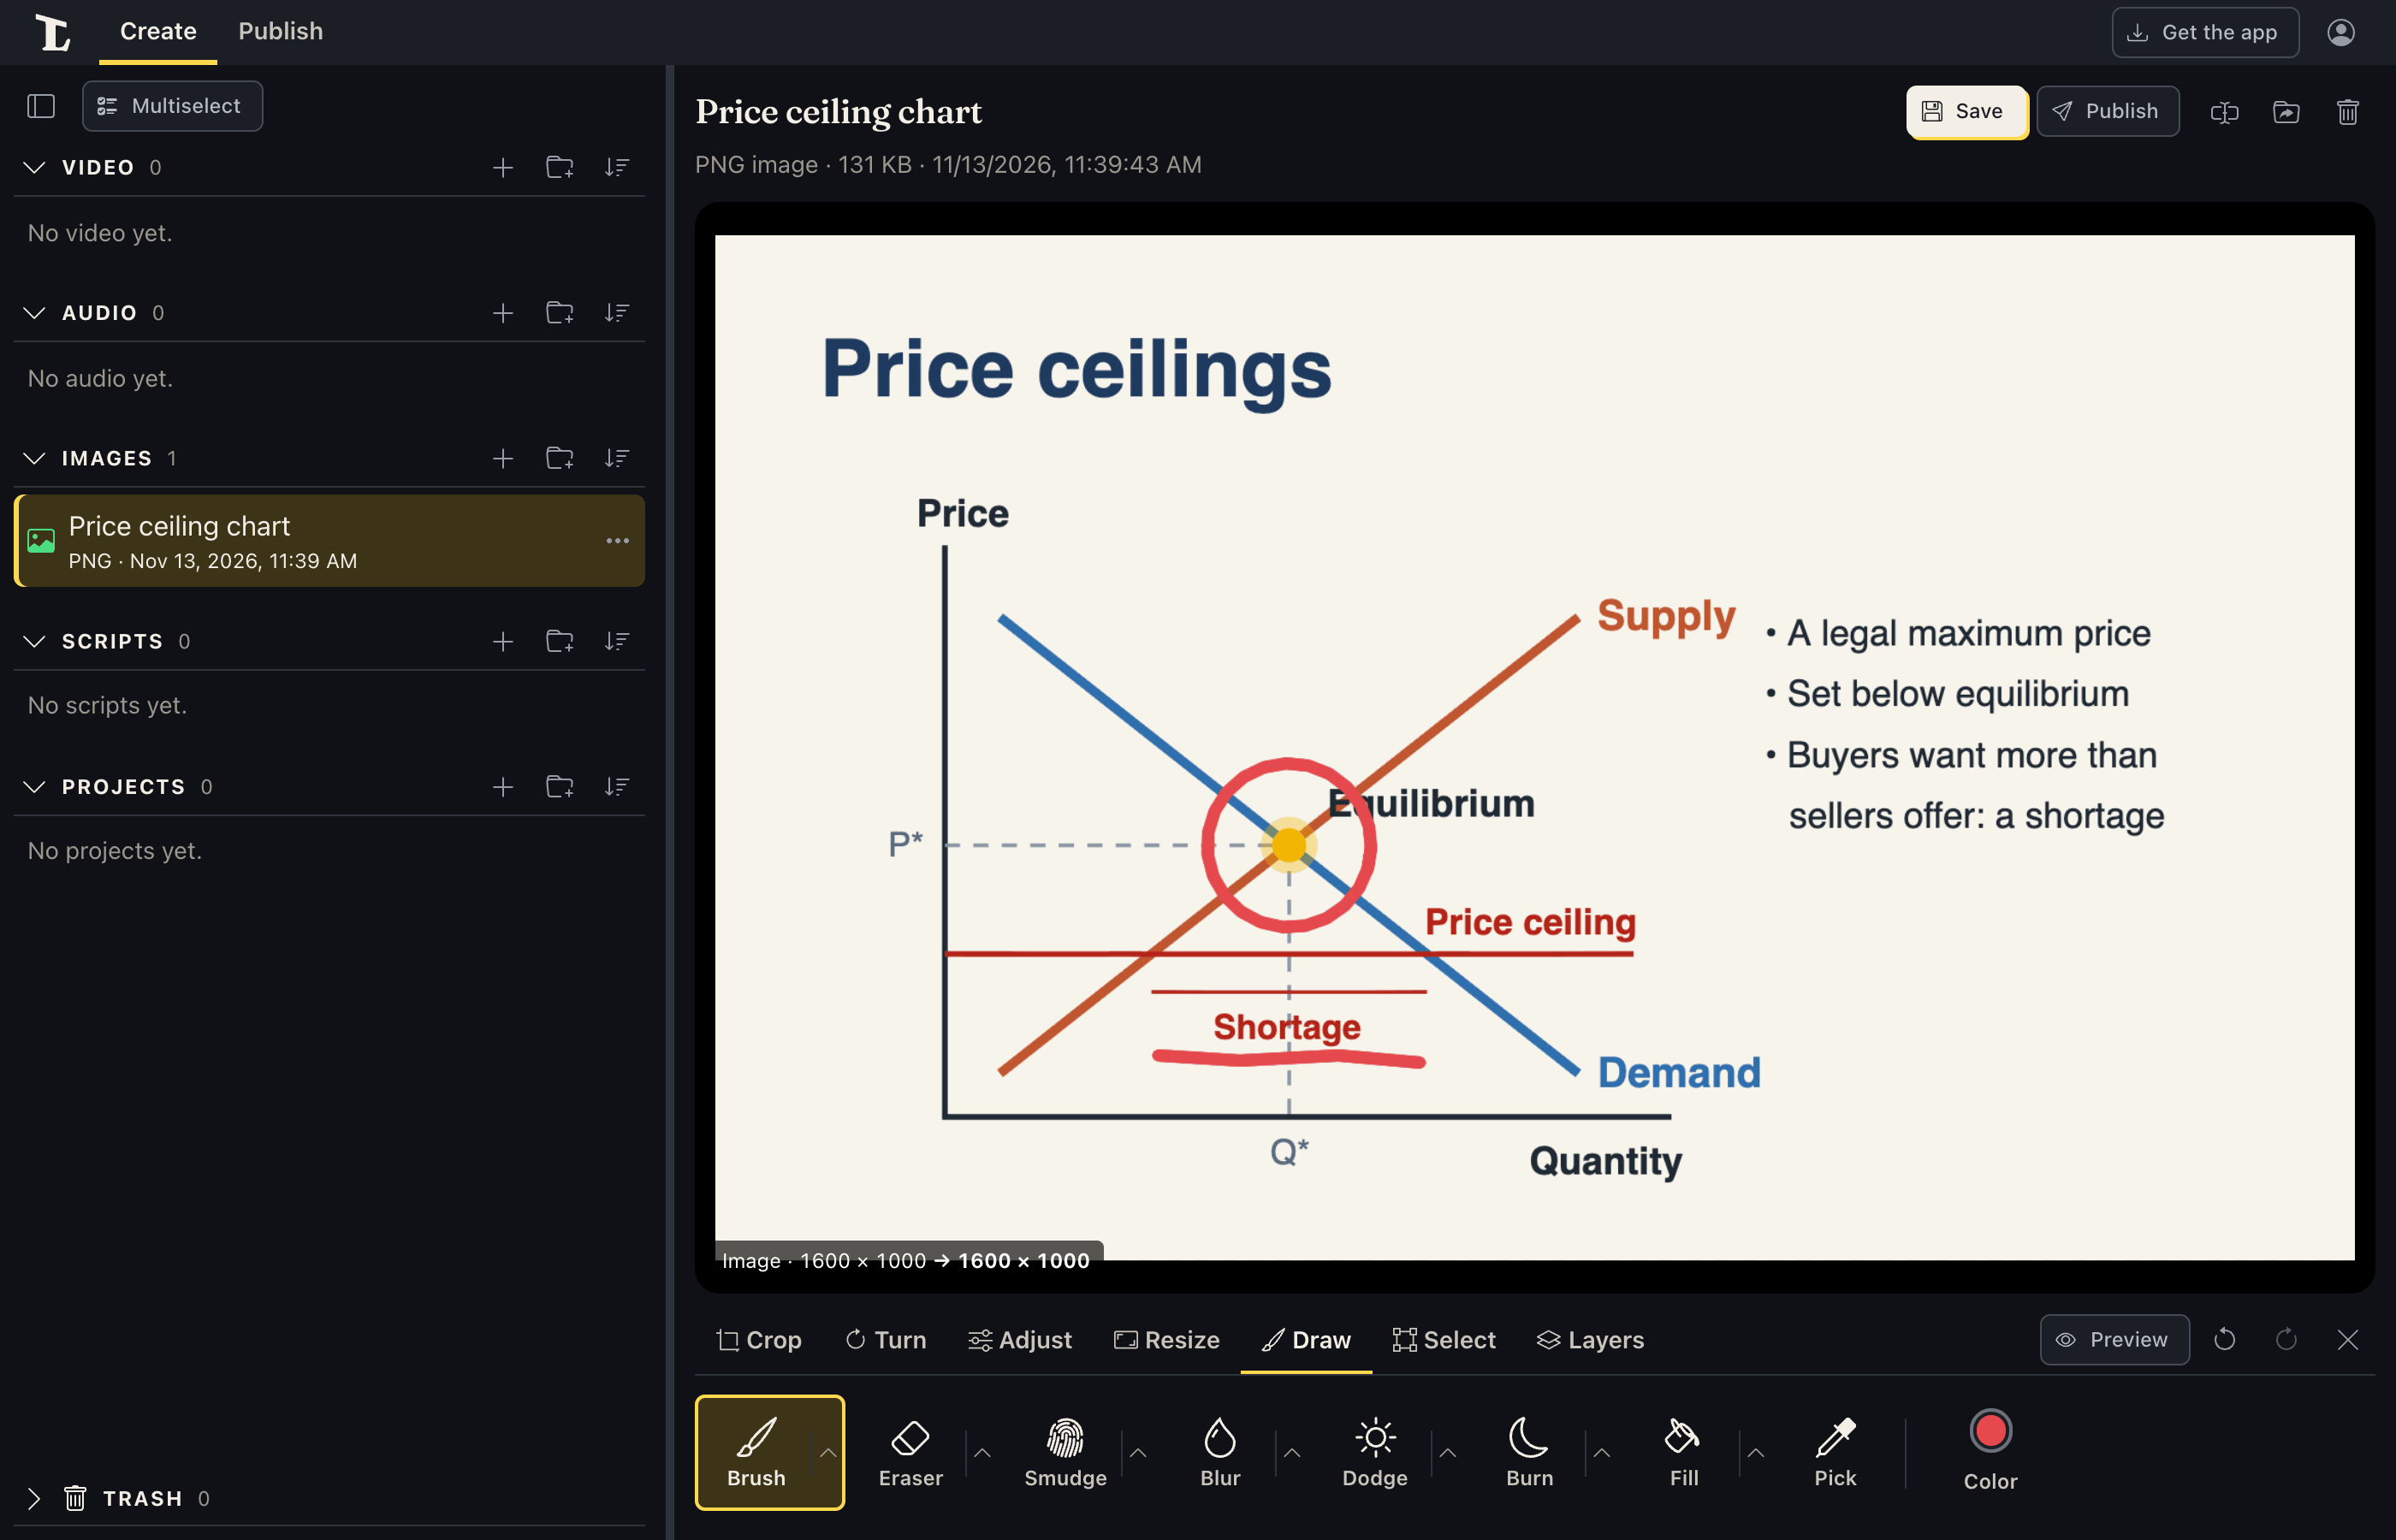
Draw has the tools, then the Color the brush and the fill share. The arrow beside a tool opens how it's set, for that tool alone (and picks it):
- Brush and Eraser: Size, Hardness (soft edge to hard), Opacity, what a pen's pressure changes (Size, Opacity, Both or Off), and the tip: flatten it with Tip roundness, turn it with Tip angle, and have it follow the Pen's lean or the Stroke's way.
- Smudge smears colors as a finger would, Blur softens where you brush, and Dodge and Burn lighten and darken it. Each has Size, Hardness and Strength; Pen pressure has a pen's pressure change the strength.
- Fill fills what's joined to where you click and like it in color. Tolerance says how alike; All layers has it stop at what's in any layer, not just this one.
- Pick takes a color from the picture (or hold Alt and click with the brush).
Select has Rectangle and Lasso (draw around it), and Shift adds to what's selected. Move puts a box round what's selected in the layer (or all it has, with nothing selected): drag inside it to move it, a corner to make it bigger or smaller (keeping its shape; hold Shift not to), an edge to stretch it, and the knob above it to turn it (Shift: in 15° steps). Flip and Turn (a quarter) are in the line with it. Apply (Enter, or a tap outside the box) puts it down; Cancel (Esc, or Undo) puts it back. The arrow keys nudge it. Then All, None, Invert, and Copy, Cut, Paste, Clear and To layer (a new layer of what's selected). While something is selected, the tools only work inside it.
Paste (or Ctrl V) adds what's on the clipboard as a new layer, in Move's box to place, size and turn: something copied here goes back where it was copied from, in this picture or another; a picture copied in another app goes in the middle.
Layers lists them over the picture, the top on the left (the strip's ends say Top and Bottom); tap one to work on it. Then New (a see-through layer), Image (one from a file, as a layer), Duplicate, Delete, Up, Down, Merge (into the one below), Hide or Show, Opacity, Blend (how it mixes with what's under it) and Rename. An image you draw on starts as one layer, Image; a new drawing's is Layer 1.
With a pen, a stylus or a mouse, you draw; with a finger too, until a pen has drawn (then fingers only move about, so a resting hand doesn't draw). Two fingers pinch to zoom and drag to move about. With a mouse or trackpad, Ctrl and the wheel (or a pinch) zooms, the wheel moves about, and so does dragging with Space held. The button at the corner fits it back in.
Undo takes back a stroke as it does any change. Save puts the layers together in the picture, and keeps them in a file beside it (name.layers.zip, which the library doesn't list; it's moved, renamed, deleted and synced with the picture), so the picture opens in its layers next time. A picture changed somewhere else since opens as it is now, in one layer. A cropped or turned picture is drawn on as it is, and the crop and turn are made to each layer too when it's saved.
What can be cut where
| Desktop app | Browser | |
|---|---|---|
| Video: MP4, MOV, M4V, MKV | Yes | Yes, in most current browsers |
| Video: WebM | Yes | Yes, in most current browsers |
| Audio: M4A, WAV, OGG, Opus, AAC | Yes | Yes, in most browsers |
| Audio: MP3 | Yes (on a Mac, saved as a new M4A) | Yes, saved as a new M4A |
| Audio: FLAC | Yes | No |
If a file can't be cut here, the Cut, Sound and Picture tabs don't show under it. It can still be played, captioned, published and used in projects.
In the desktop app, a cut video is saved as H.264 (WebM stays WebM).
In a browser, what's kept is made again by the browser, with the video and sound encoders it has. Browsers can't write MP3, so an MP3 (or an AAC file, in a browser without an AAC encoder) is saved as a new M4A with Save as, not over itself. A file whose picture or sound the browser can't play, such as HEVC video in Firefox or Chrome on Linux, or Dolby Digital sound, can't be cut there: it says which, so you can cut it in the app or in a browser that plays it.
Each save in a browser makes the picture and sound again, which loses a little quality, so save once you're done rather than after every cut. The Sound, Picture and Quality tabs, and listening for filler words, need the app. The first time you open the cut tools in a browser, a note says all this once, with a link to get the app.
See also
Something here wrong or unclear? Tell us.