Help Quick guide
Record your screen and camera
Slides or a demo on screen, with you in the corner, saved as one video.
What you'll make: a video of your screen (slides, a website, a worked problem) with you on camera in a corner, saved in Video. To record just the screen, pick New screen recording in step 1 and skip the camera parts.
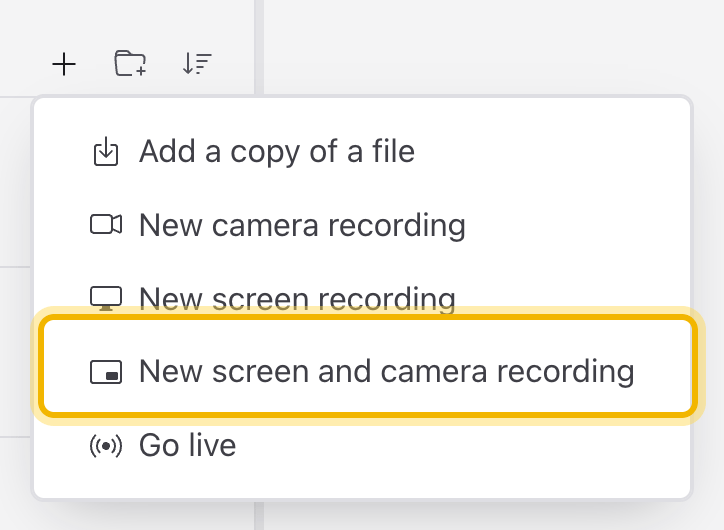
Add video. Click the + beside Video in the library (Add video), then New screen and camera recording.
Name it. New recording opens. Type a Name at the top (left blank, it's named by the date and time). Click the folder beside it to save somewhere else. Pick a Script if you want the prompter while you talk.
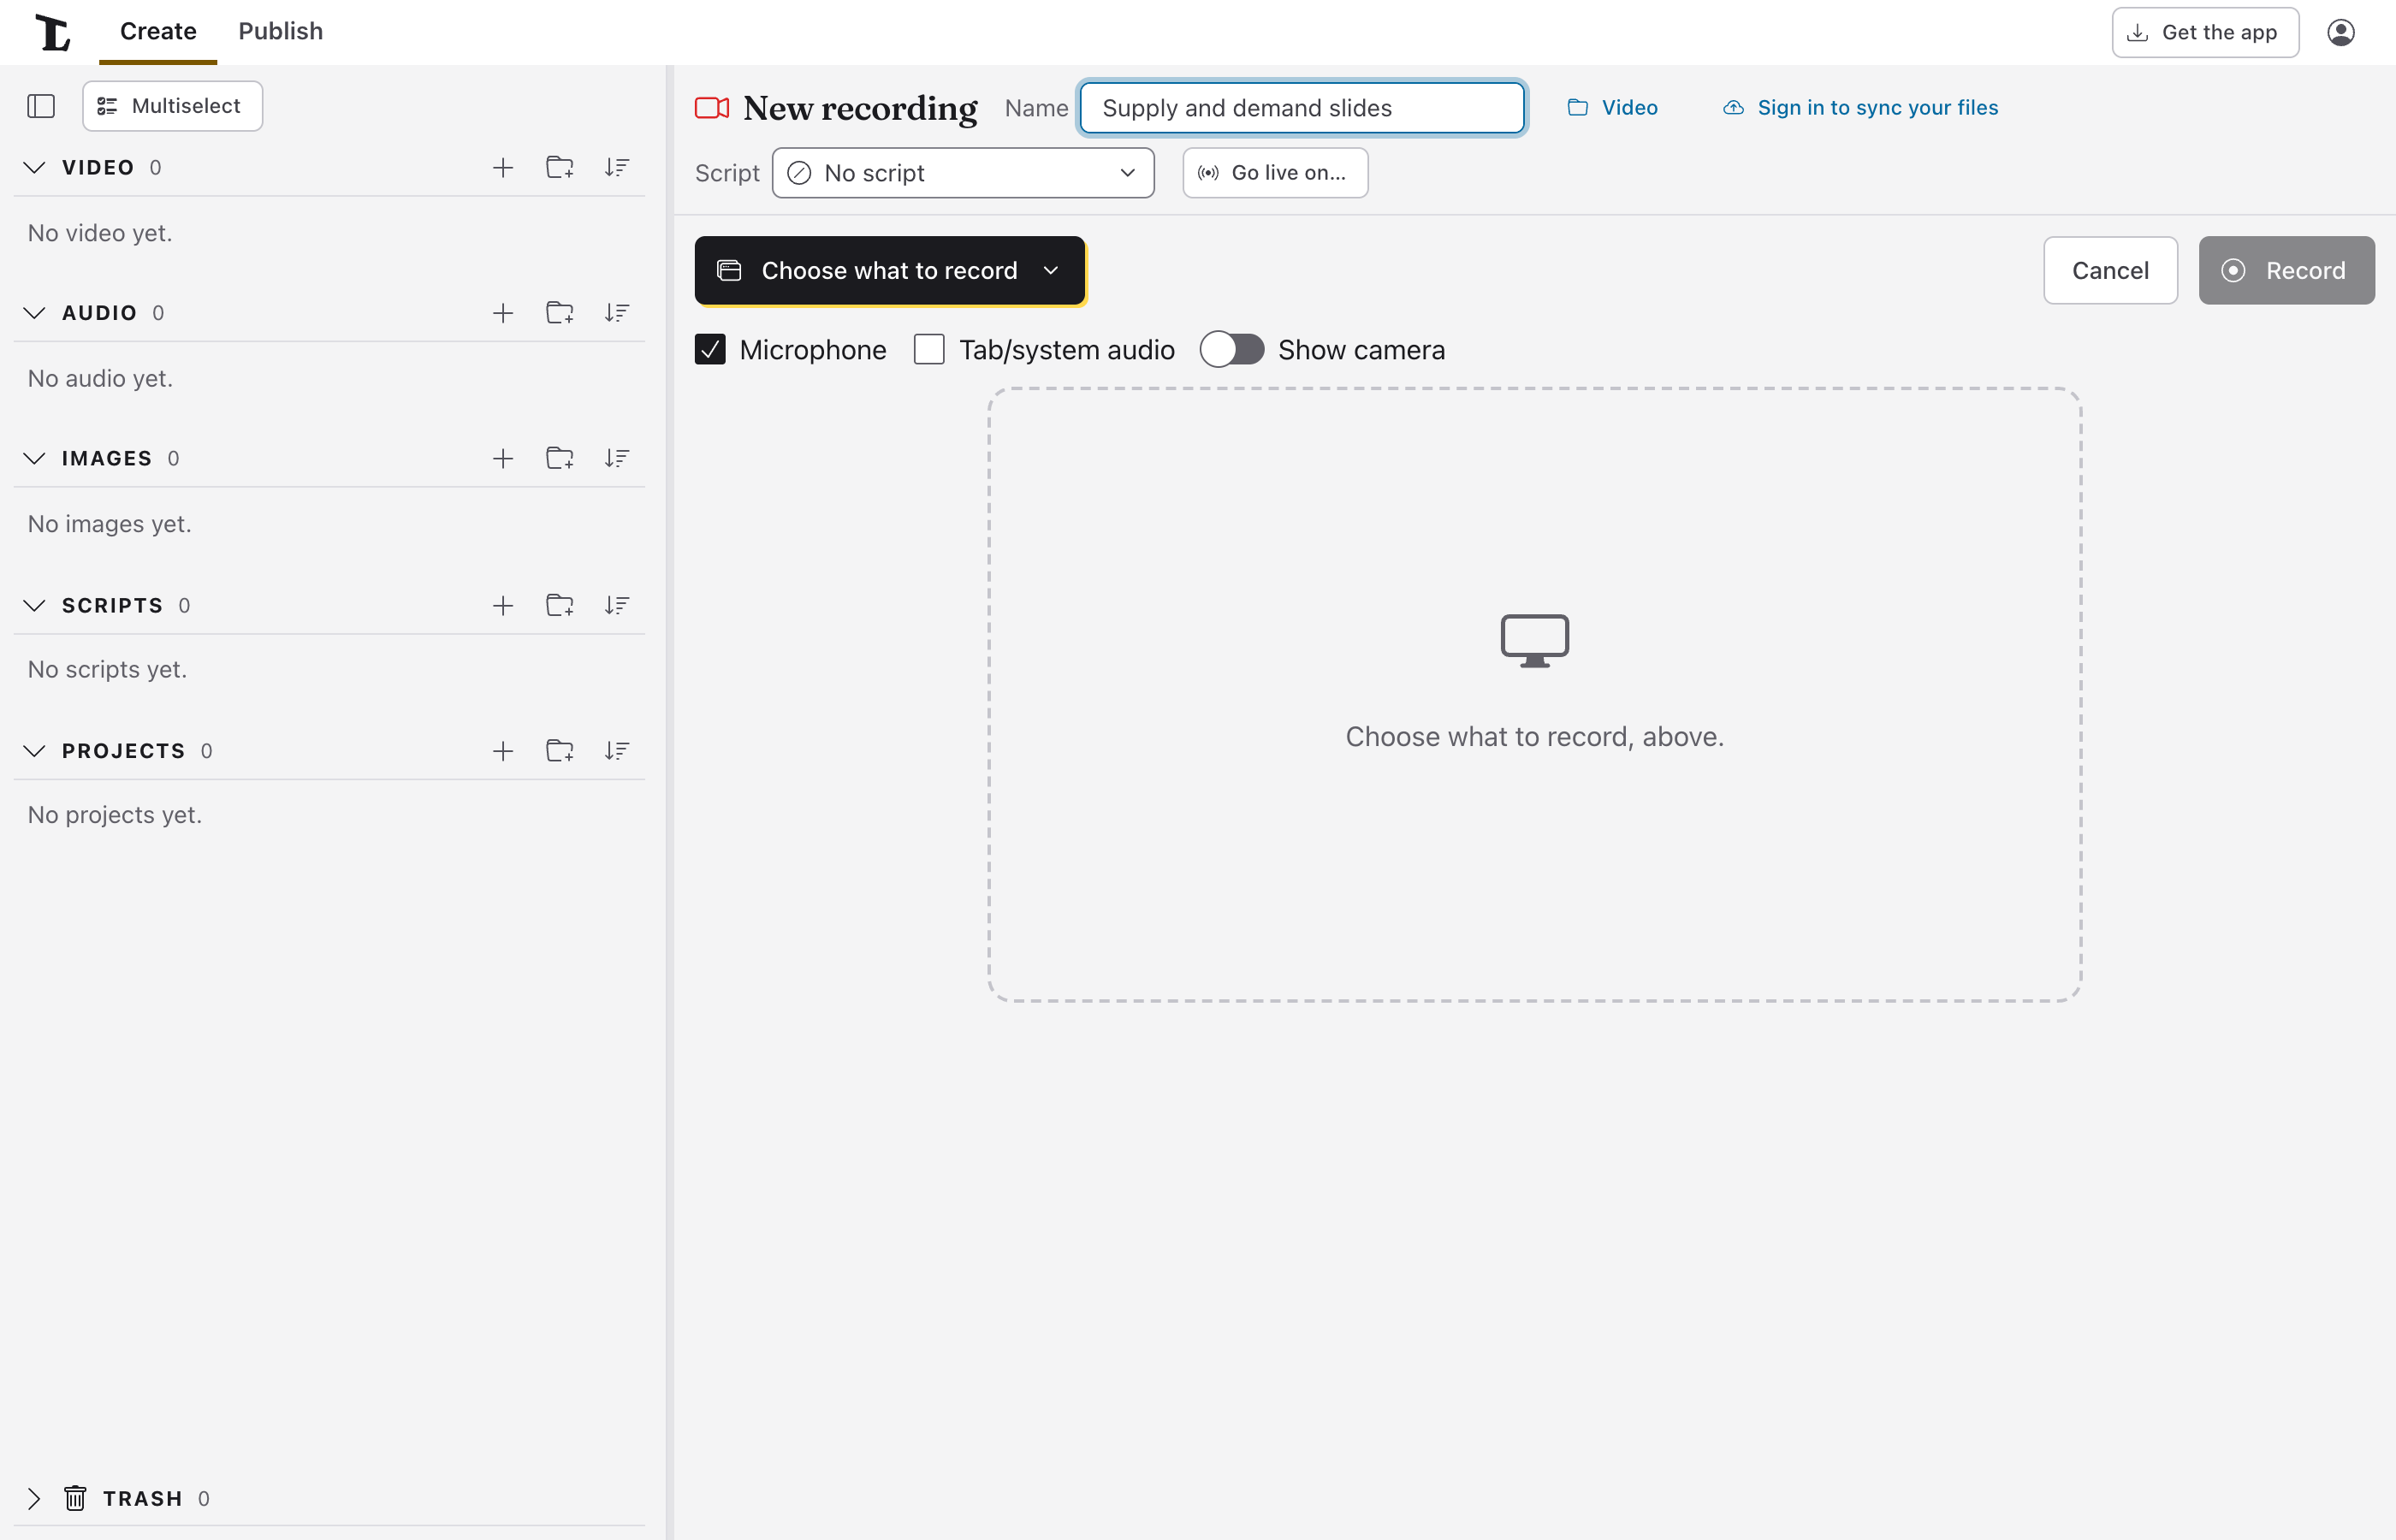
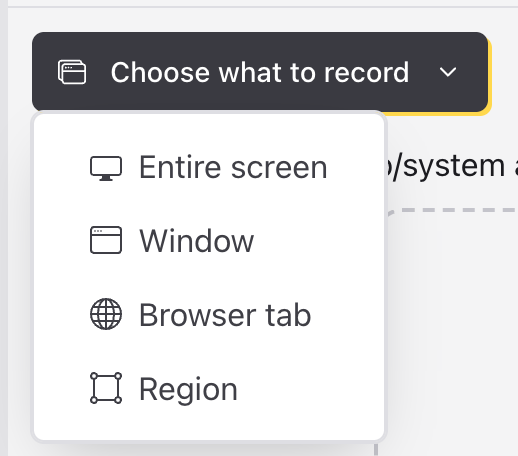
Choose what to record. Click Choose what to record and pick:
- Entire screen: everything on one screen.
- Window: one window, such as your slides.
- Browser tab: one tab (in Chrome and Edge only).
- Region: part of a screen. Drag on the preview to mark it.
Your computer then asks which screen, window or tab to share. Pick one and allow it. (To record the sound it's playing too, tick Tab/system audio or System audio first; ticked later, it asks again.)
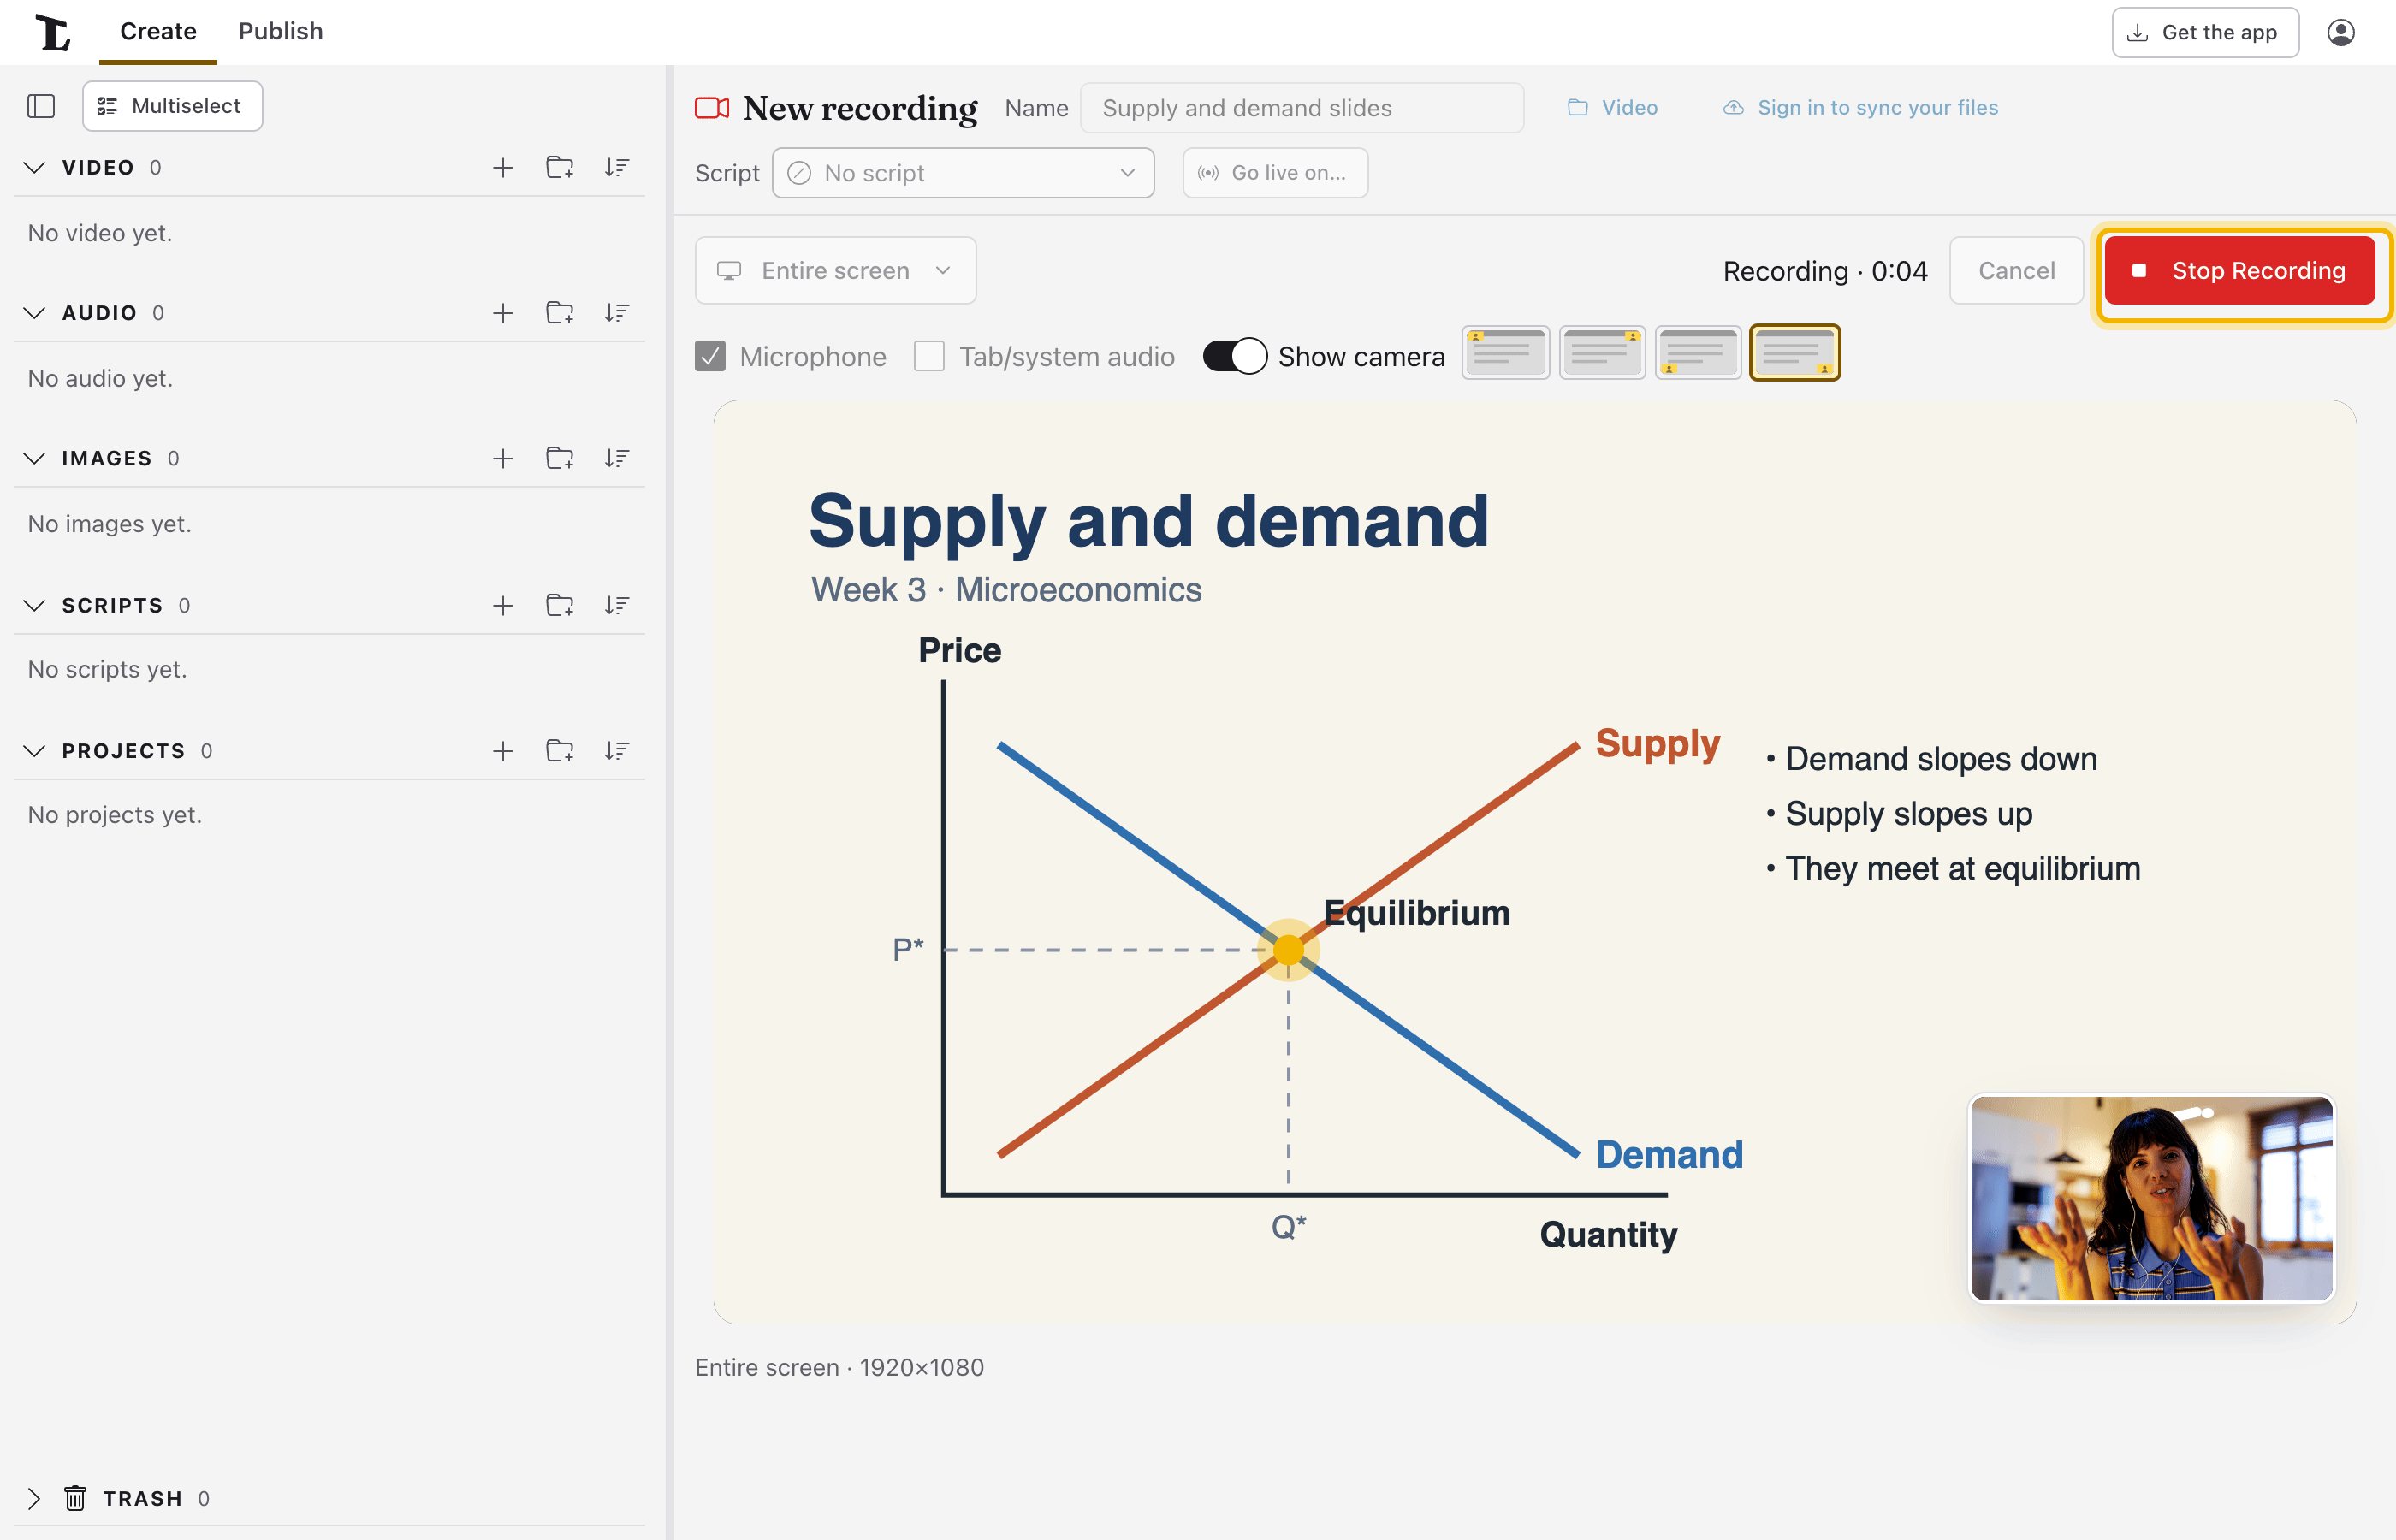
See yourself, if you want to. Show camera puts you over the preview, in the corner you pick beside it. It's off at first. Either way the camera is recorded; this only changes what you see. Leave Microphone ticked so your voice is recorded.


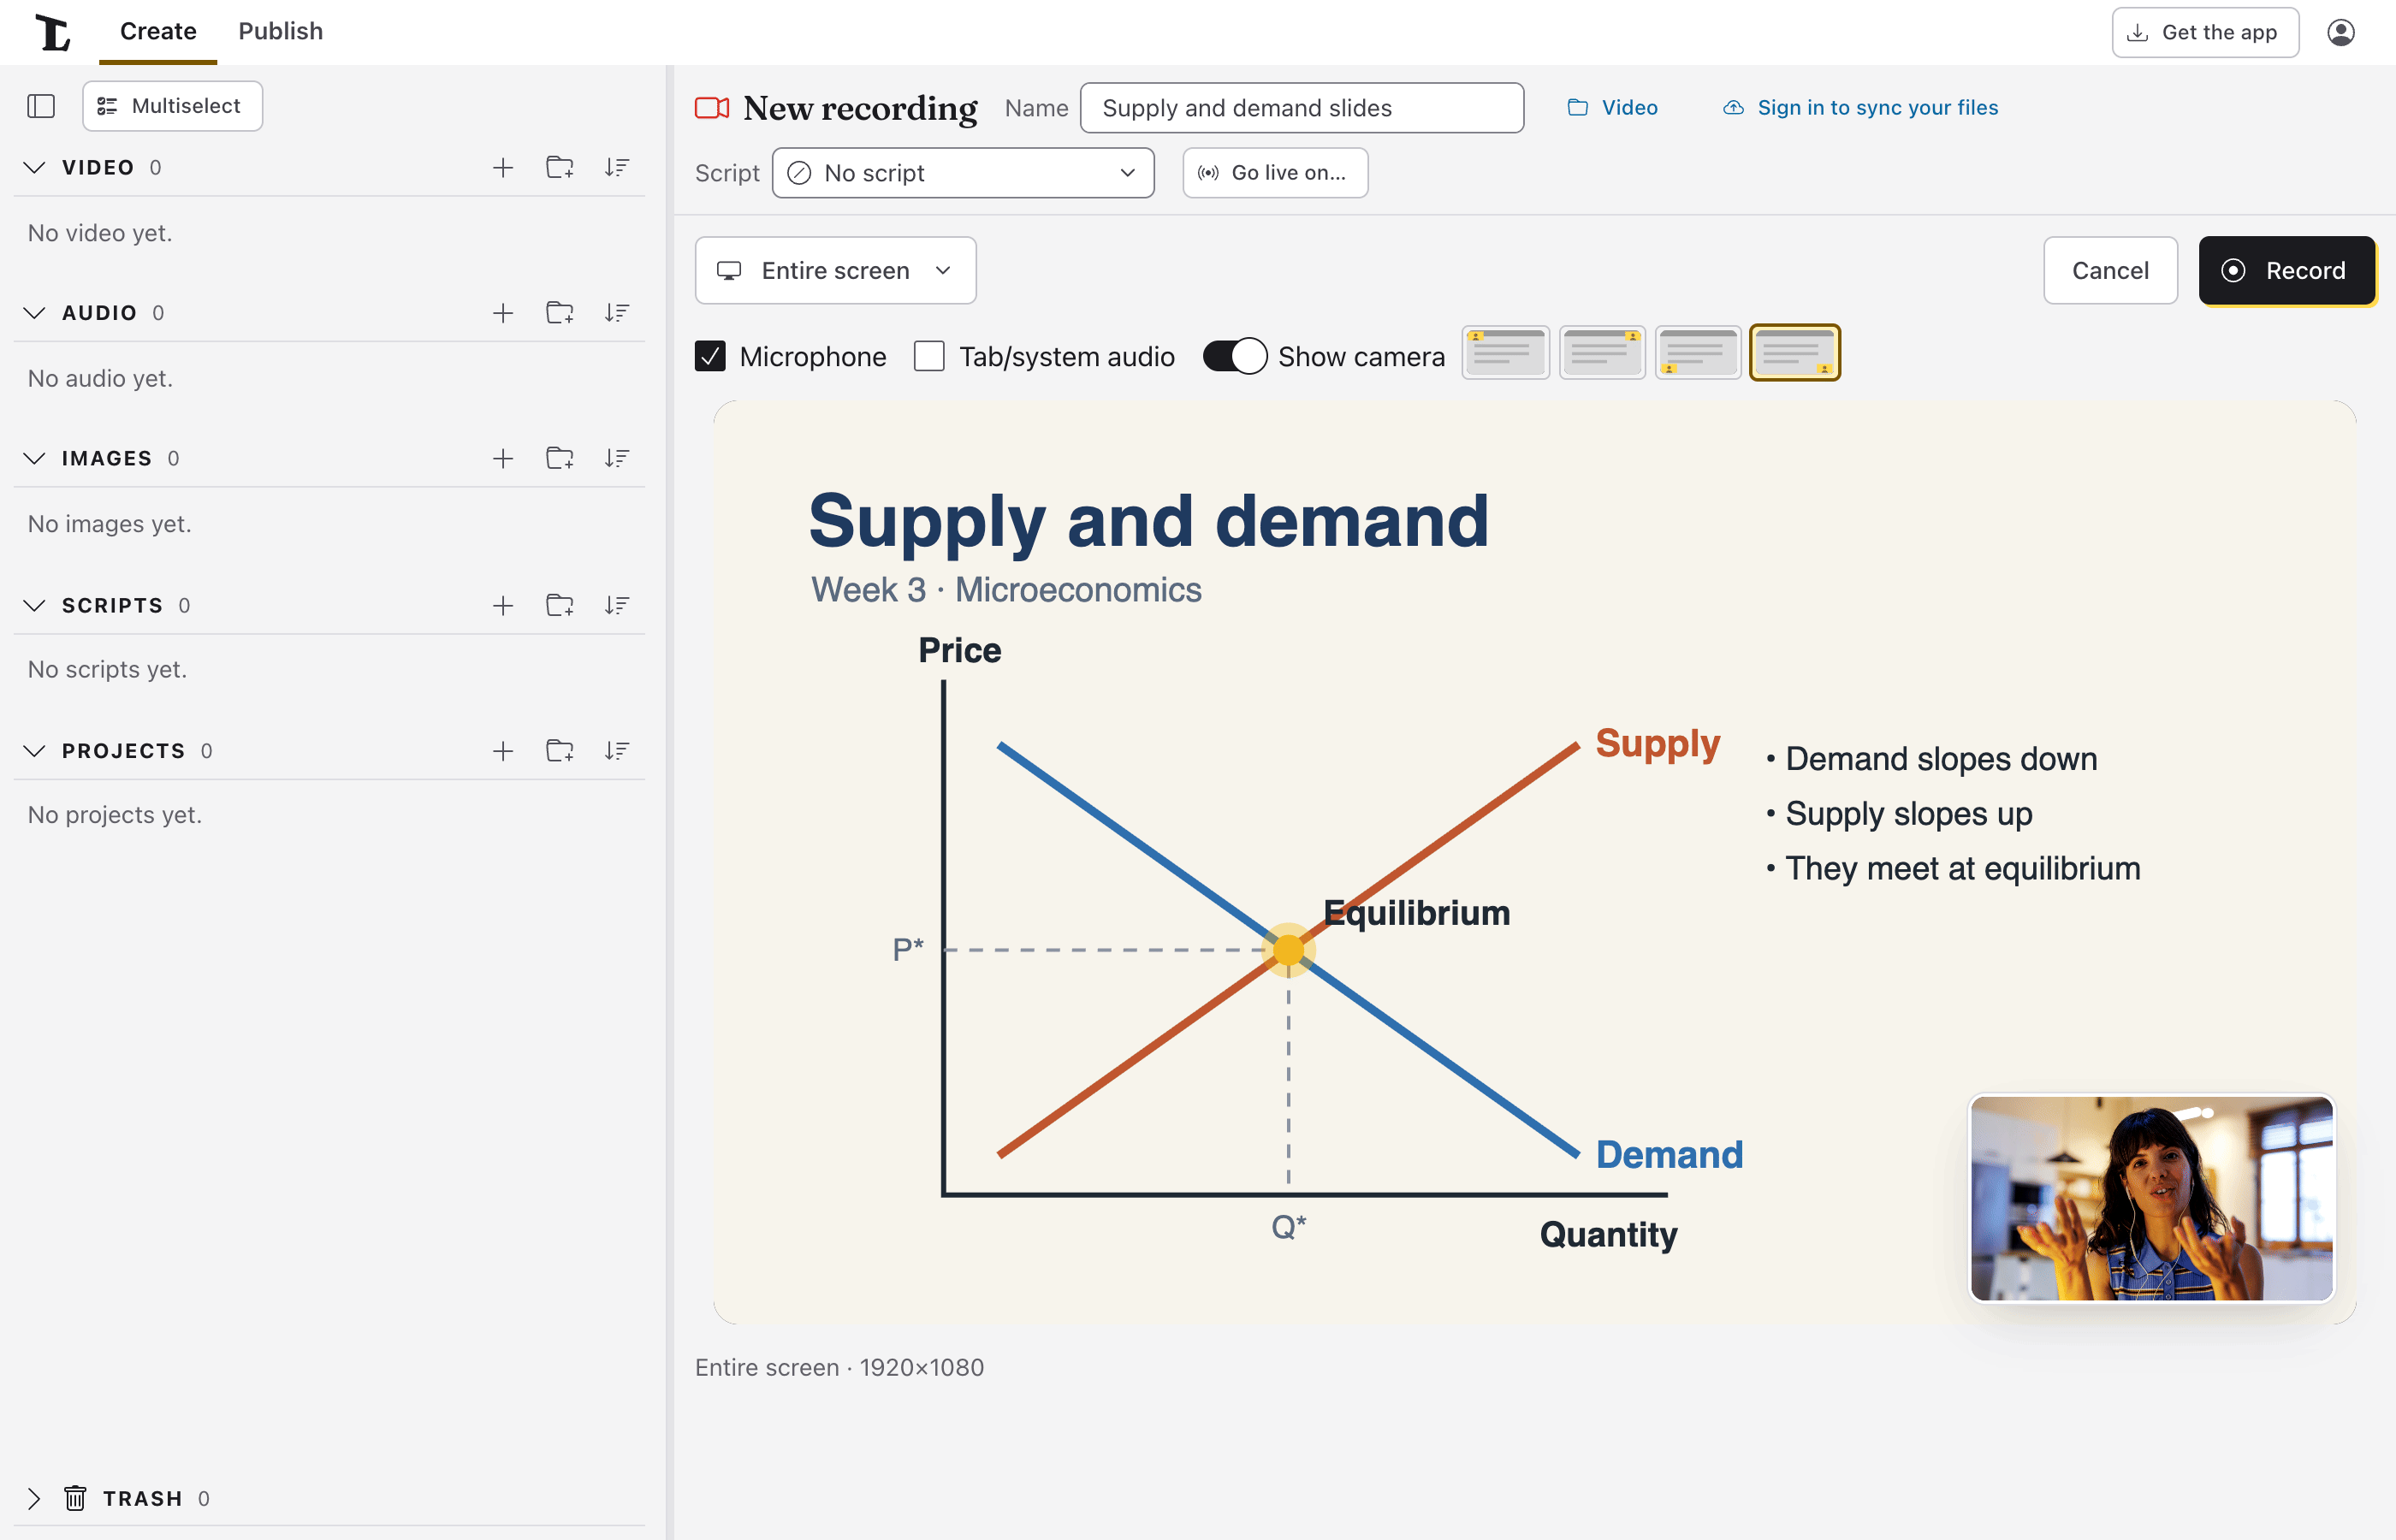
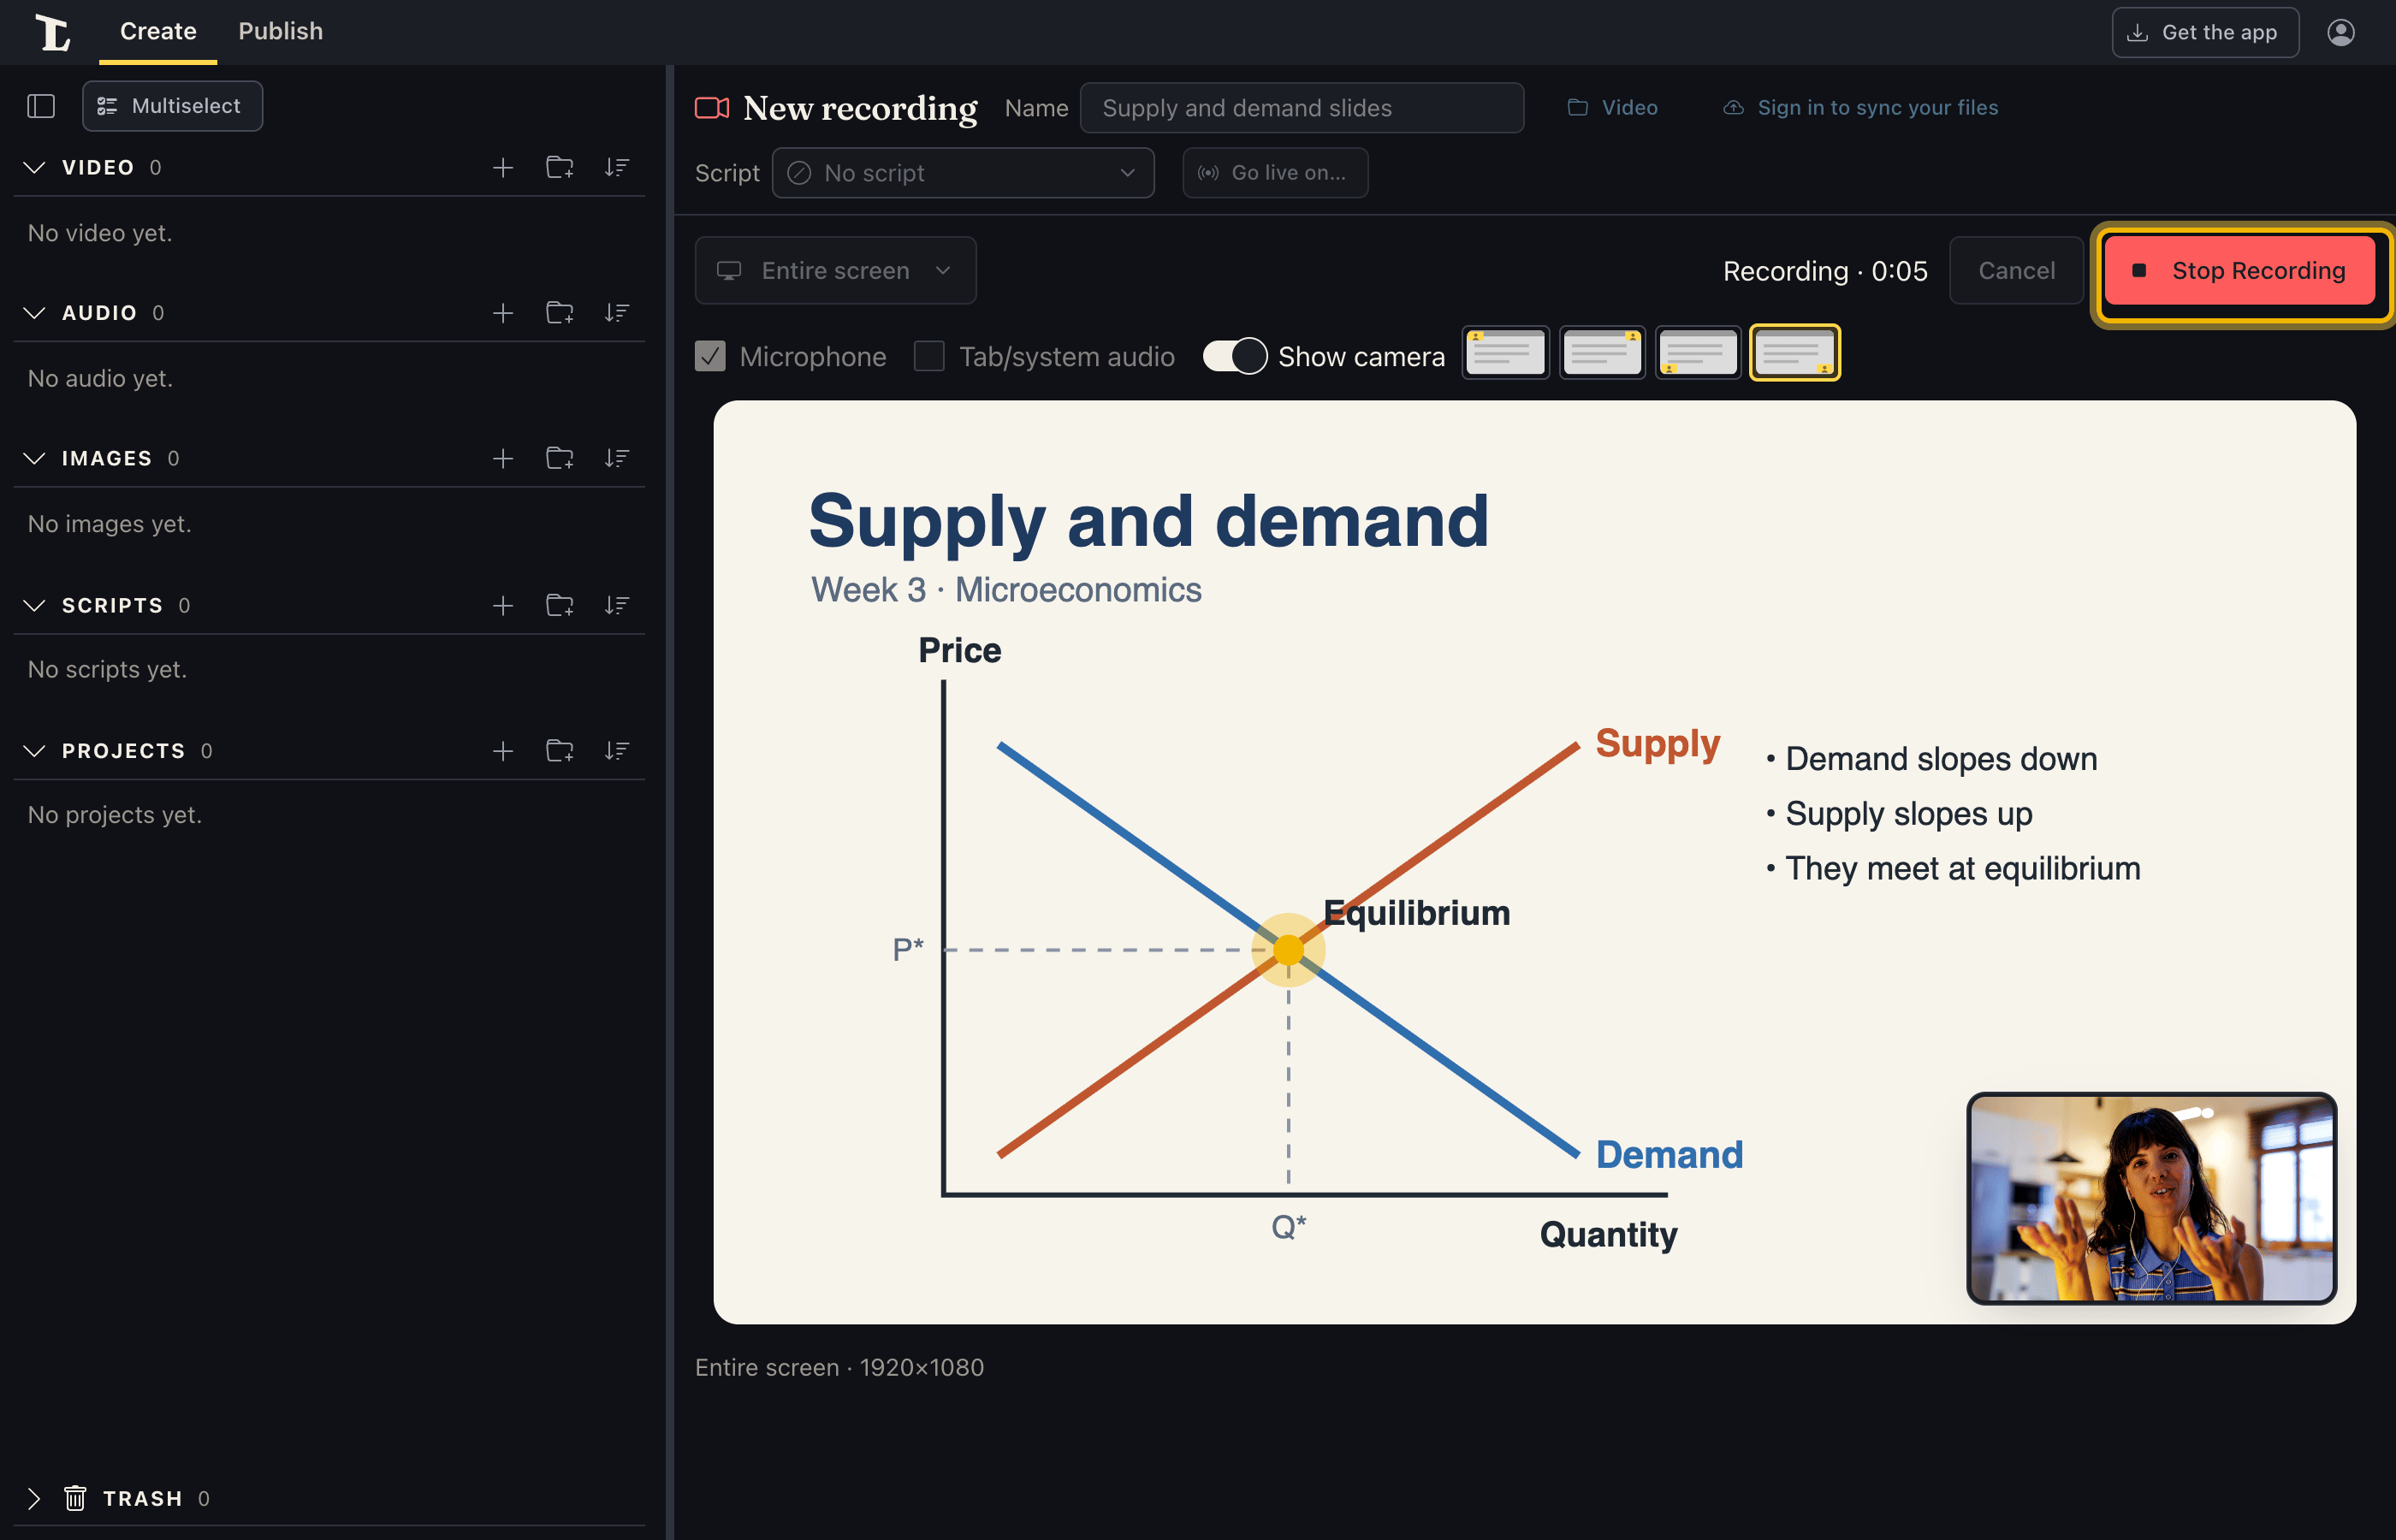
Record. Click Record, at the top beside Choose what to record. Give your lesson. The time recorded shows beside the button. When you're done, click Stop Recording.
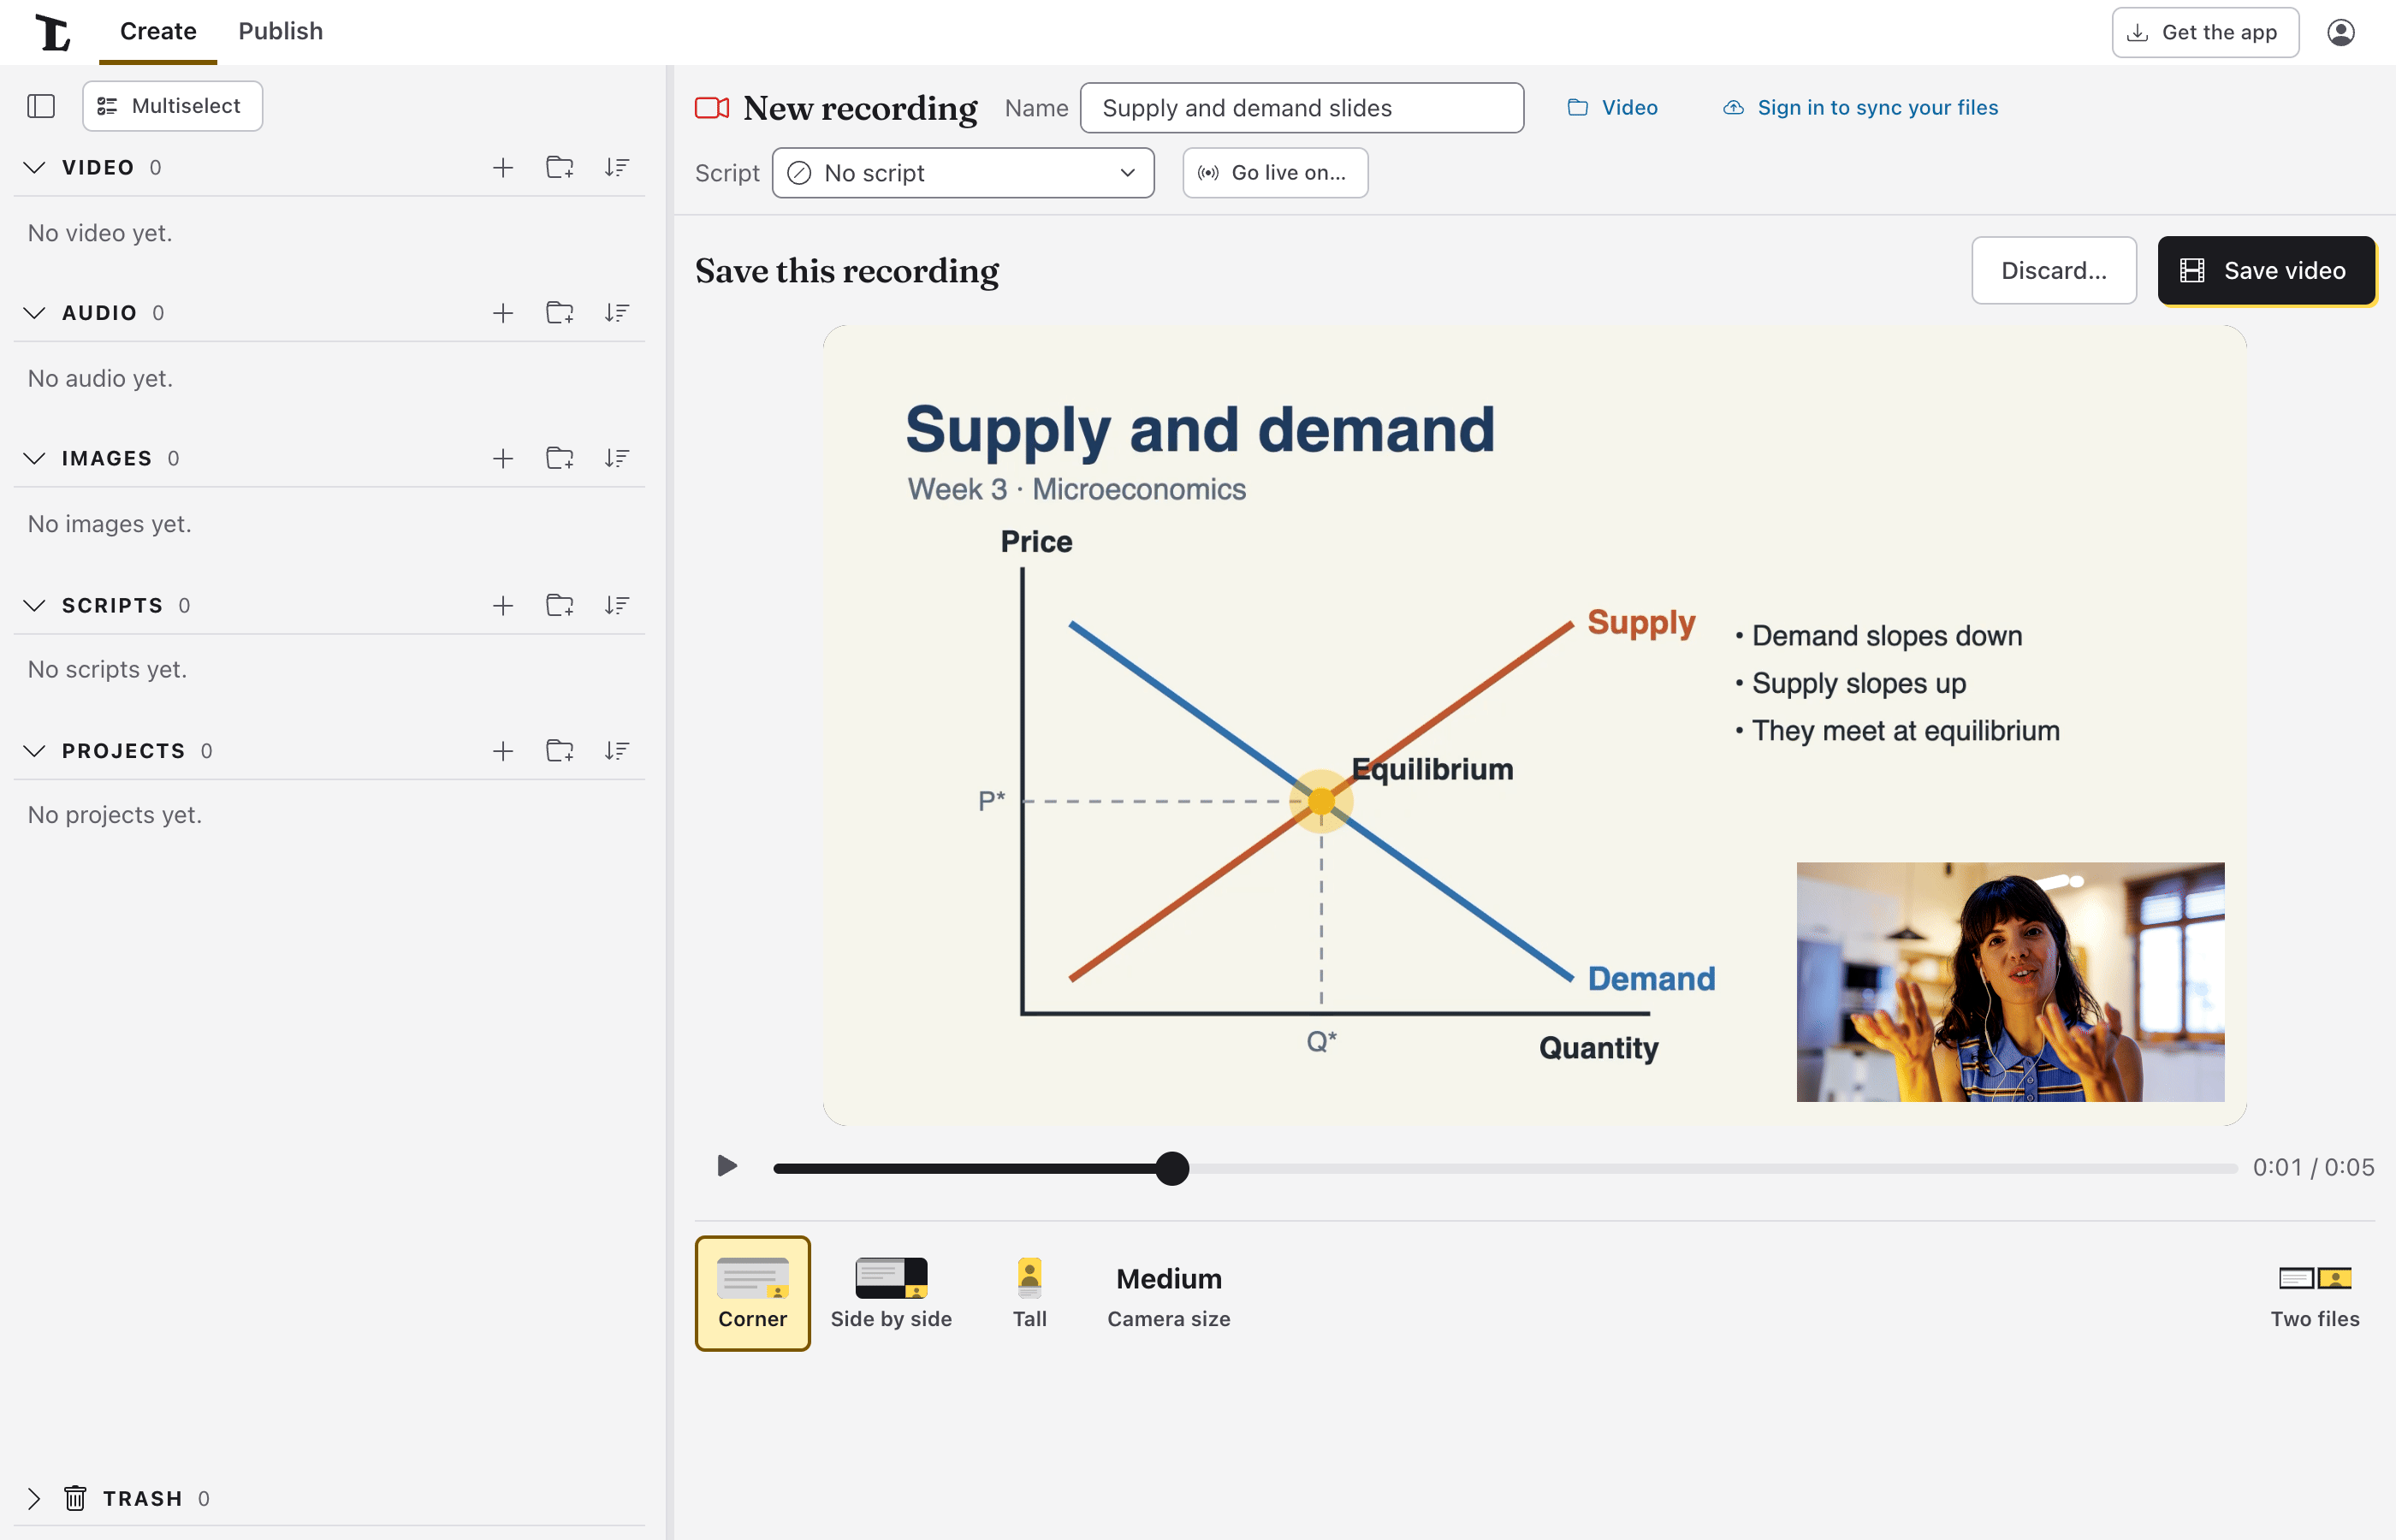
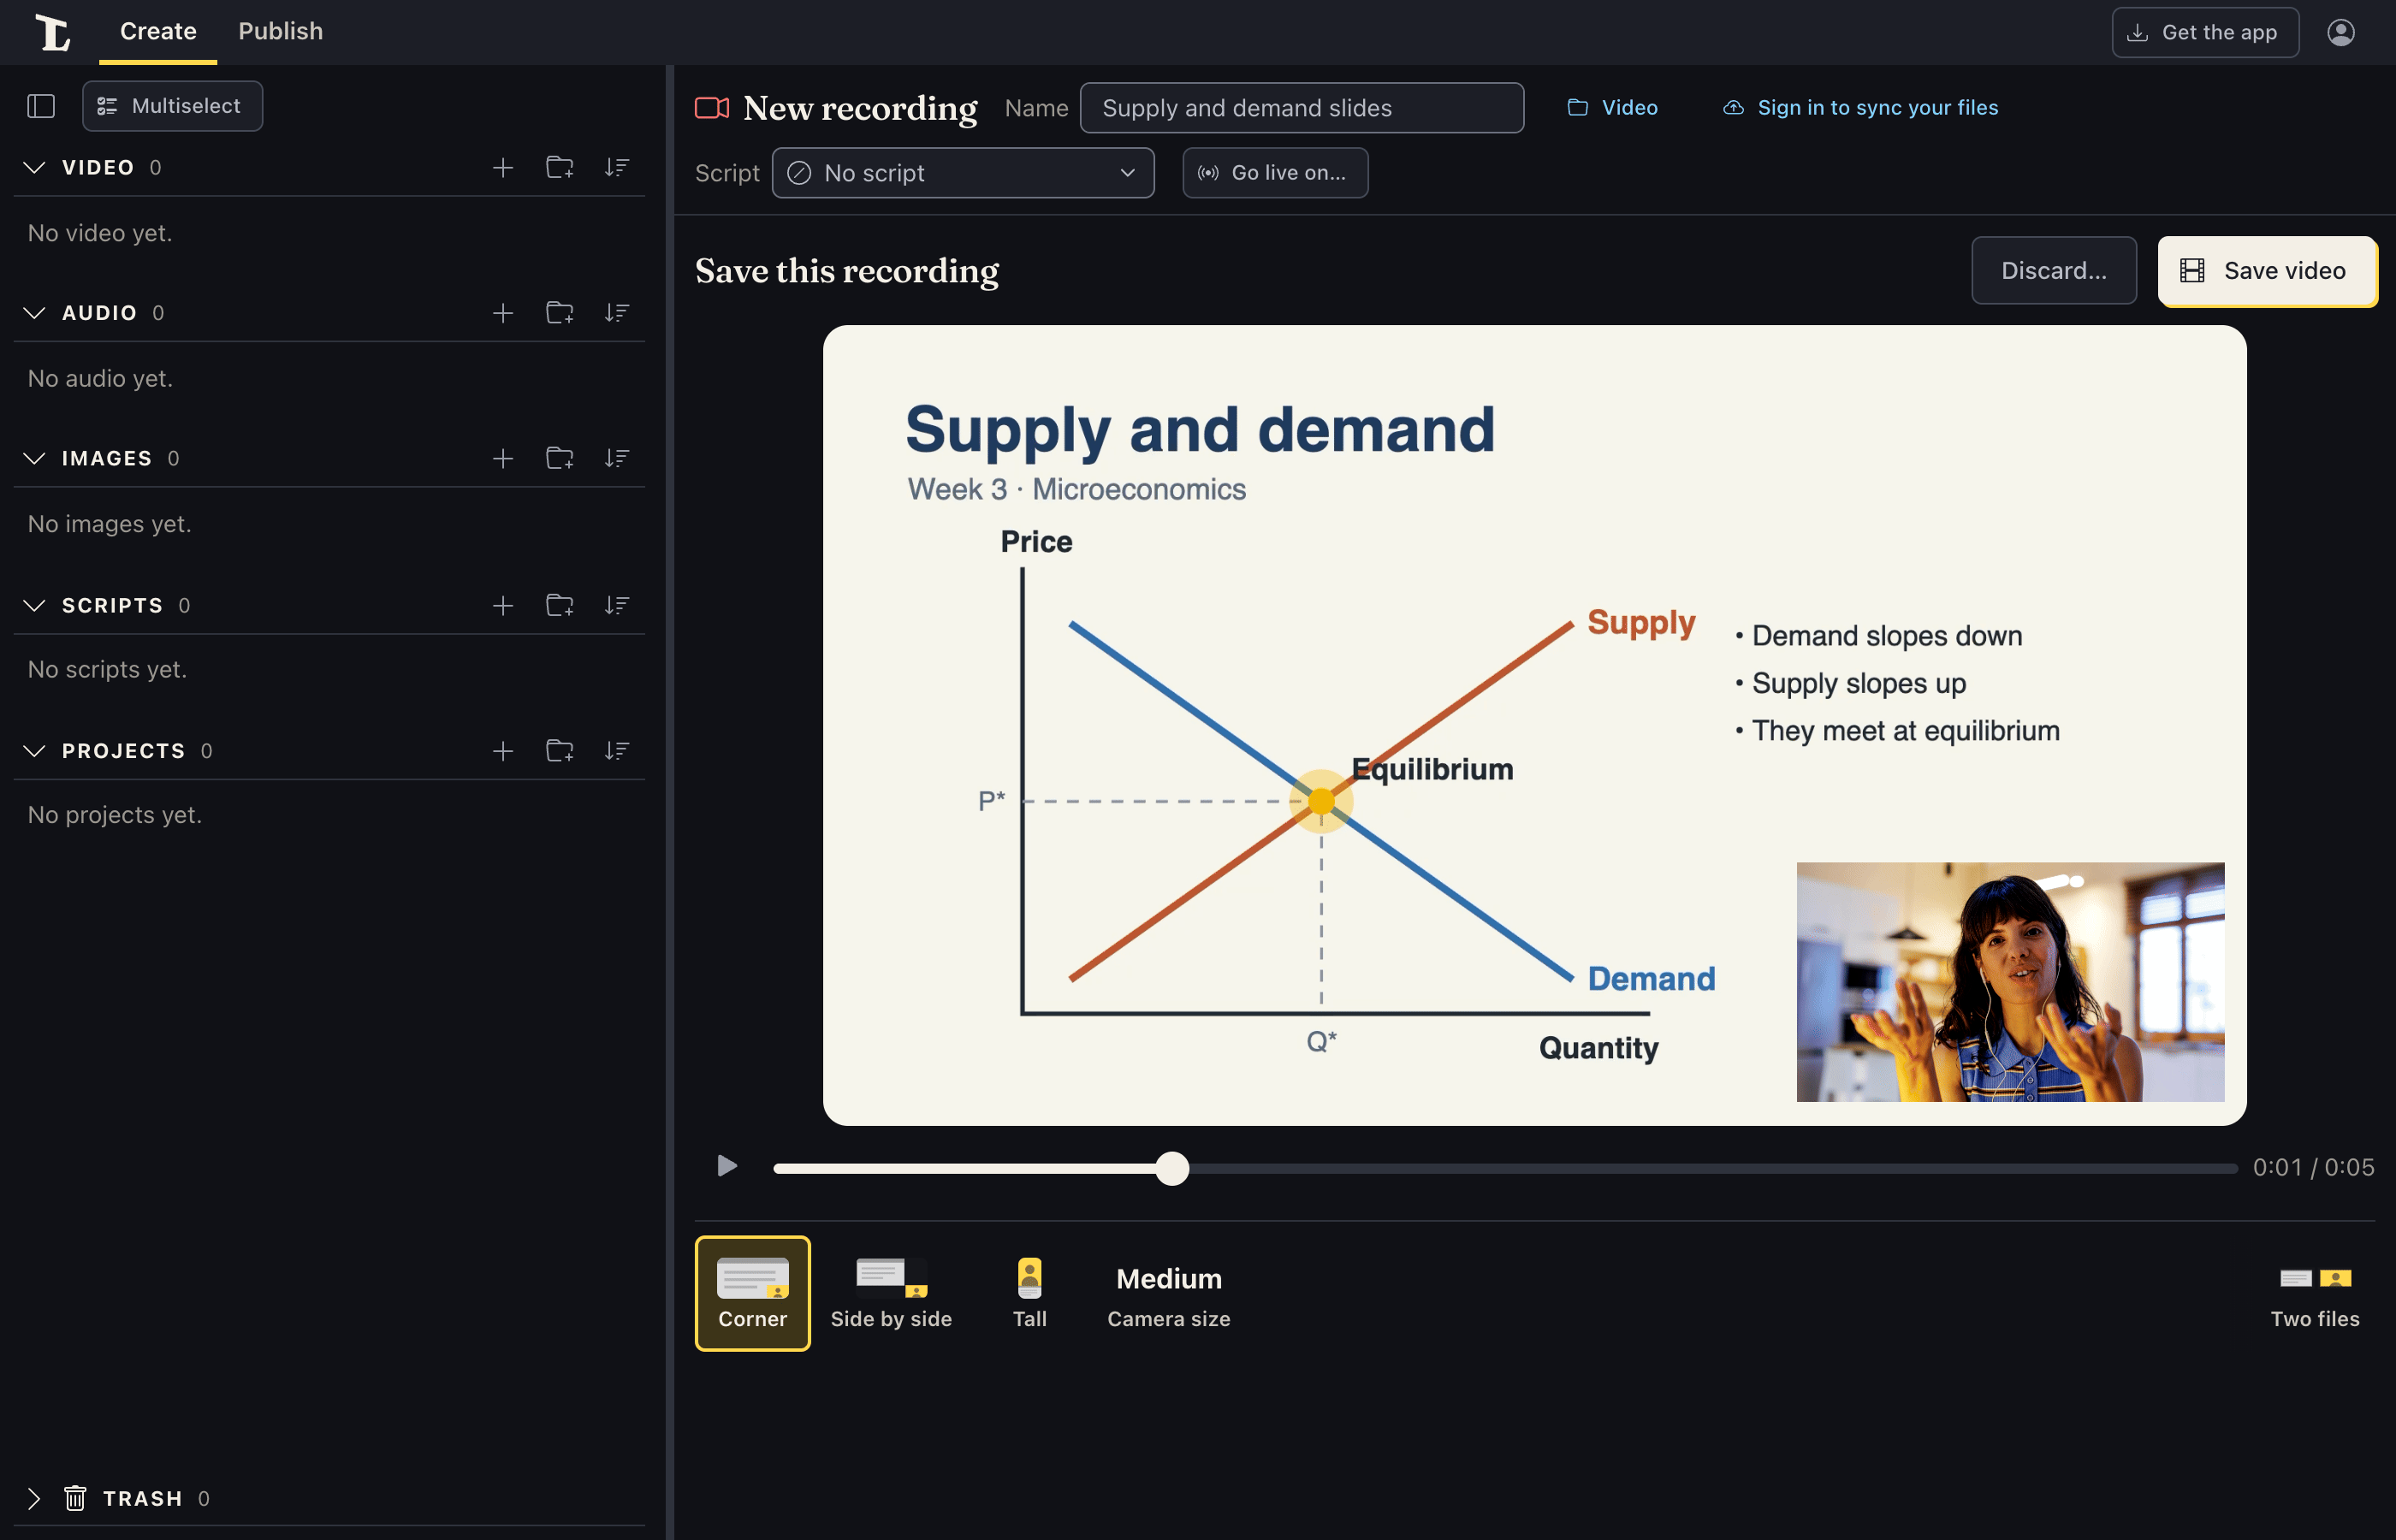
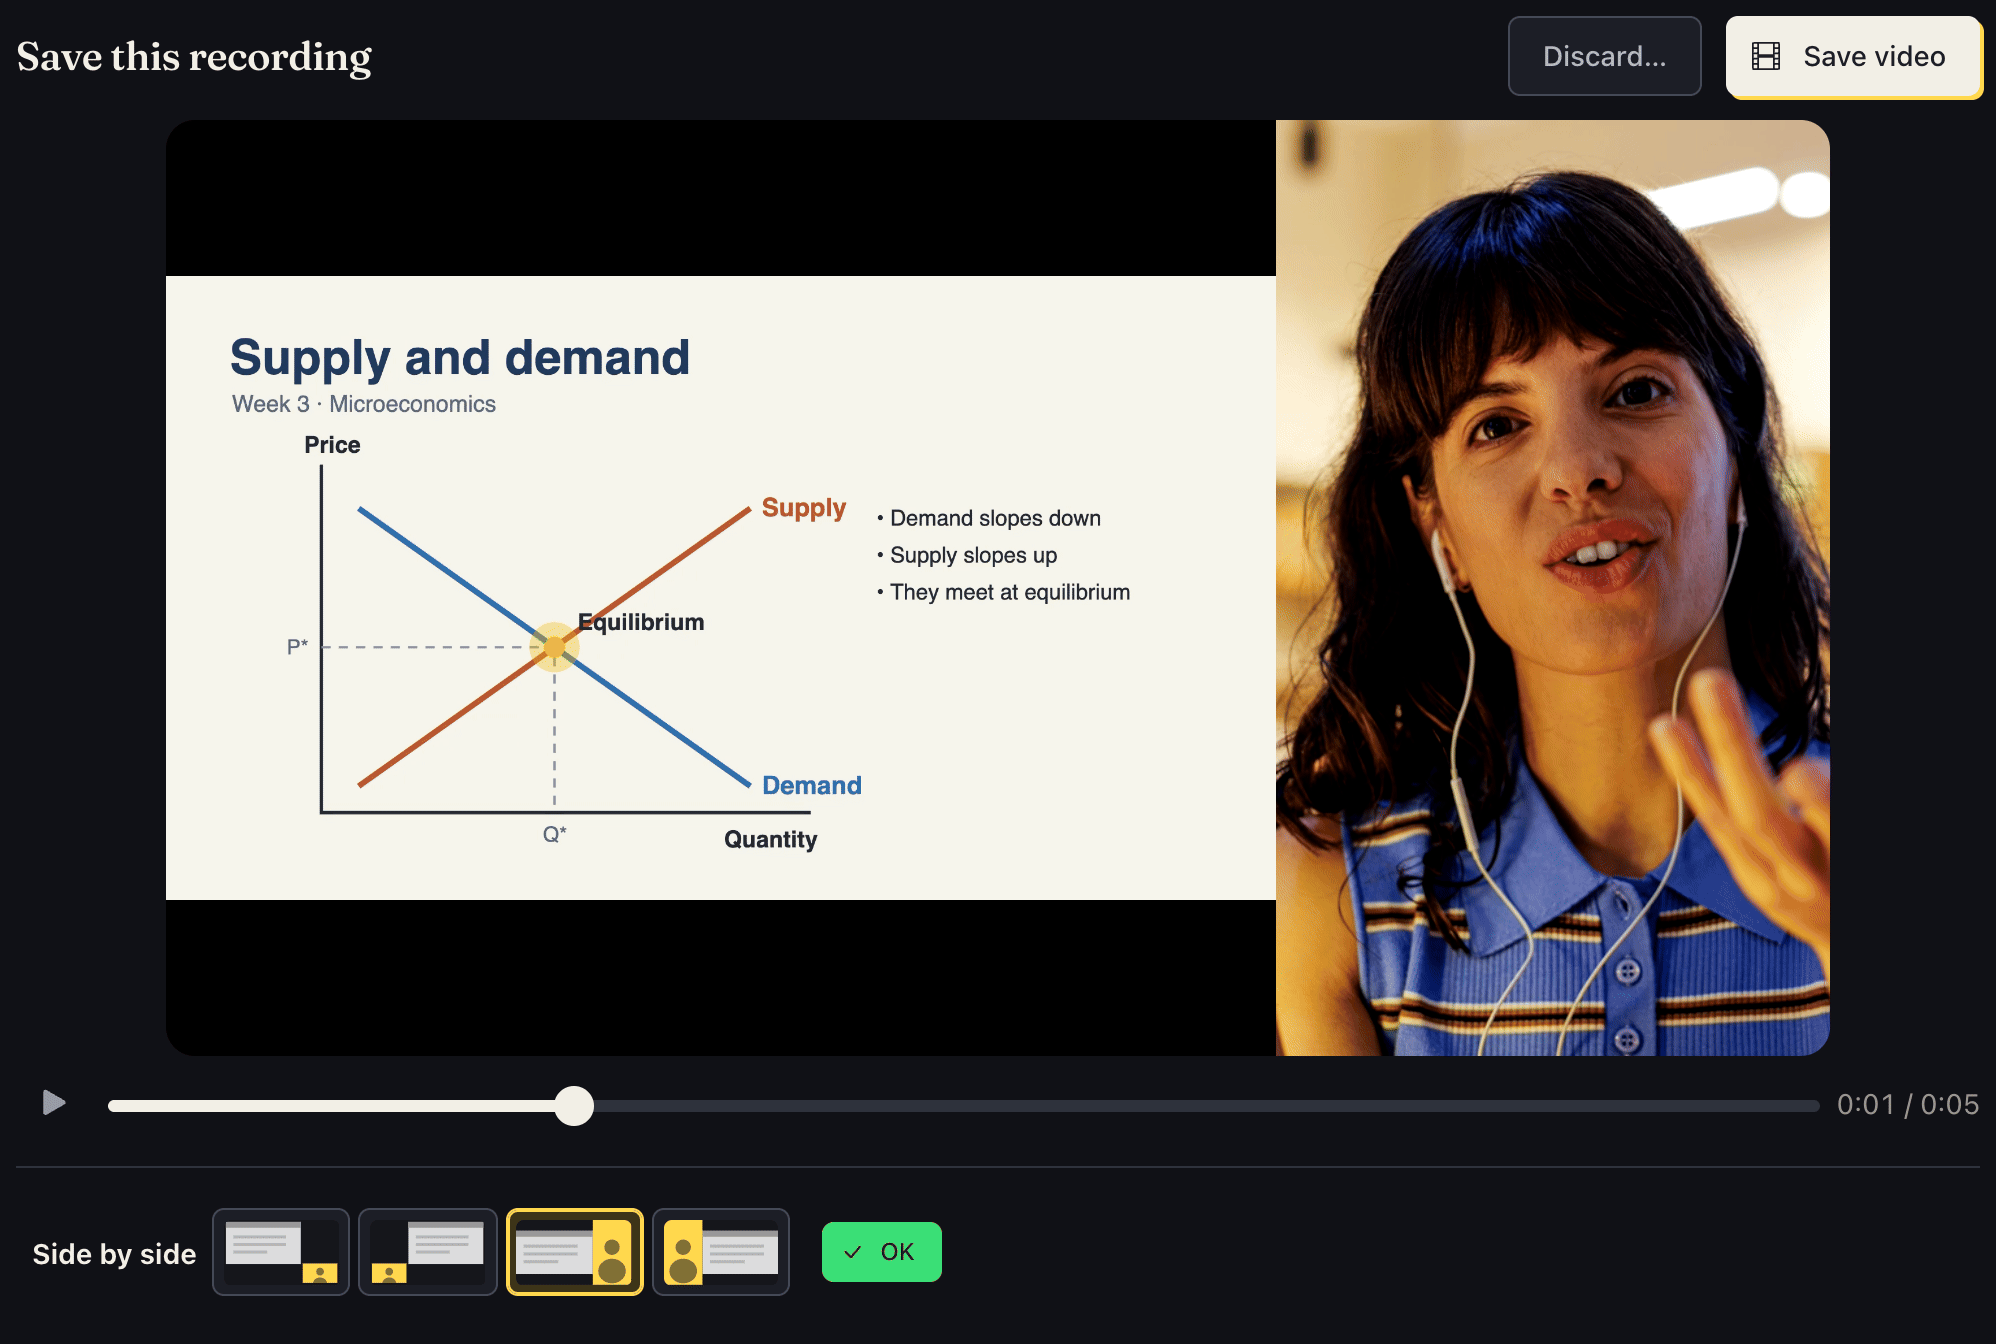
Pick how to save it. Save this recording comes up; nothing is in Video yet. The screen and the camera play together as they'll be saved, with a line of tools under them. Corner is picked: one video, the camera in a corner over the screen. Side by side and Tall (for phones) are the other layouts. Each opens its pictures in the line's place: click one, then OK. Camera size makes the camera Small, Medium or Large. Click play to check it.
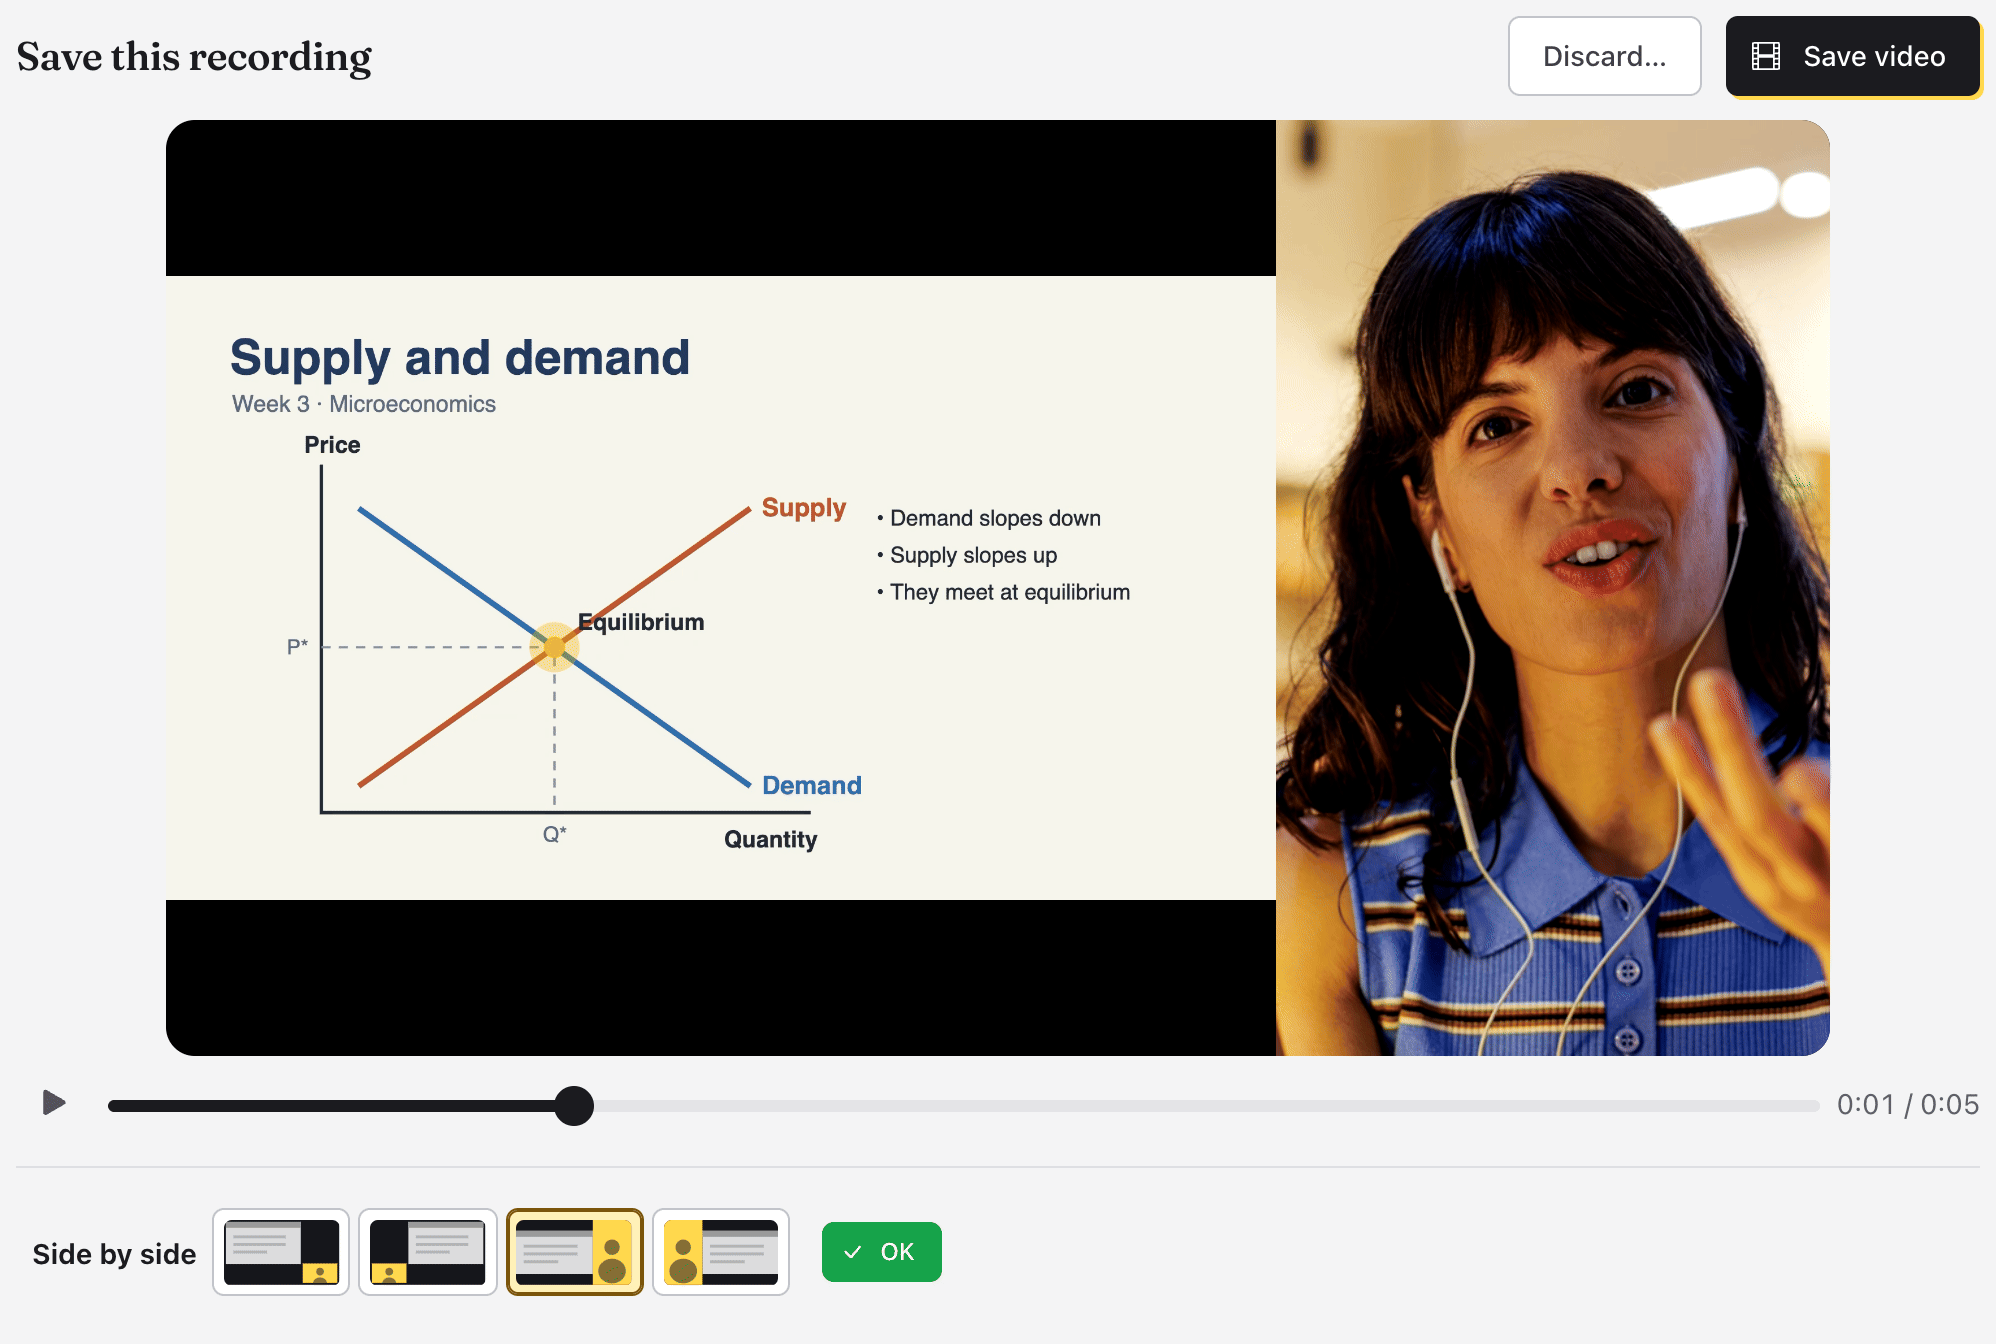
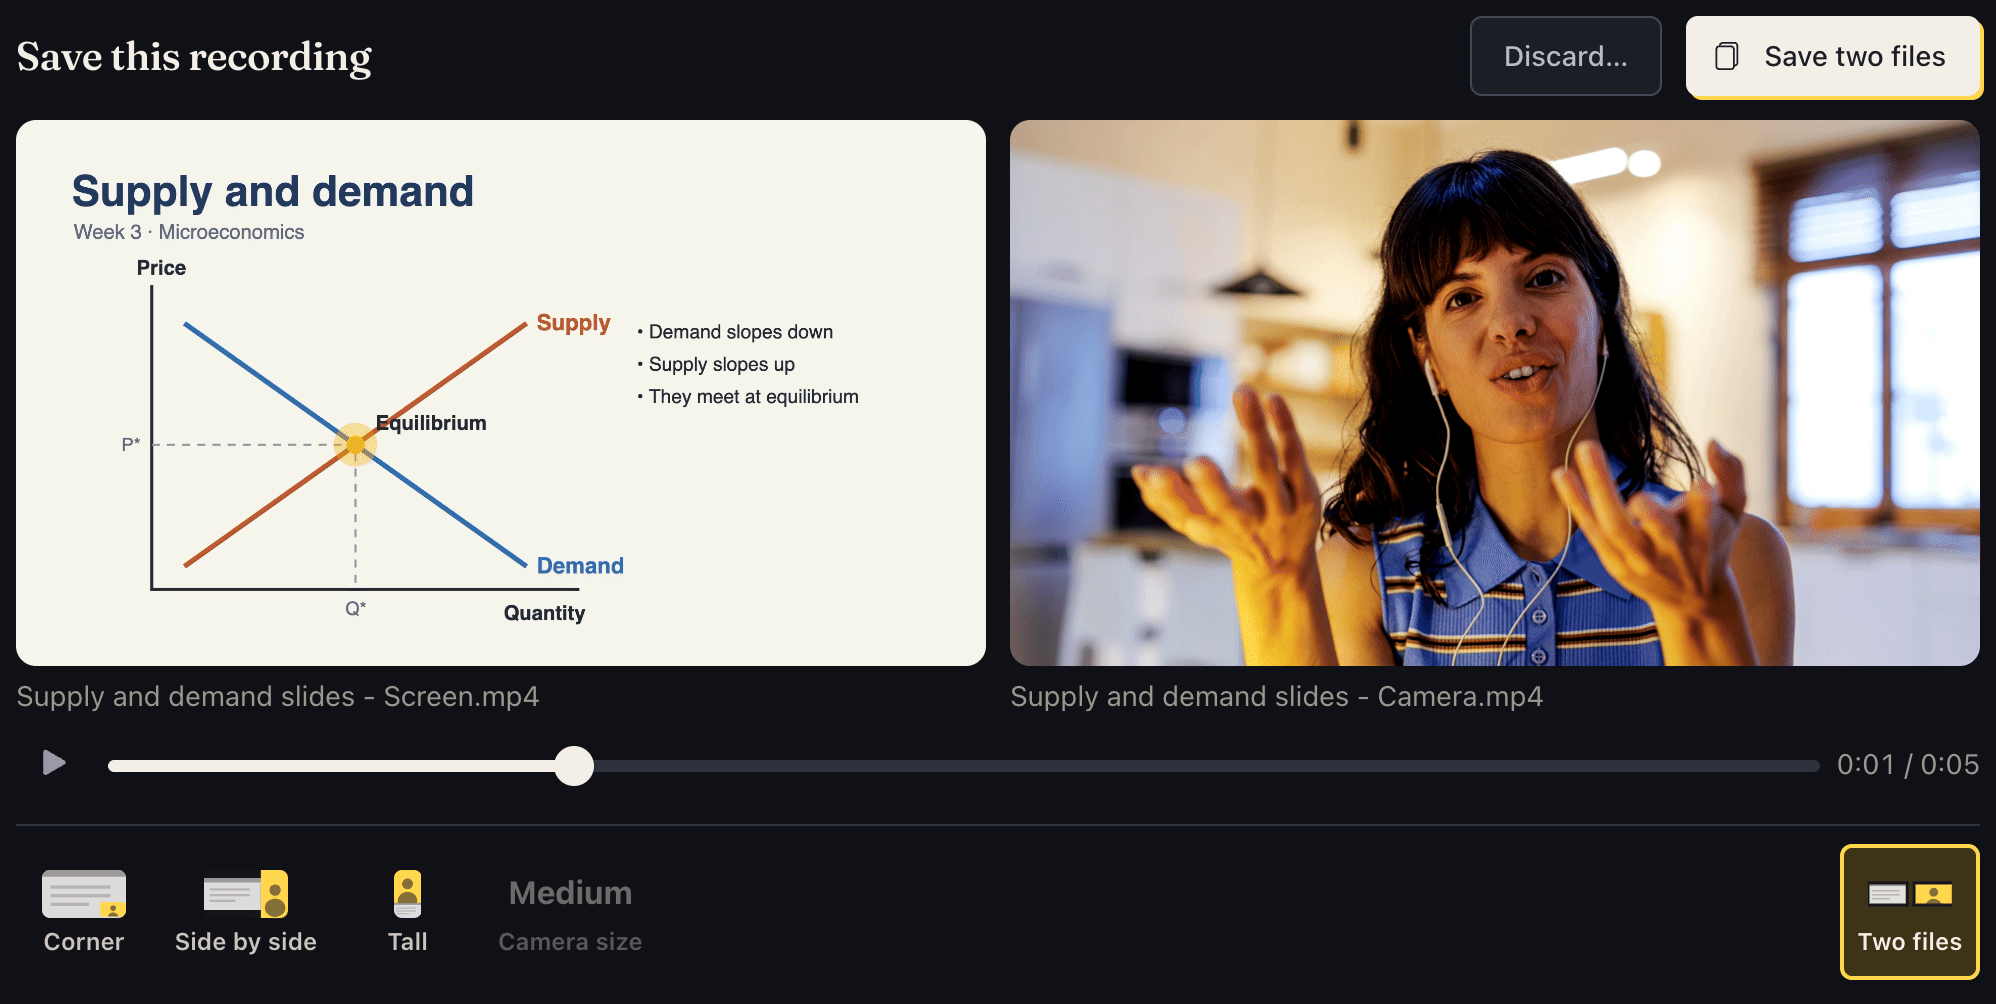
Want to edit them apart, say in a project? Pick Two files, at the end of the line, instead. You get "Supply and demand slides - Screen" and "Supply and demand slides - Camera".
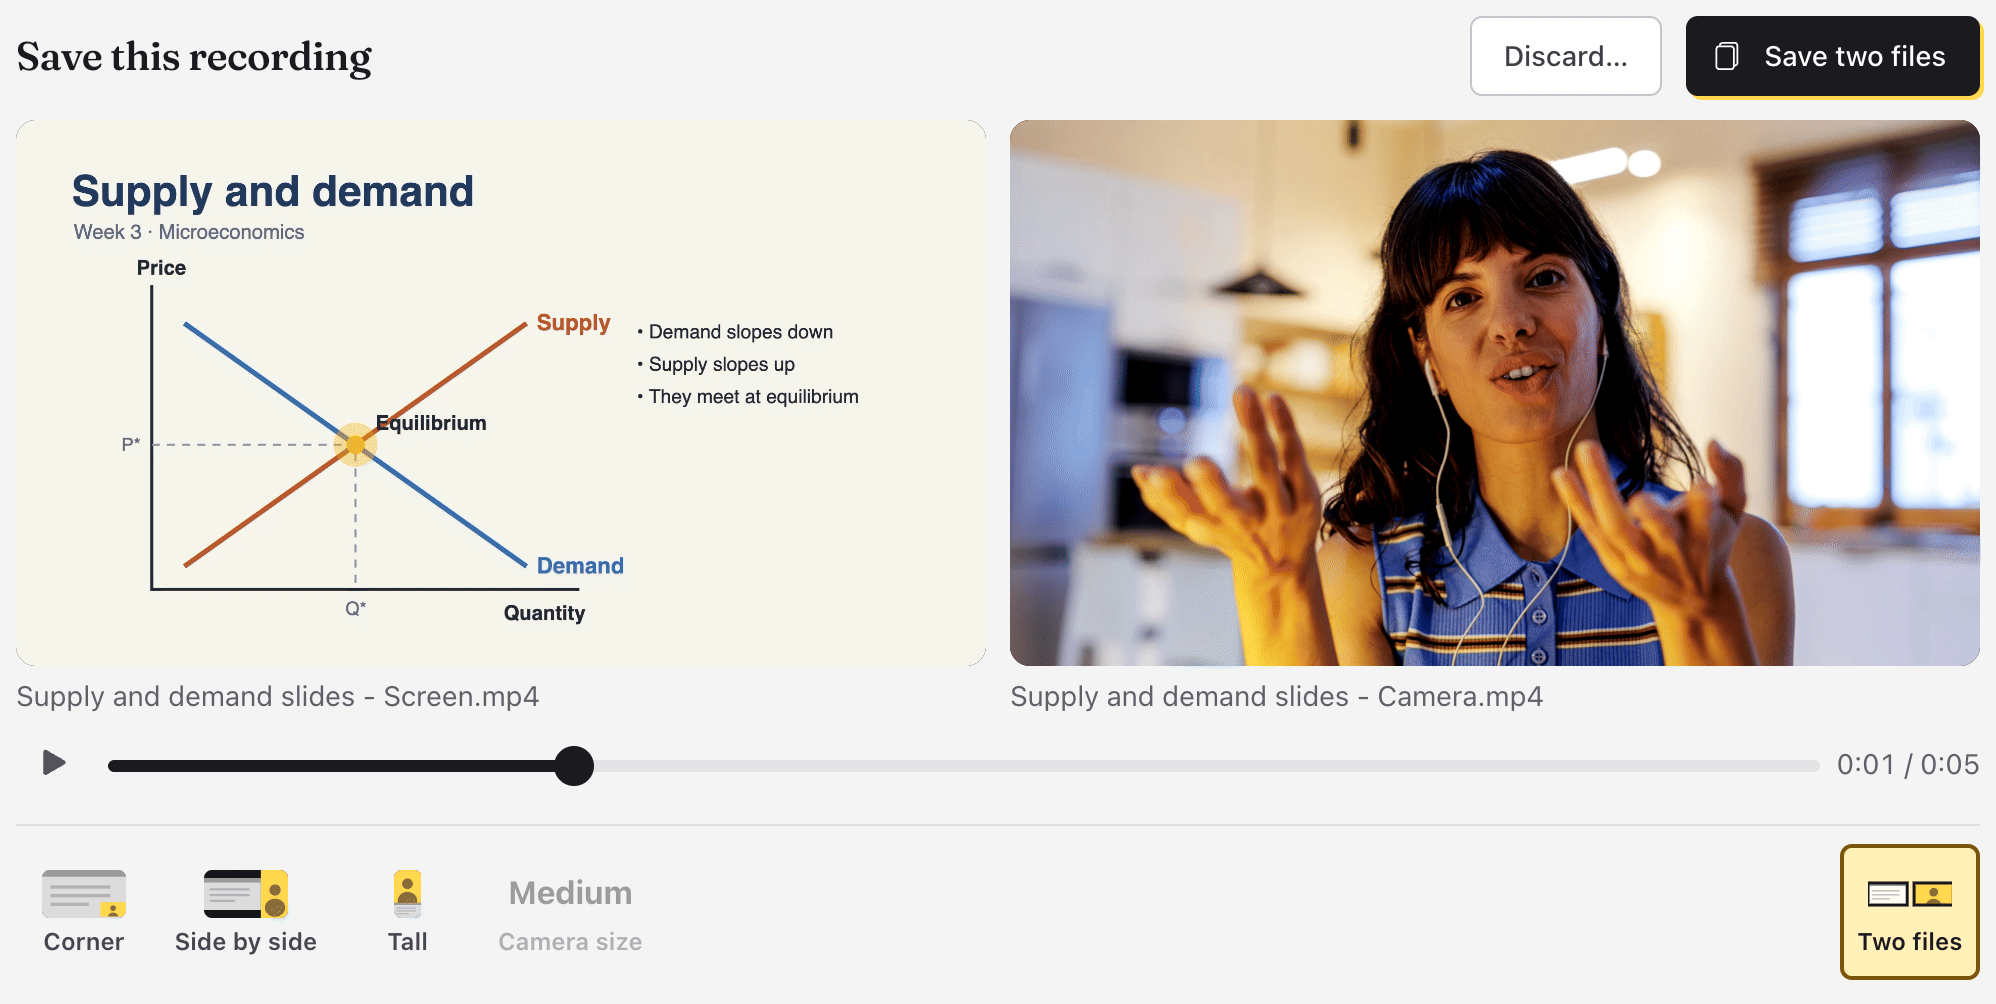
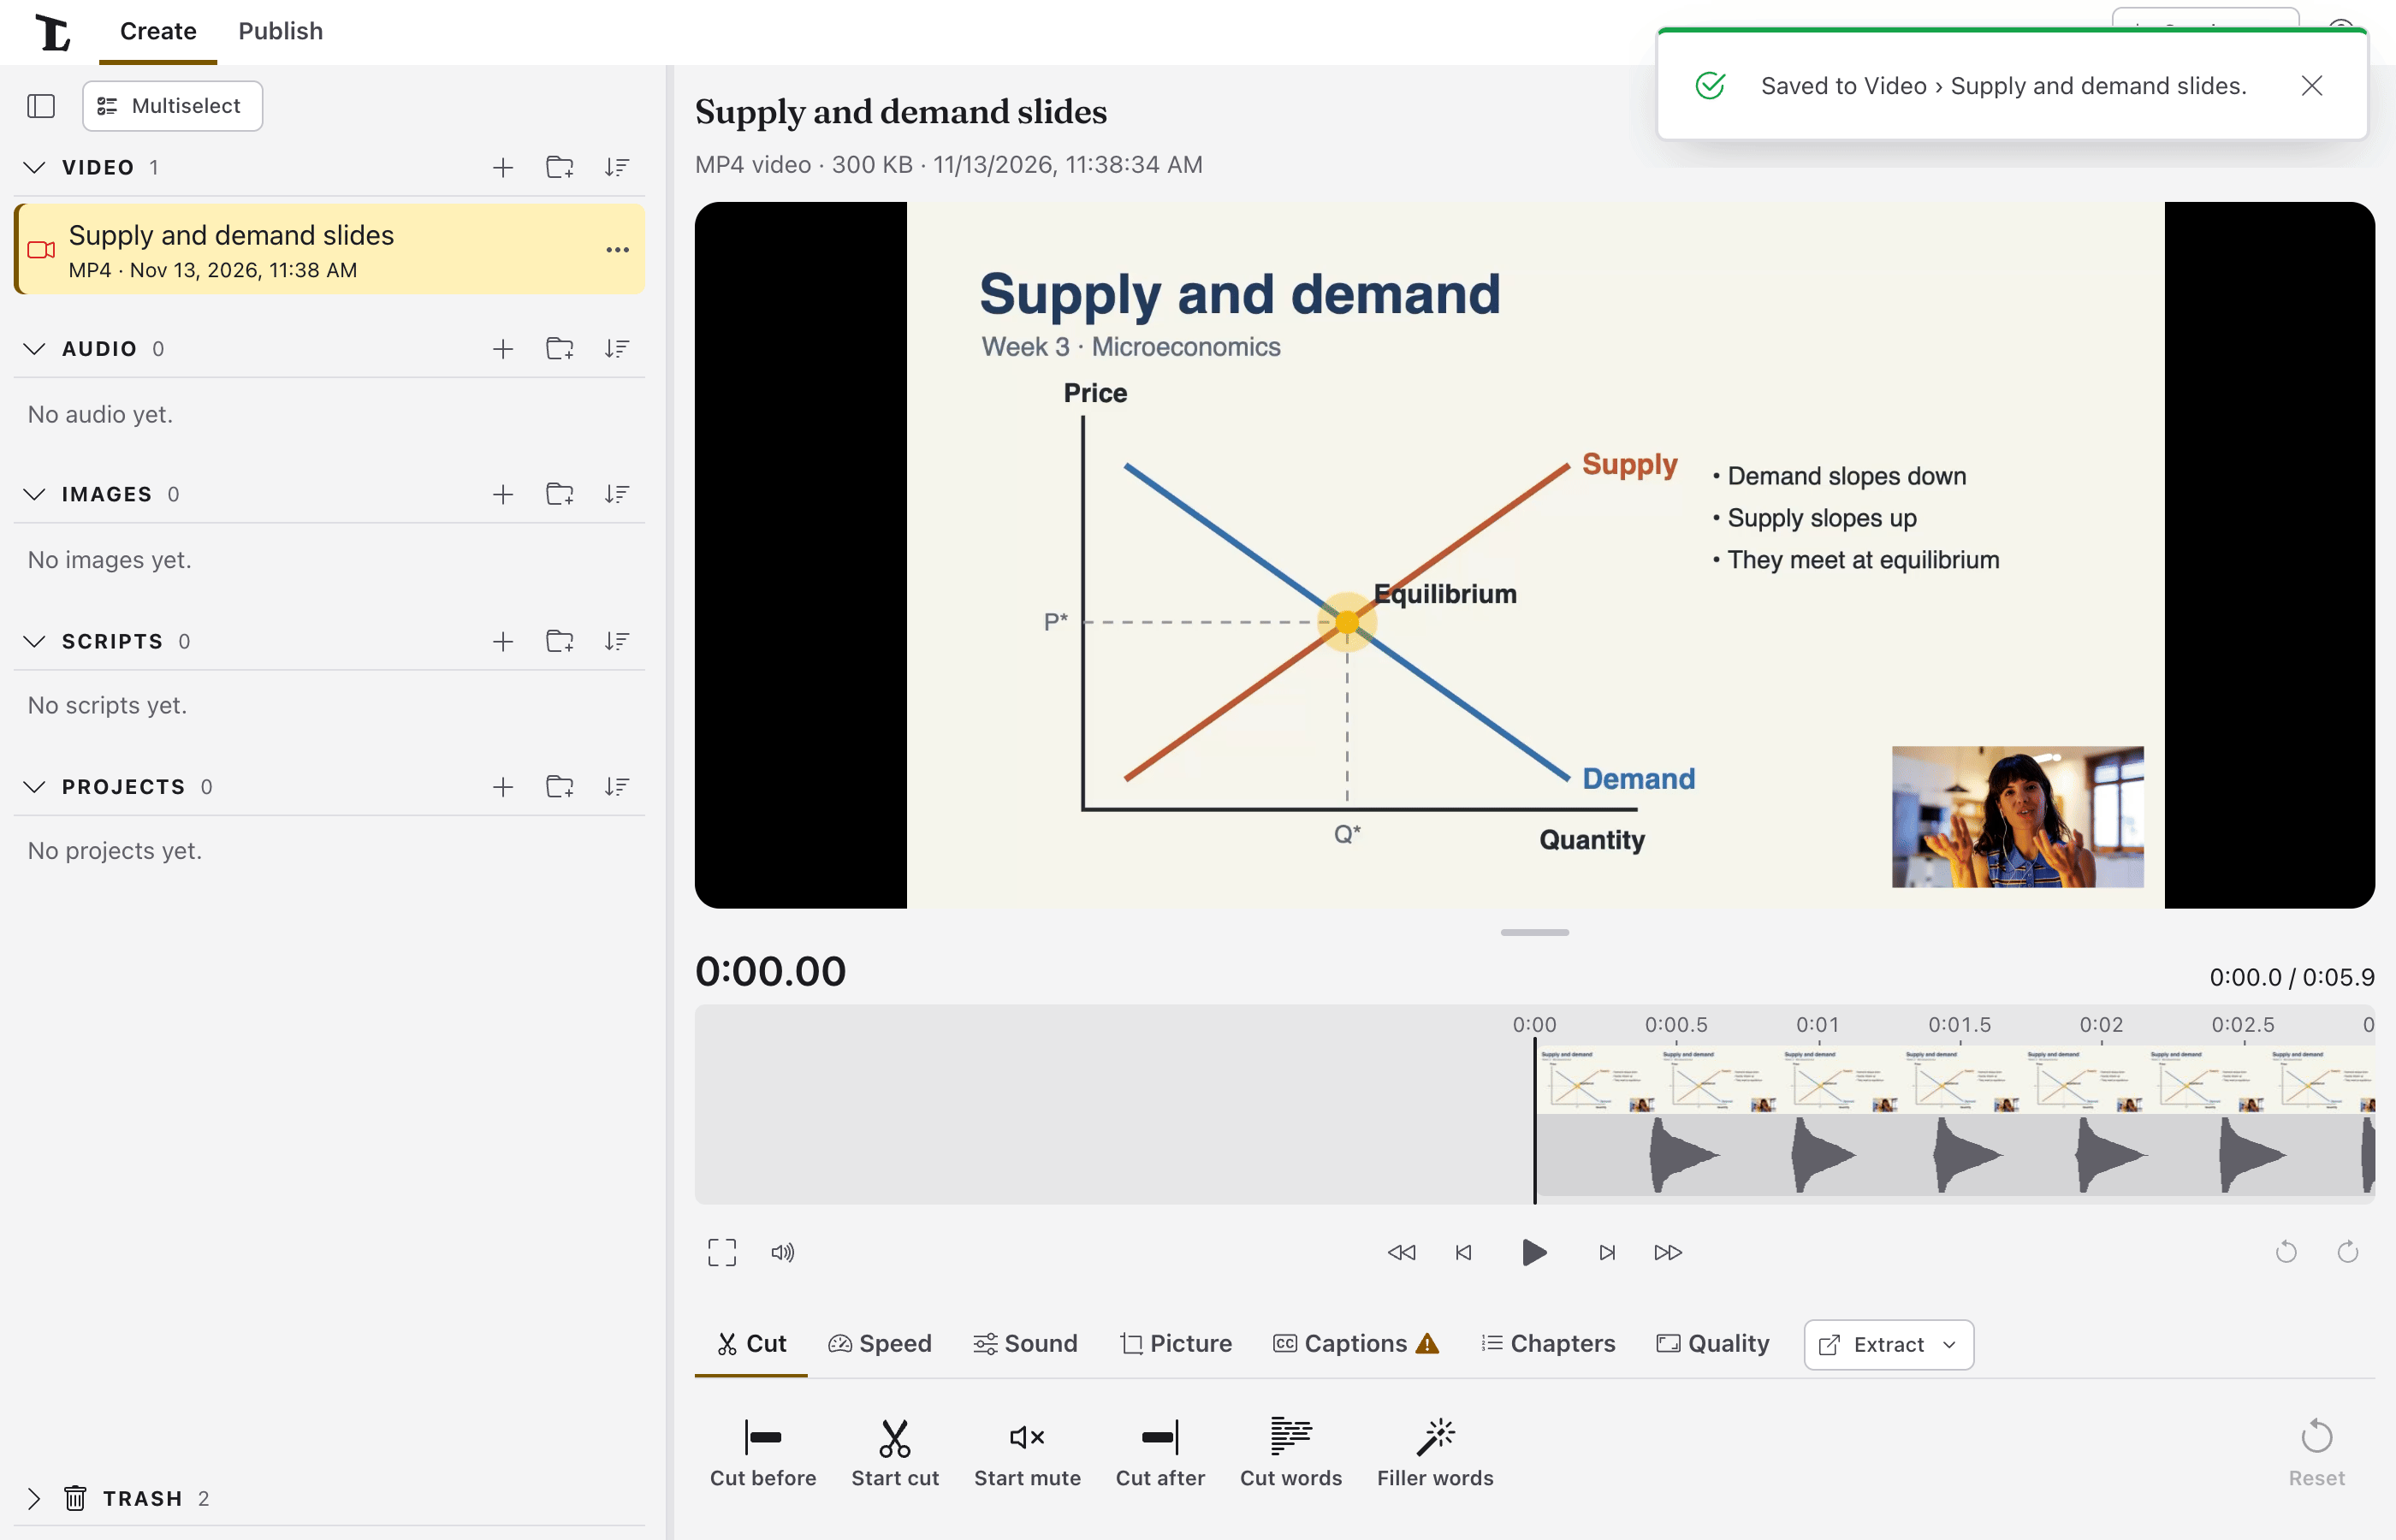
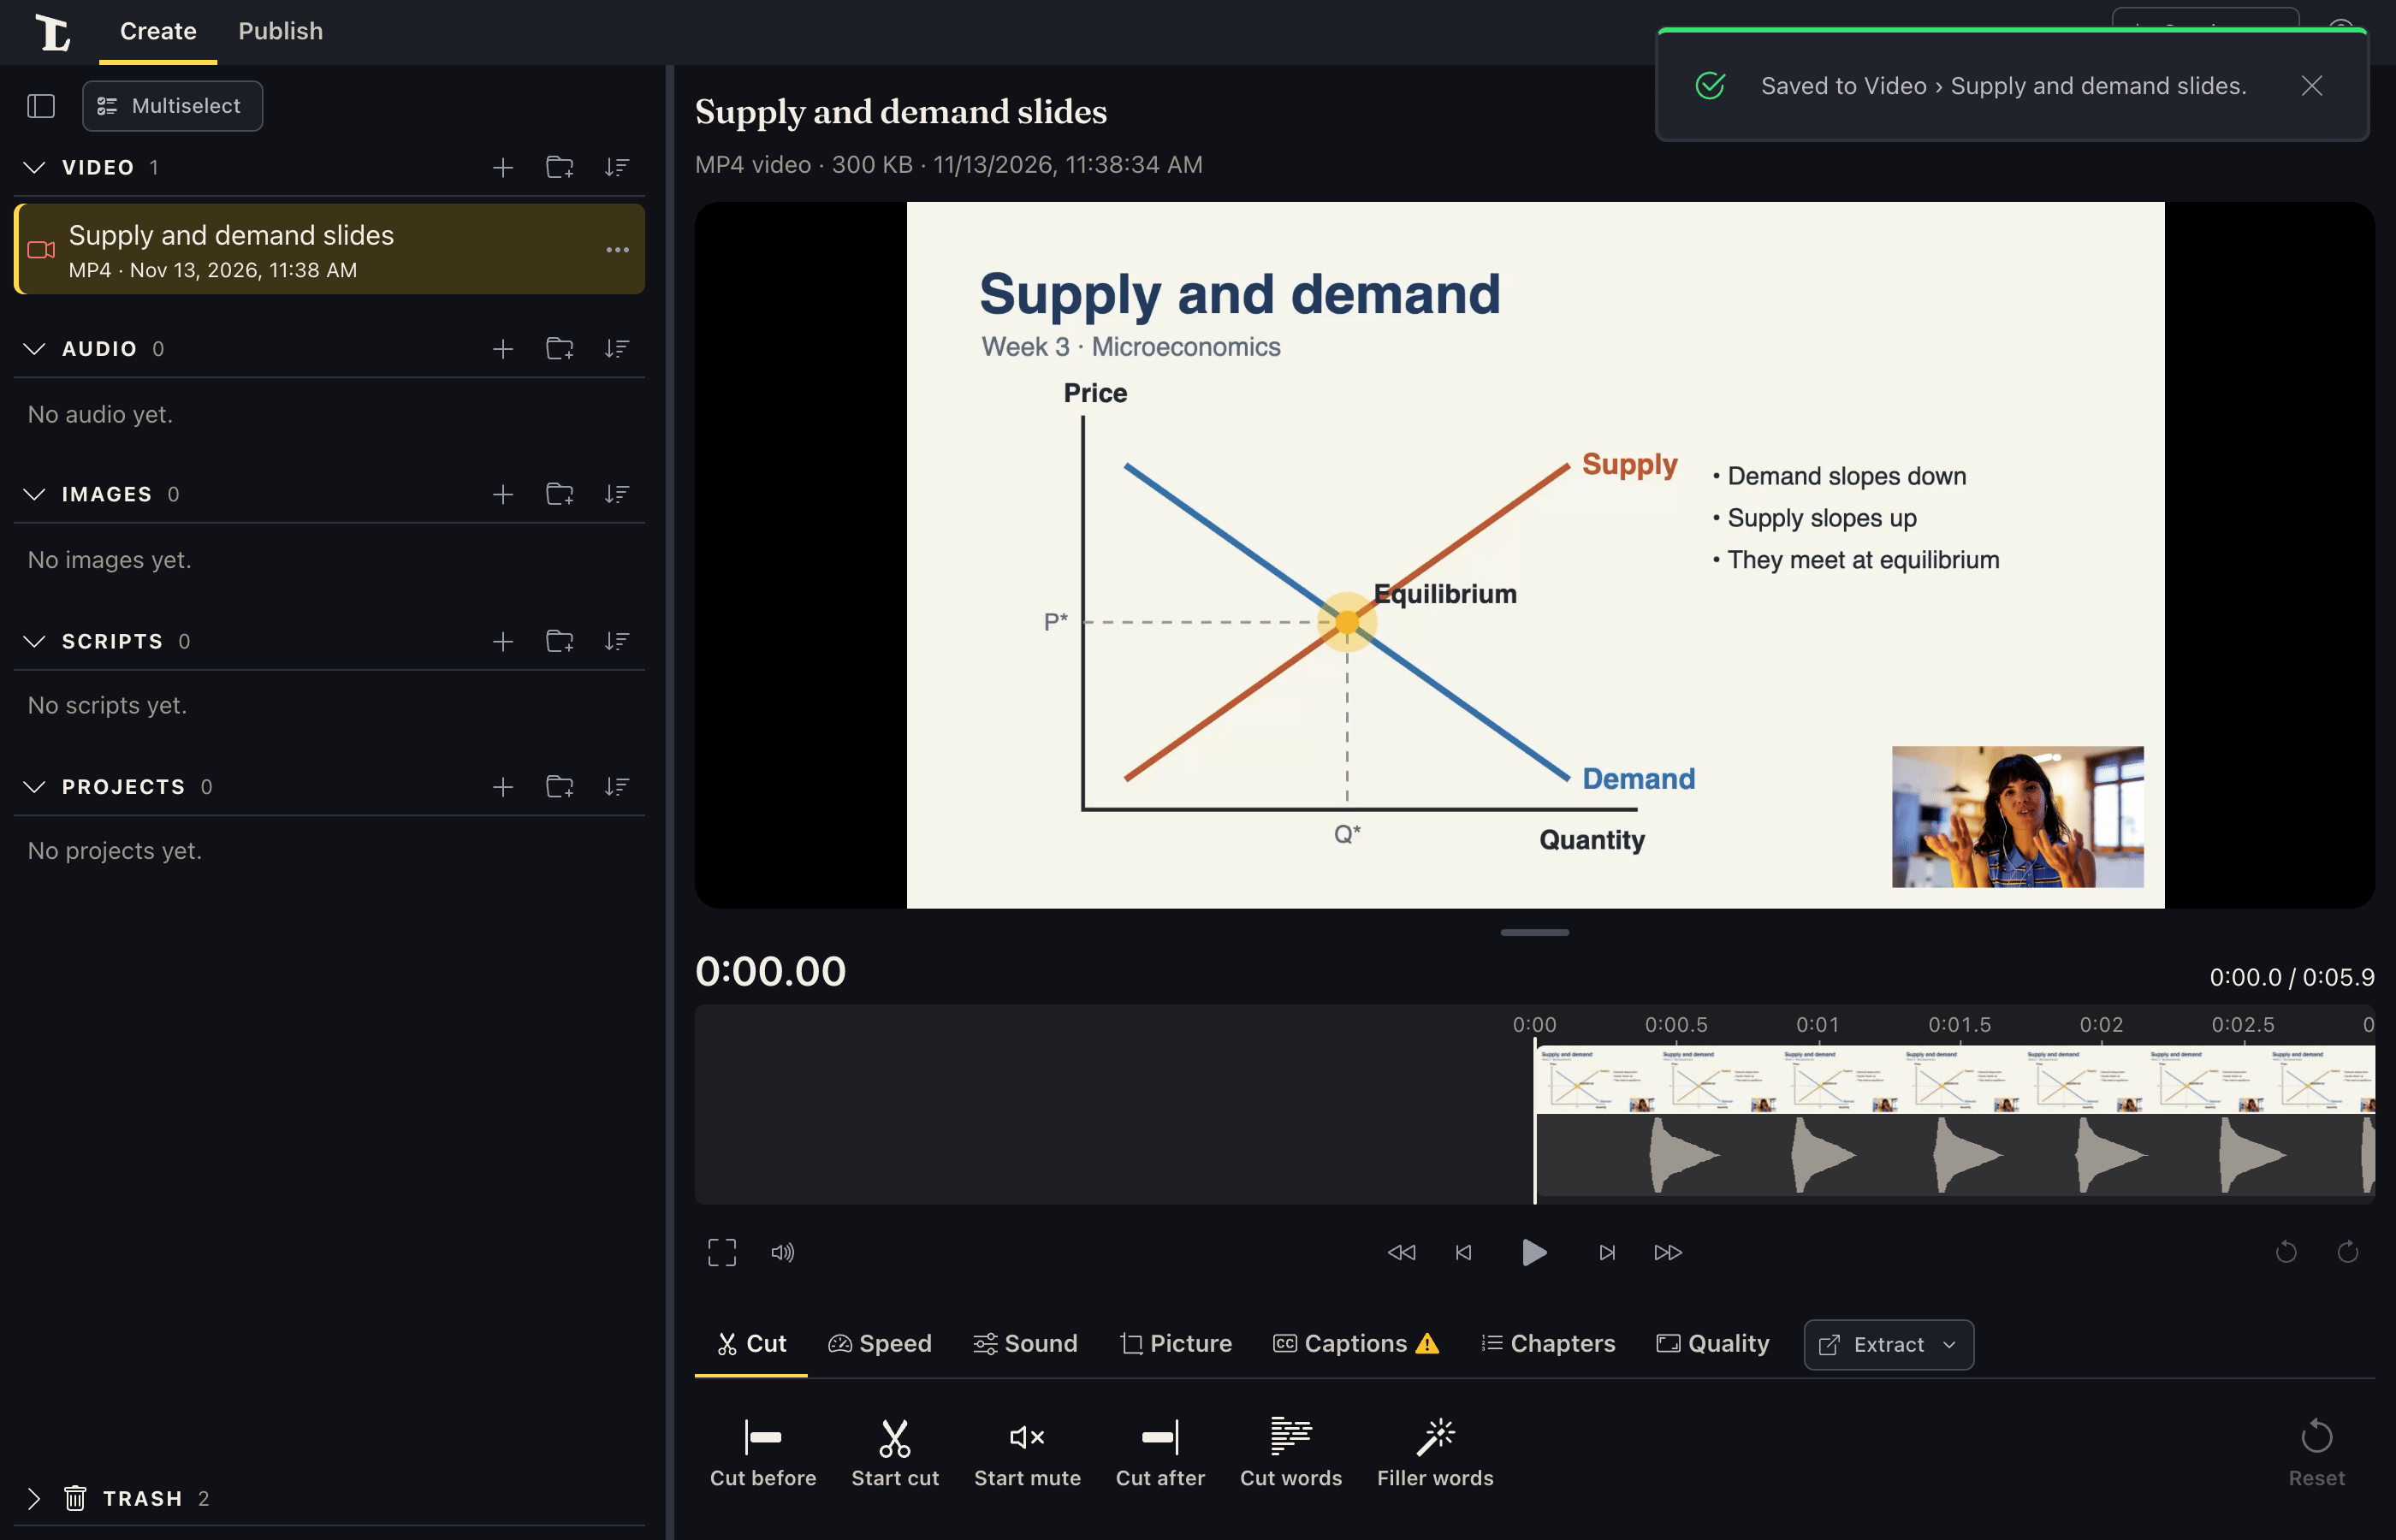
Save. Click Save video (or Save two files), at the top right, where Stop Recording was. Making one video takes a moment. It opens in Video, ready to play, cut or caption.
Changed your mind? Discard… puts both recordings in the trash.
Next
- Cut mistakes out of a recording
- Add captions
- Recording, for the details
Something here wrong or unclear? Tell us.